|
|
Post by mustang1989 on Nov 17, 2016 15:28:09 GMT -7
First off I'd like to thank all the admins for adding this section of the forum. This place is a nice place to call "home" and everybody seems to get along with one another. I couldn't help but want to post my aircraft builds here too. I'm also looking forward to what other stuff folks come up with. With that................let's roll it forward shall we?
It's been a long while since I've done anything aviation related so it's been really difficult to decide on what I'm going to do for an ice breaker for the last few months. I bounced back and forth from Ta-152 to an Fw190 D series to a 190 A series to finally .........this:
A Hase offering of the 234:
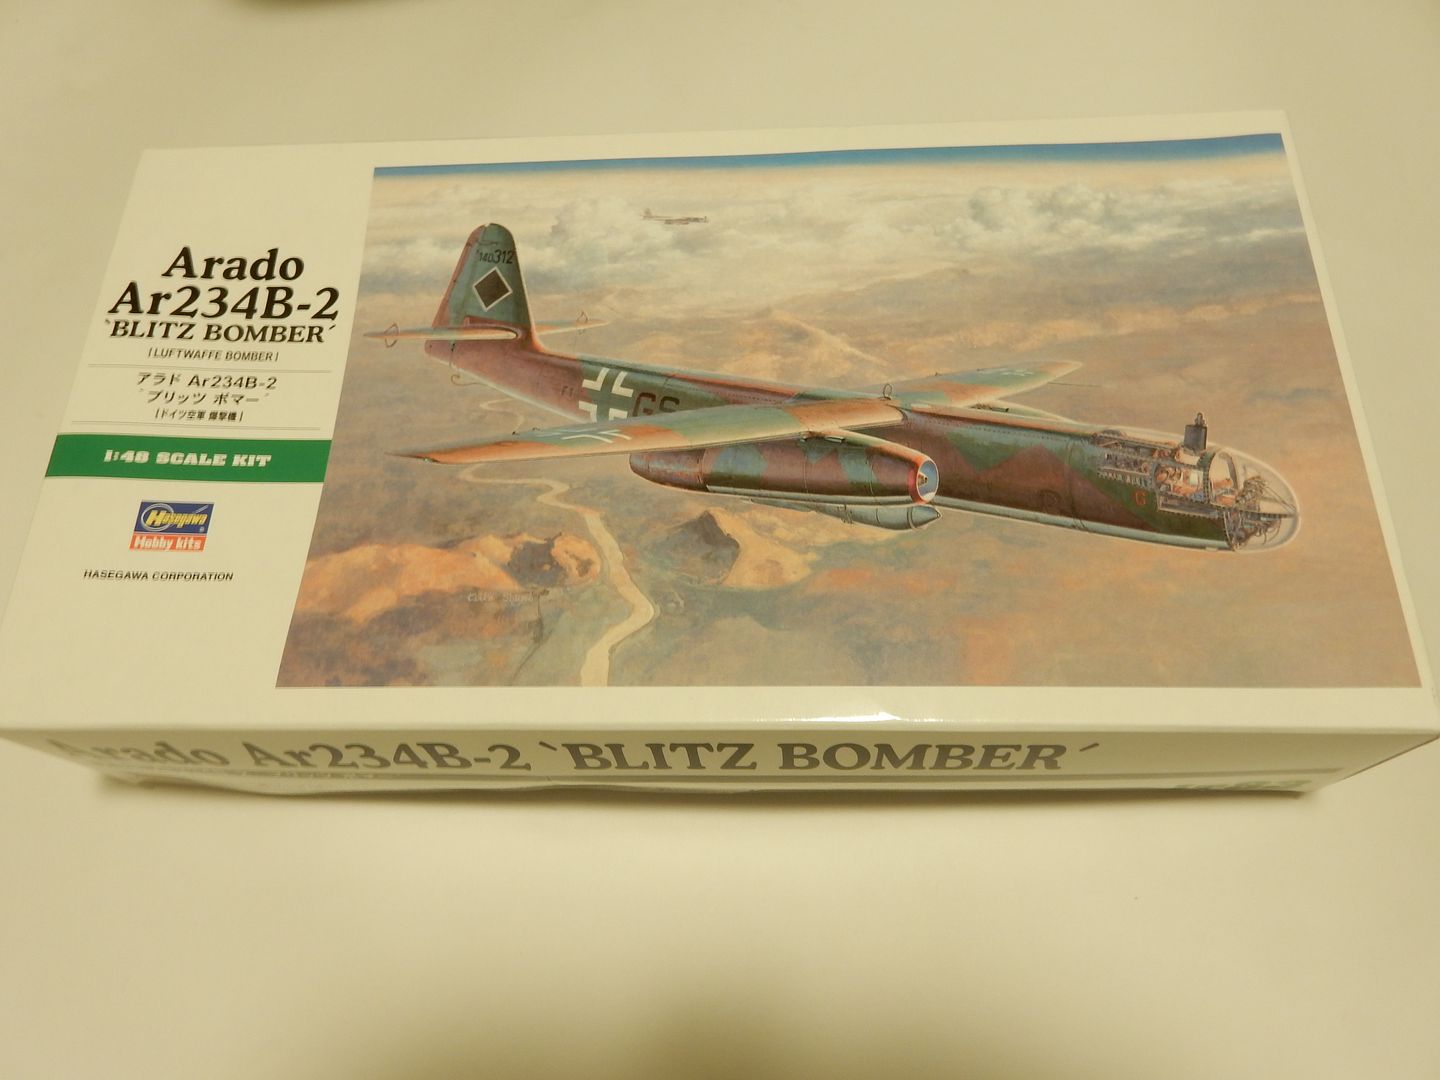
I bought two of these because every time I start hackin' on a build for detail add ons like cockpits or engine displays or anything like that I have inherent problem of messing something up along the way to the point of being unrepairable so I just head it off at the pass with a spare parts kit.
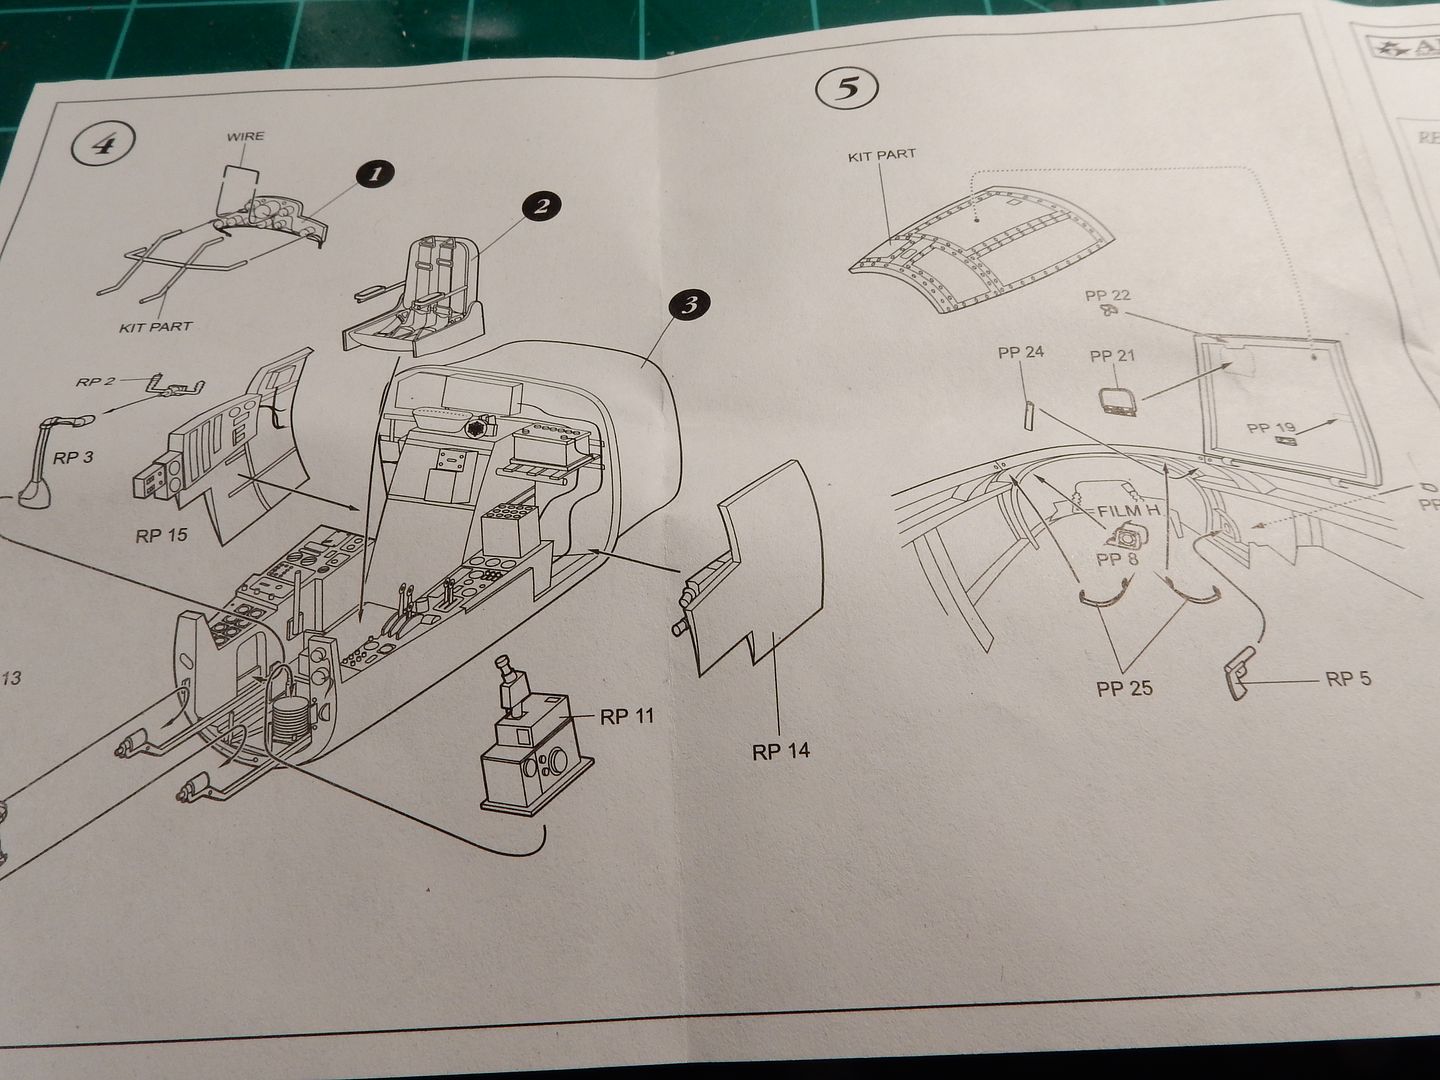
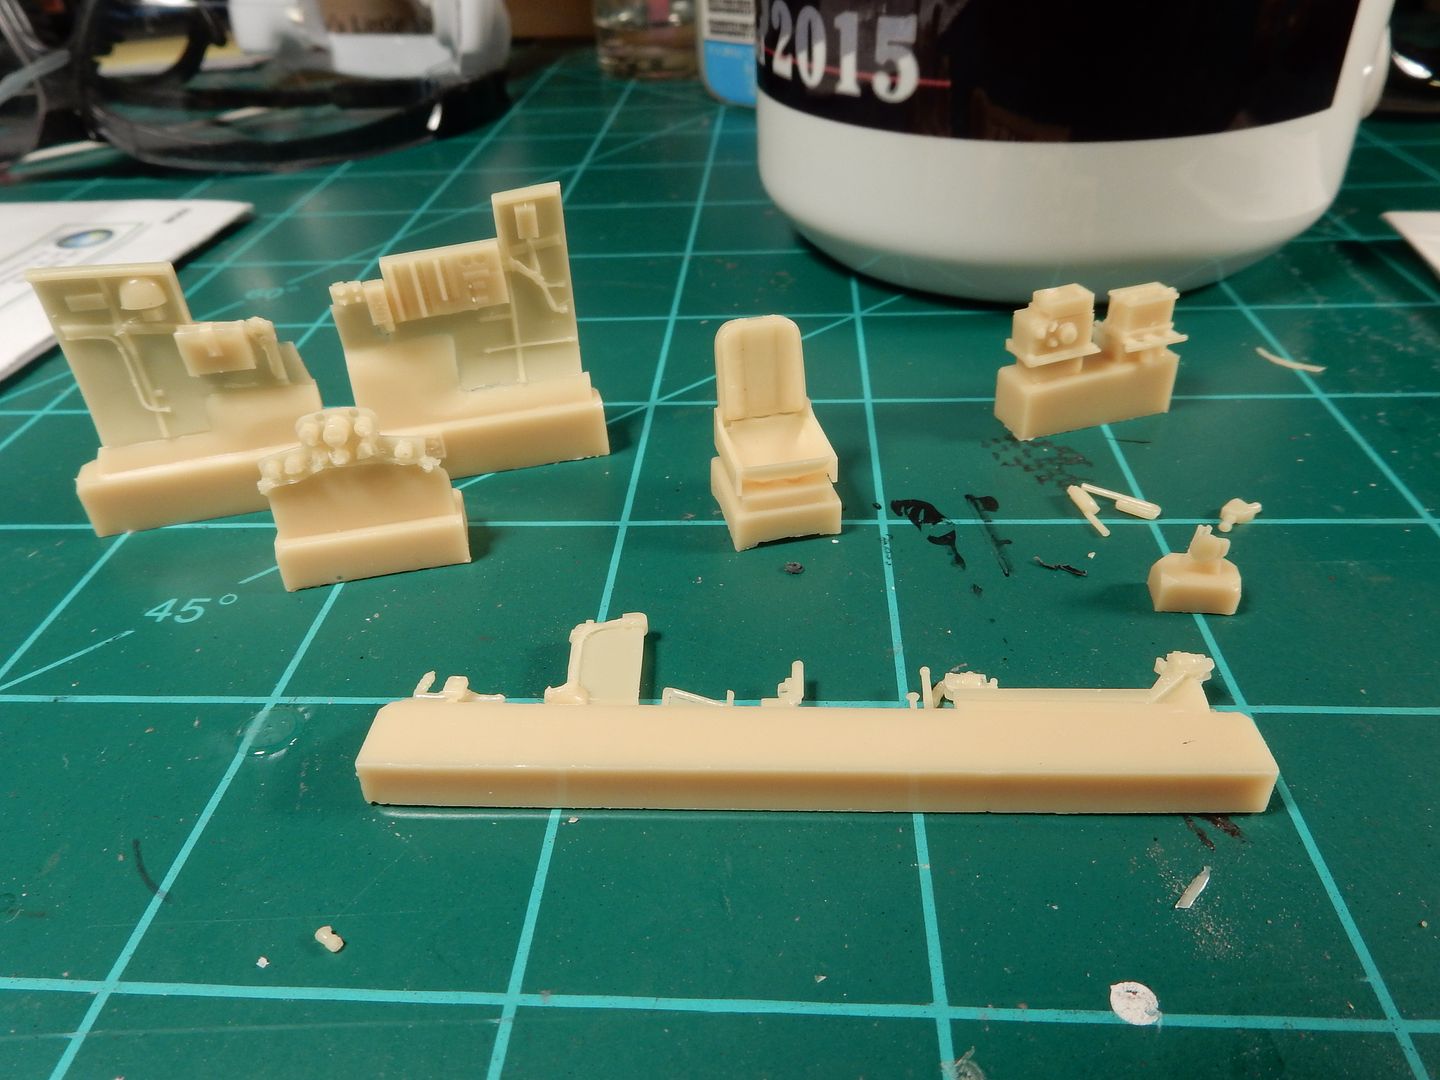
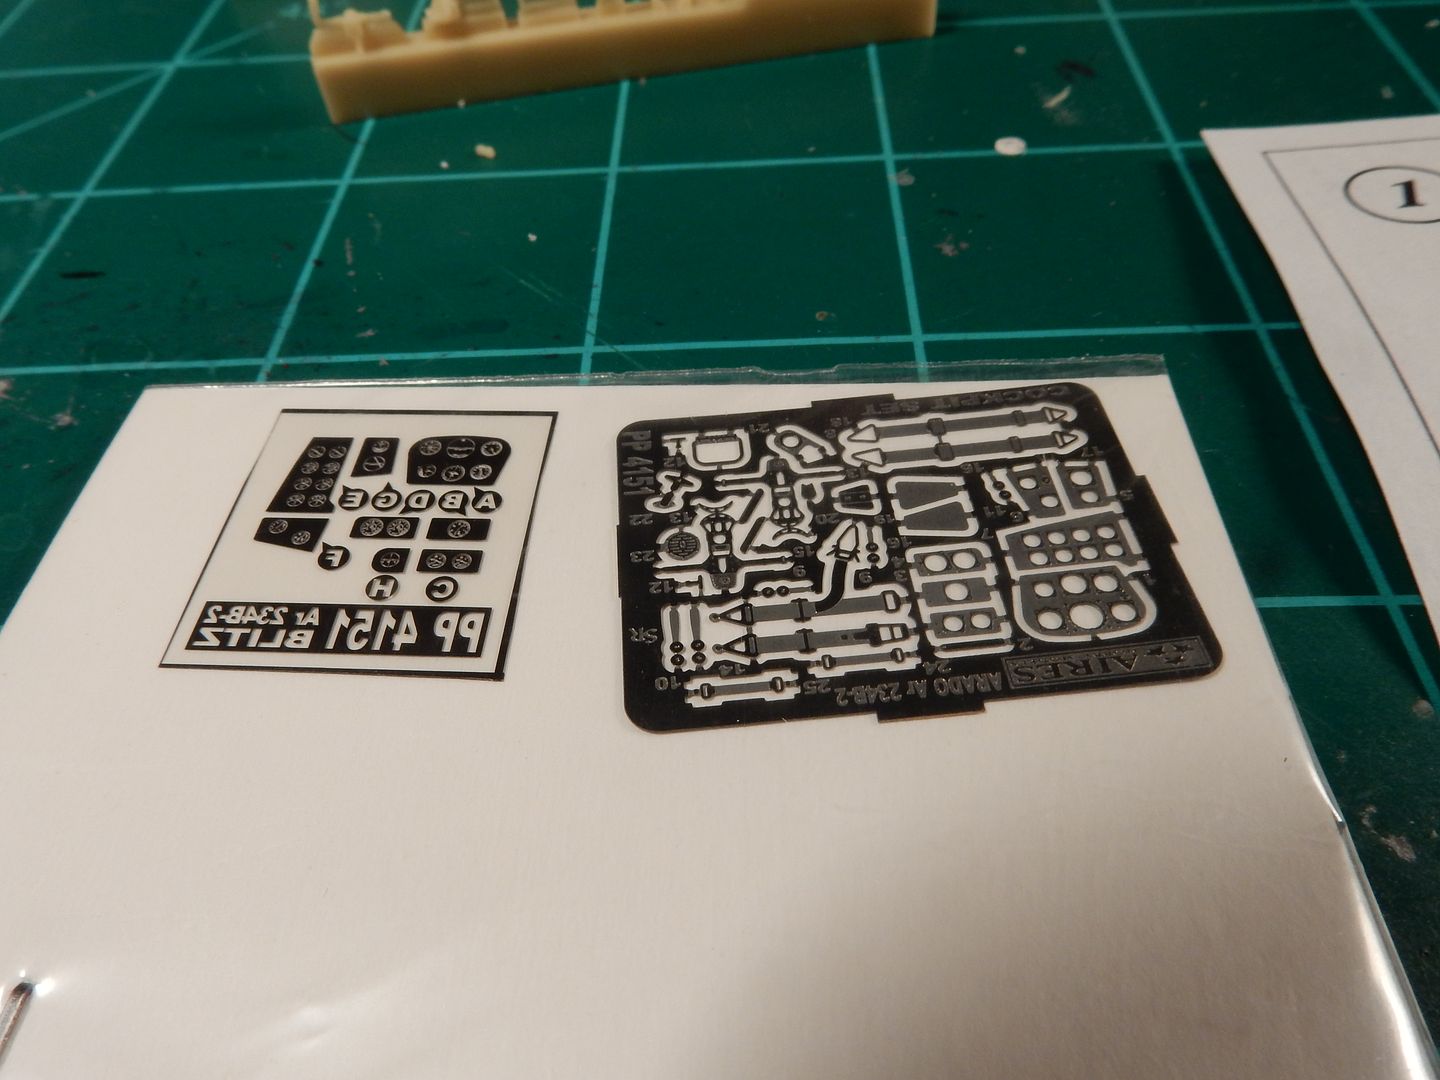
Here are the upgrades:
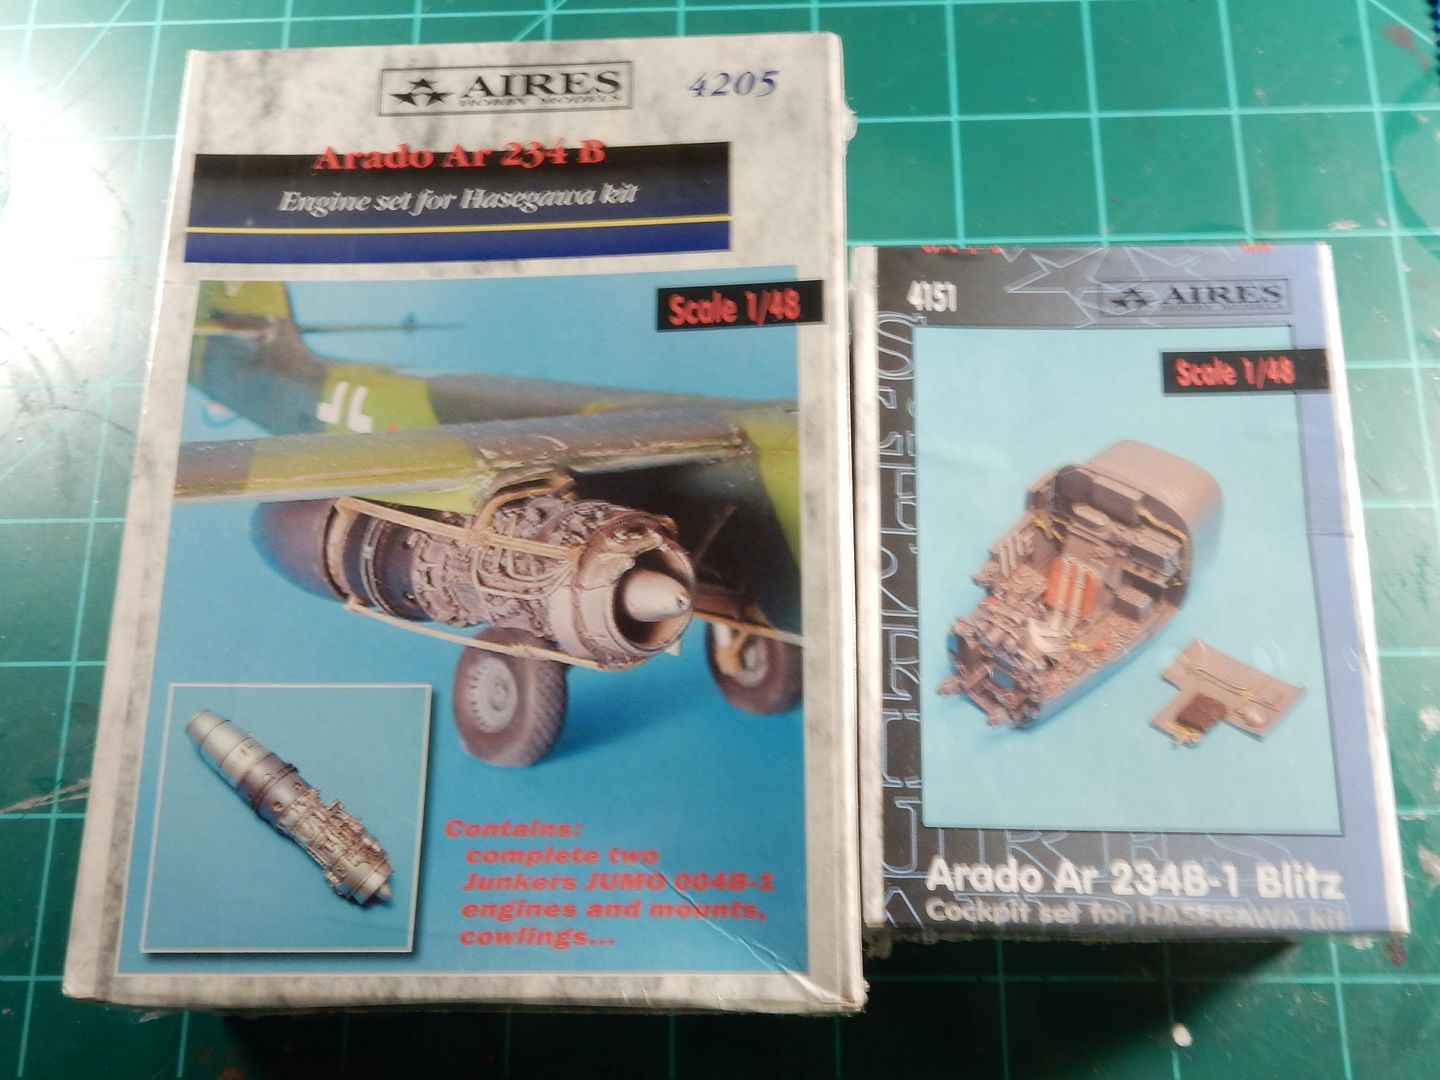
with a masking set:

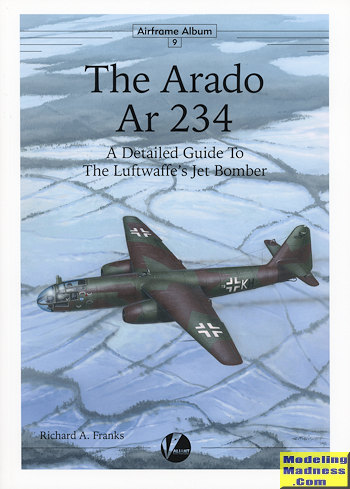
and the reference materials needed:

|
|
|
|
Post by mustang1989 on Nov 18, 2016 2:26:11 GMT -7
I started by test fitting the kit together first to see how it’s supposed to go together and then install my resin goodies here and there. I figure it’ll give me a slight edge when things aren’t going together so smoothly when installing the resin pieces. Painting this sucker on the bottom will be a unique experience for me as I’m used to painting my exteriors with no landing gear installed. Judging by the fit of the fuselage halves together and the wing to fuselage joint I’d say it might be a slight bit easier of a kit than I’d originally thought. 
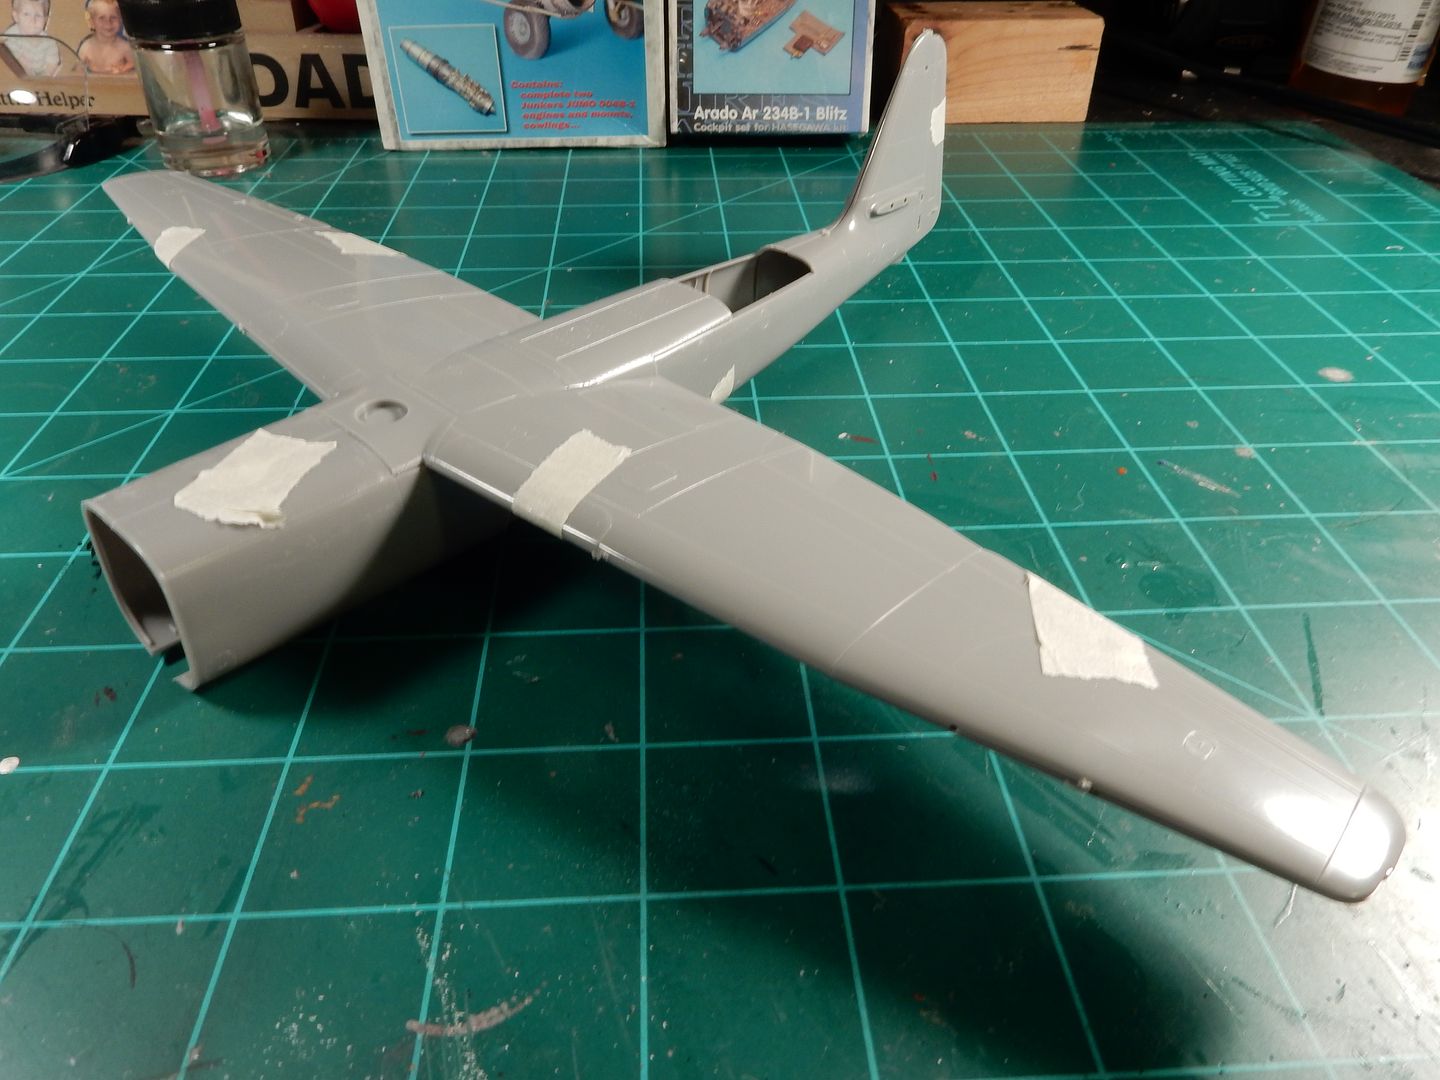
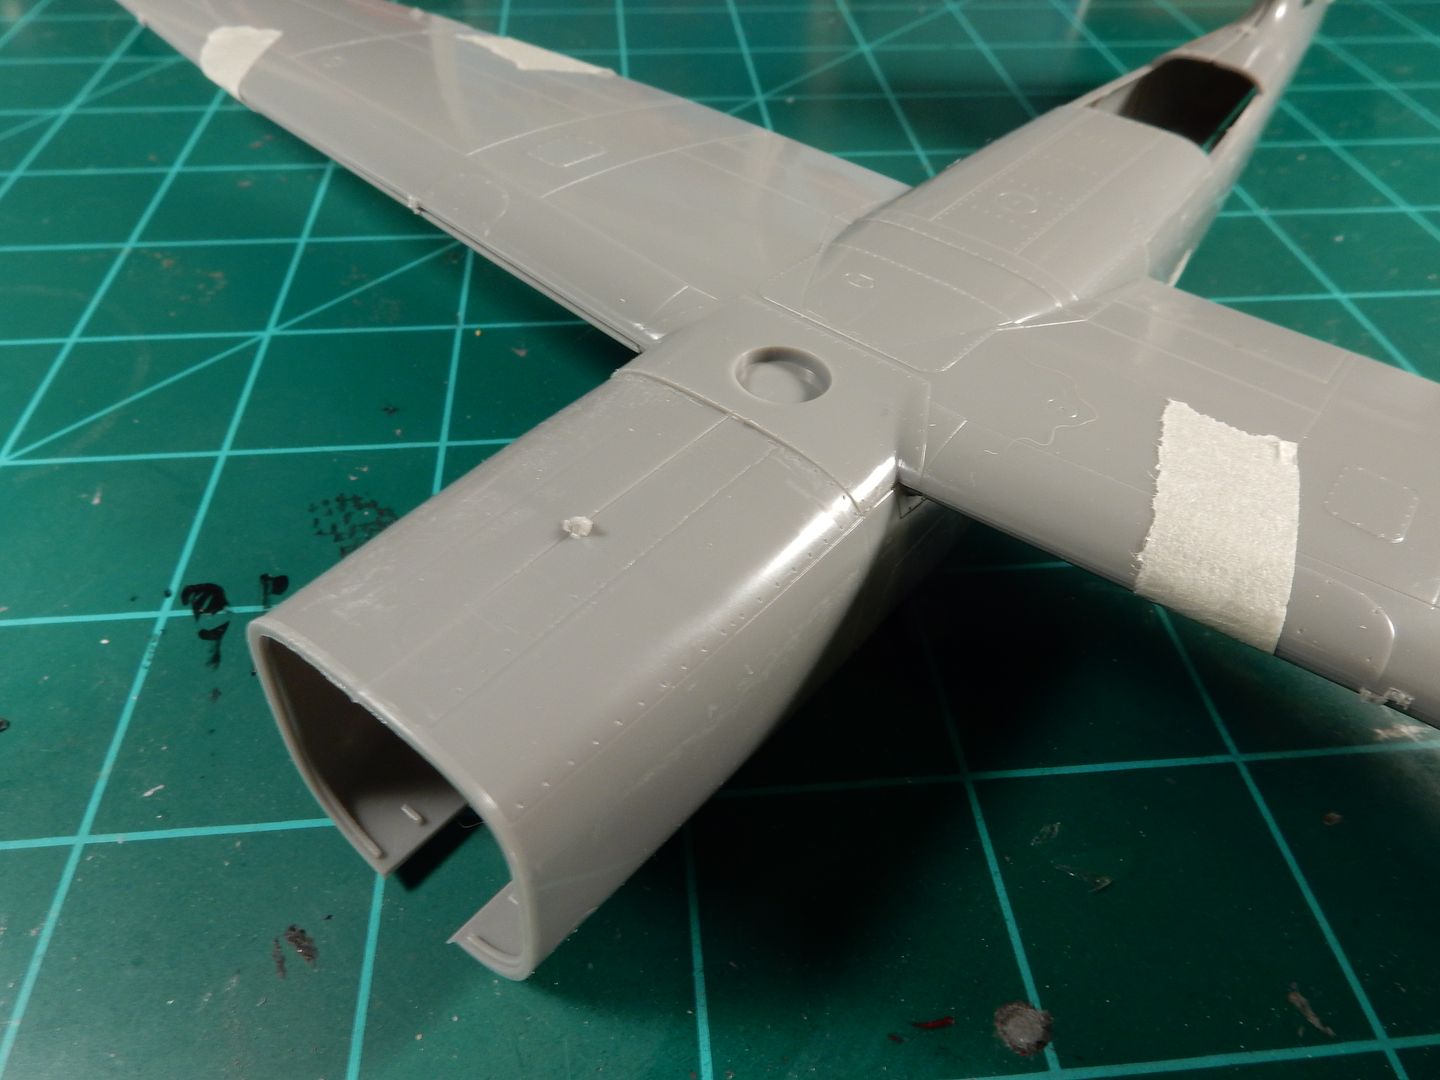
Everything fit good at the firewall/ fuselage joint. Will have to see how everything is going to behave with the glass installed ..........
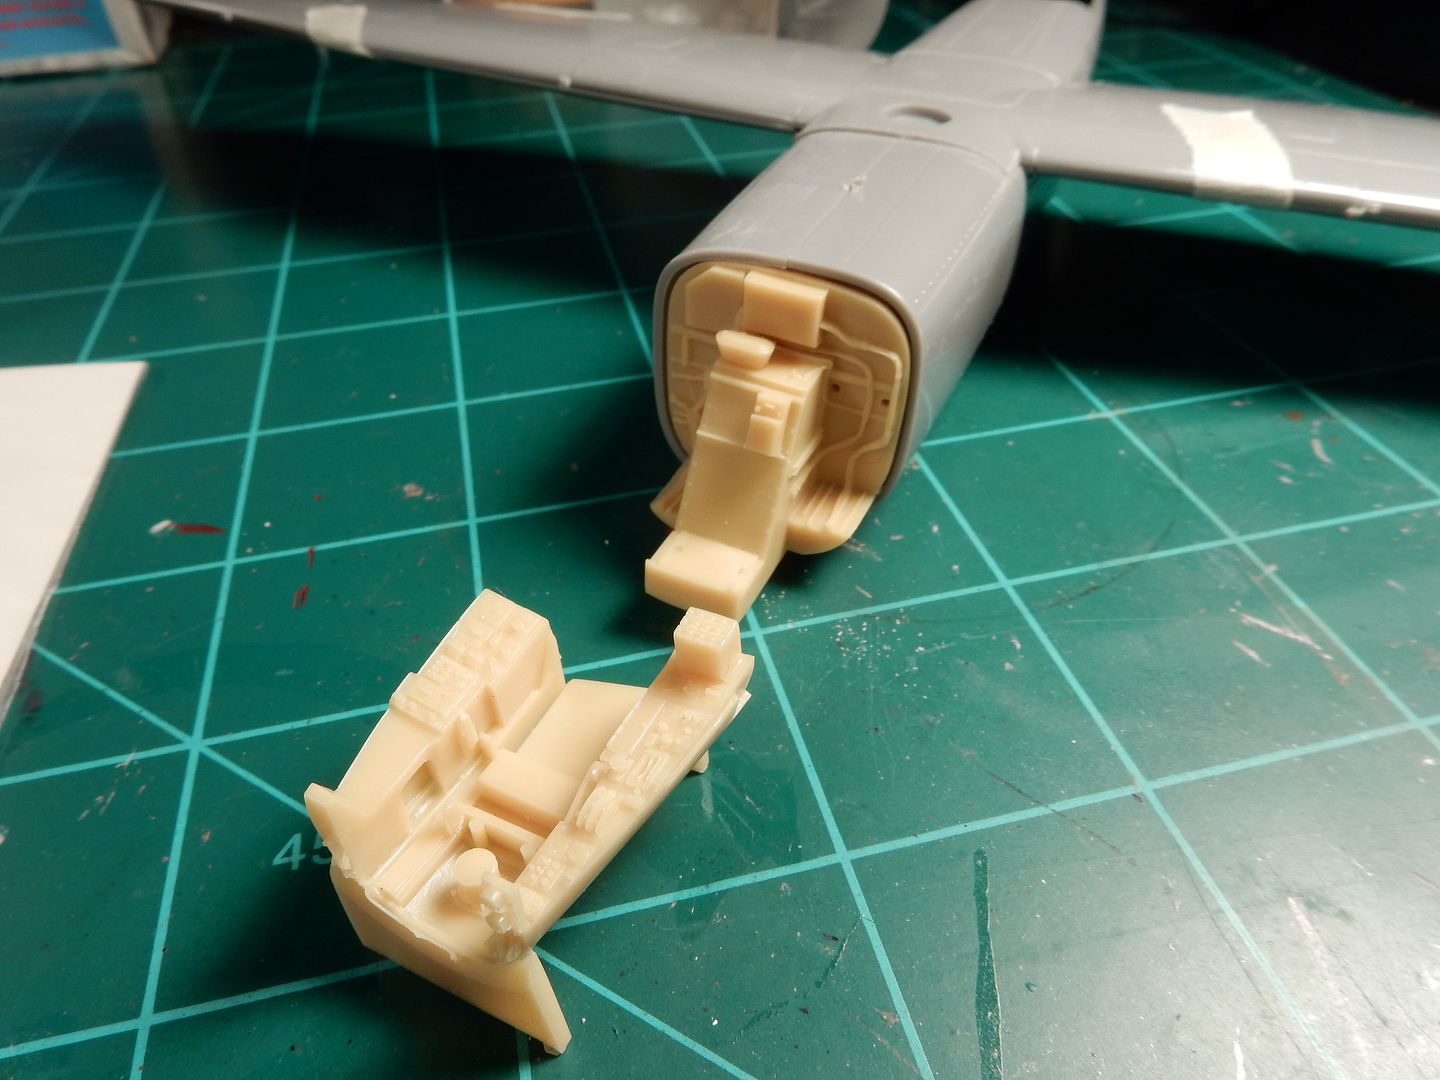
This is a fairly well complimented set and I'm looking forward to working with it:
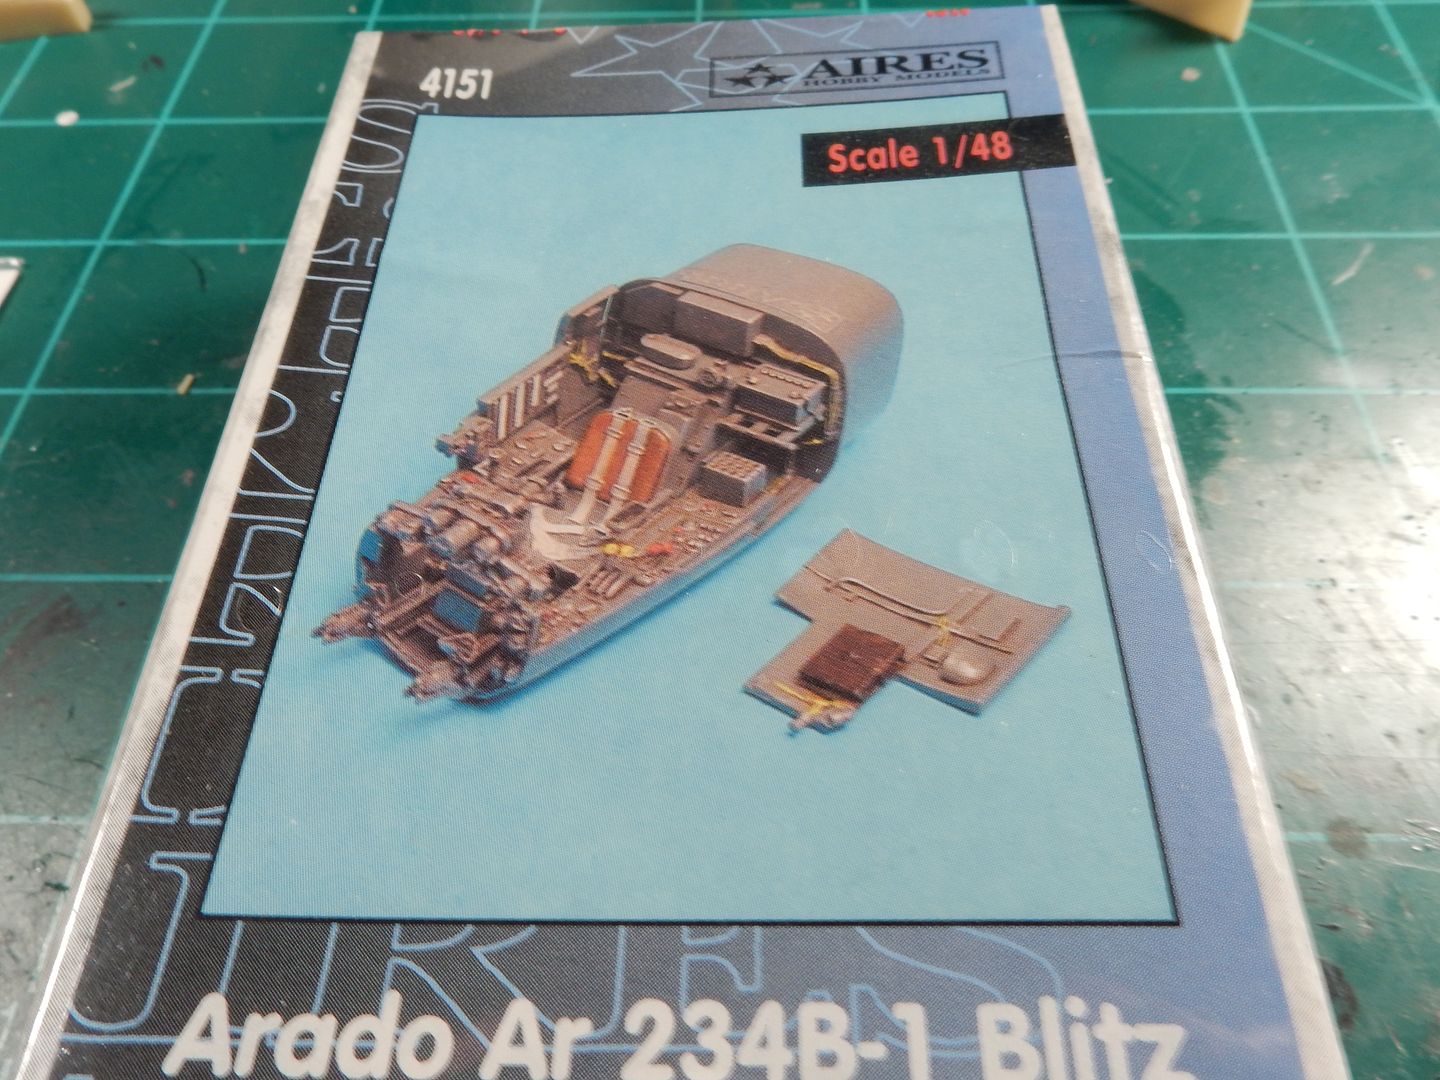
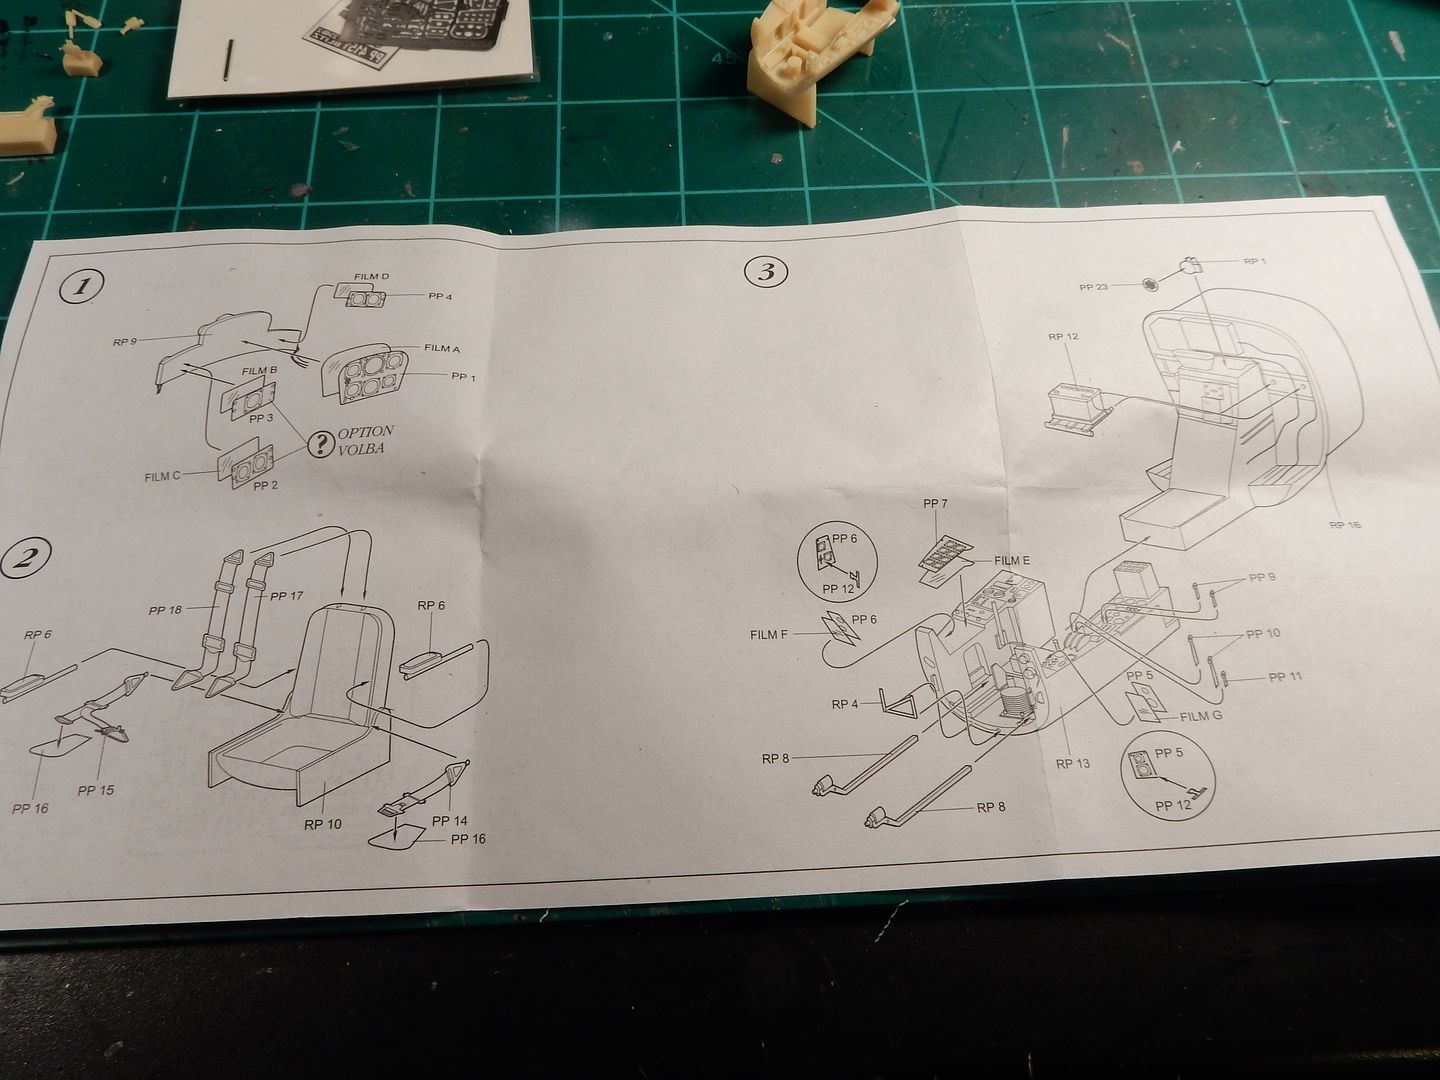
|
|
|
|
Post by coyotecrunch on Nov 19, 2016 7:17:54 GMT -7
Awesome - my first aviation learning build!!!!
popcorn popcorn popcorn 84 frantic
|
|
|
|
Post by mustang1989 on Nov 19, 2016 7:29:05 GMT -7
Wow! Let's just hope I can produce.  |
|
|
|
Post by mustang1989 on Nov 19, 2016 7:54:07 GMT -7
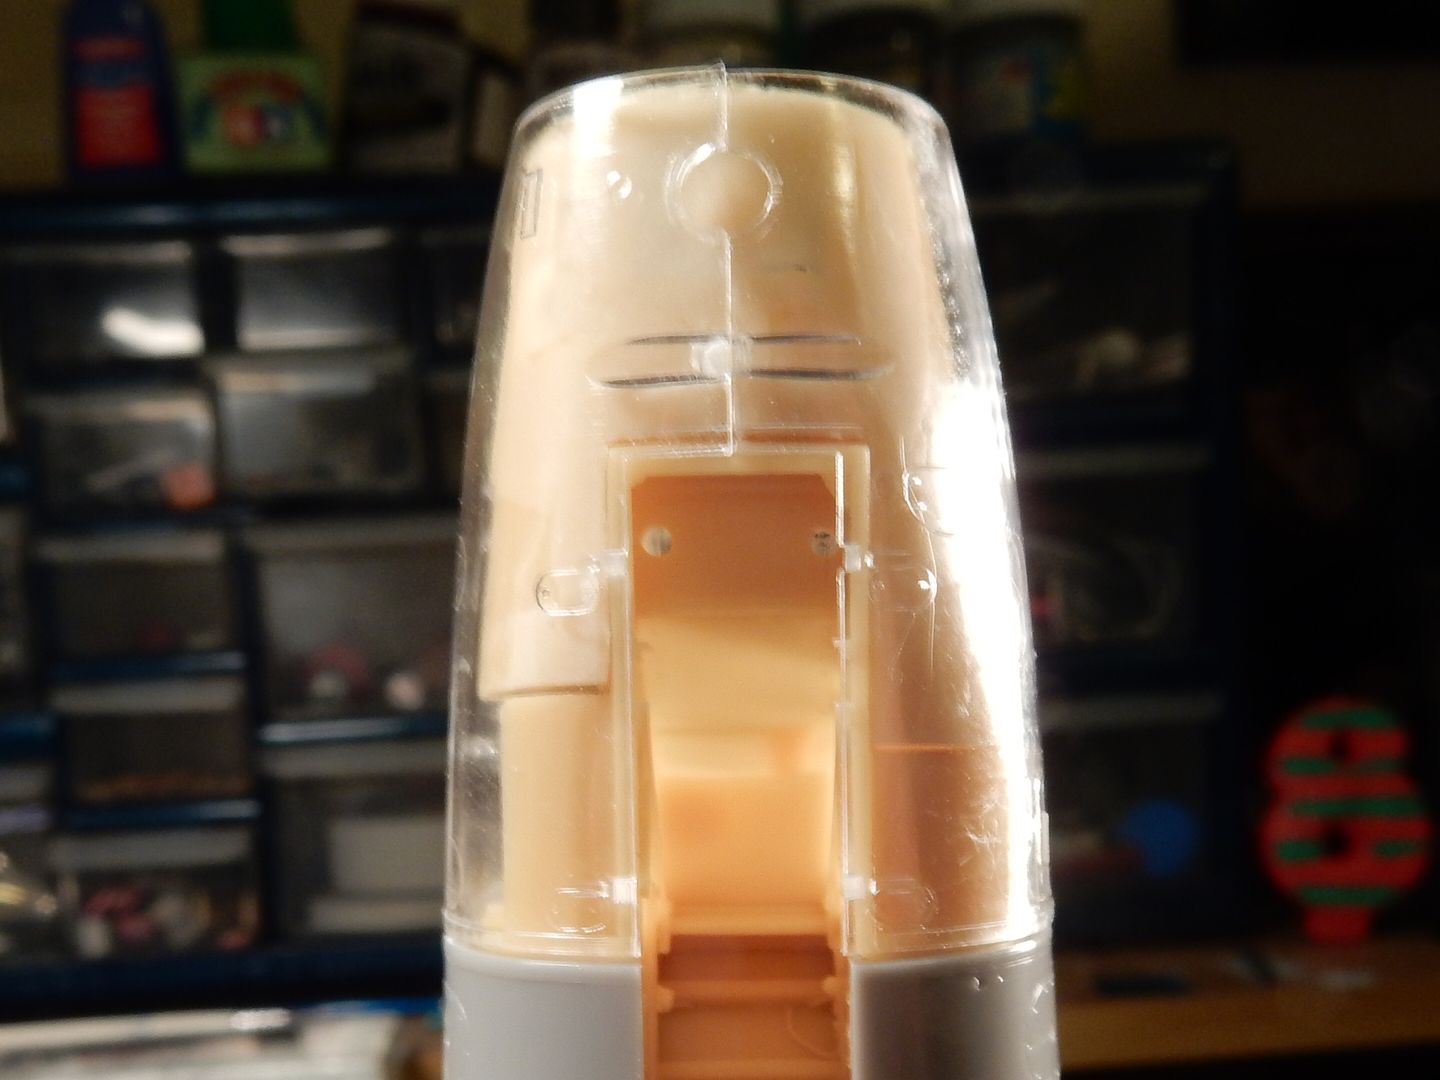
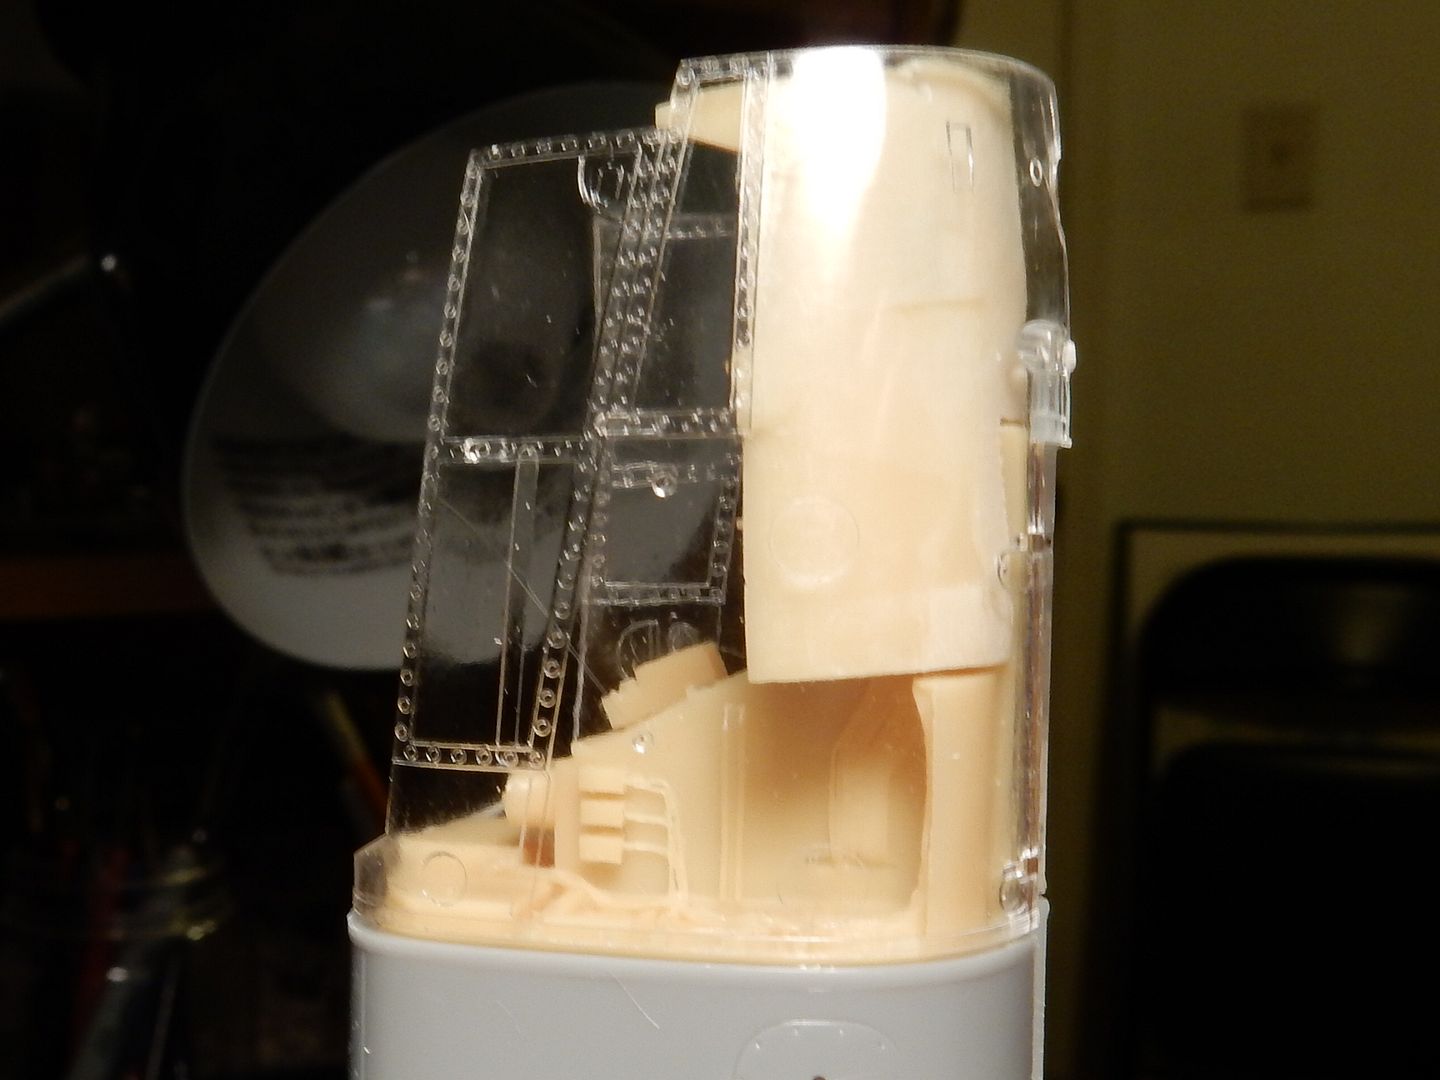
I've got the tub all trimmed up and the two pieces glued together. I had to sand a lot of material from the bottom to get it to fit right but so far so good. Here's a few shots with the clear nose piece test fitted. It looks like it's gonna be A-OK.

|
|
|
|
Post by mustang1989 on Nov 20, 2016 18:22:21 GMT -7
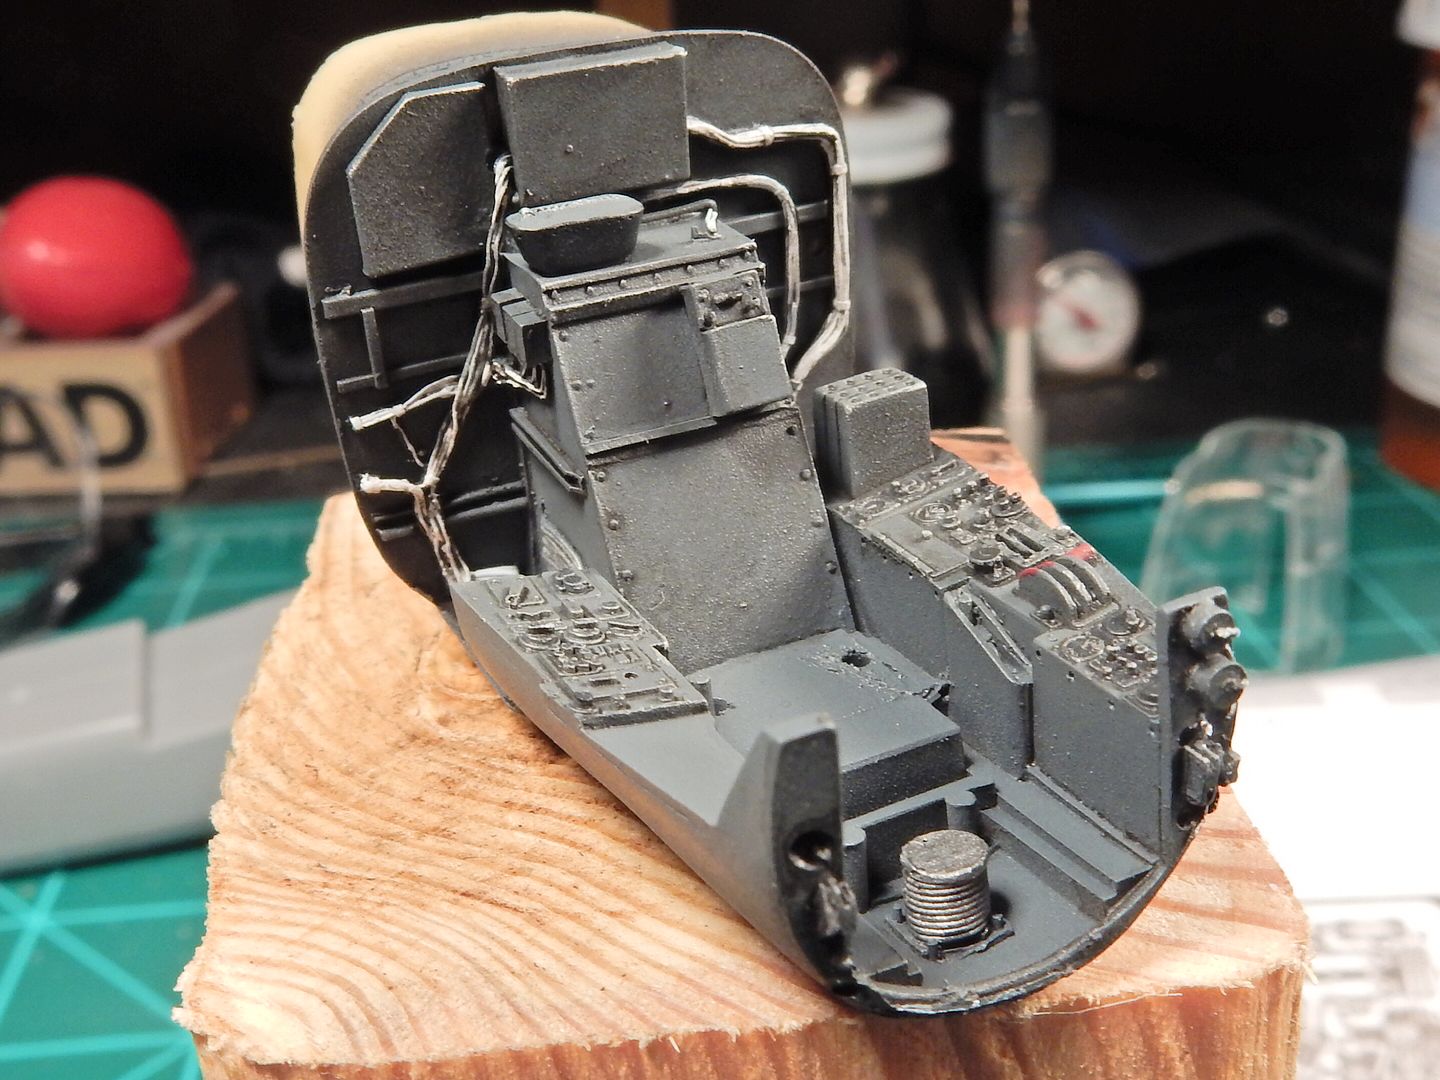
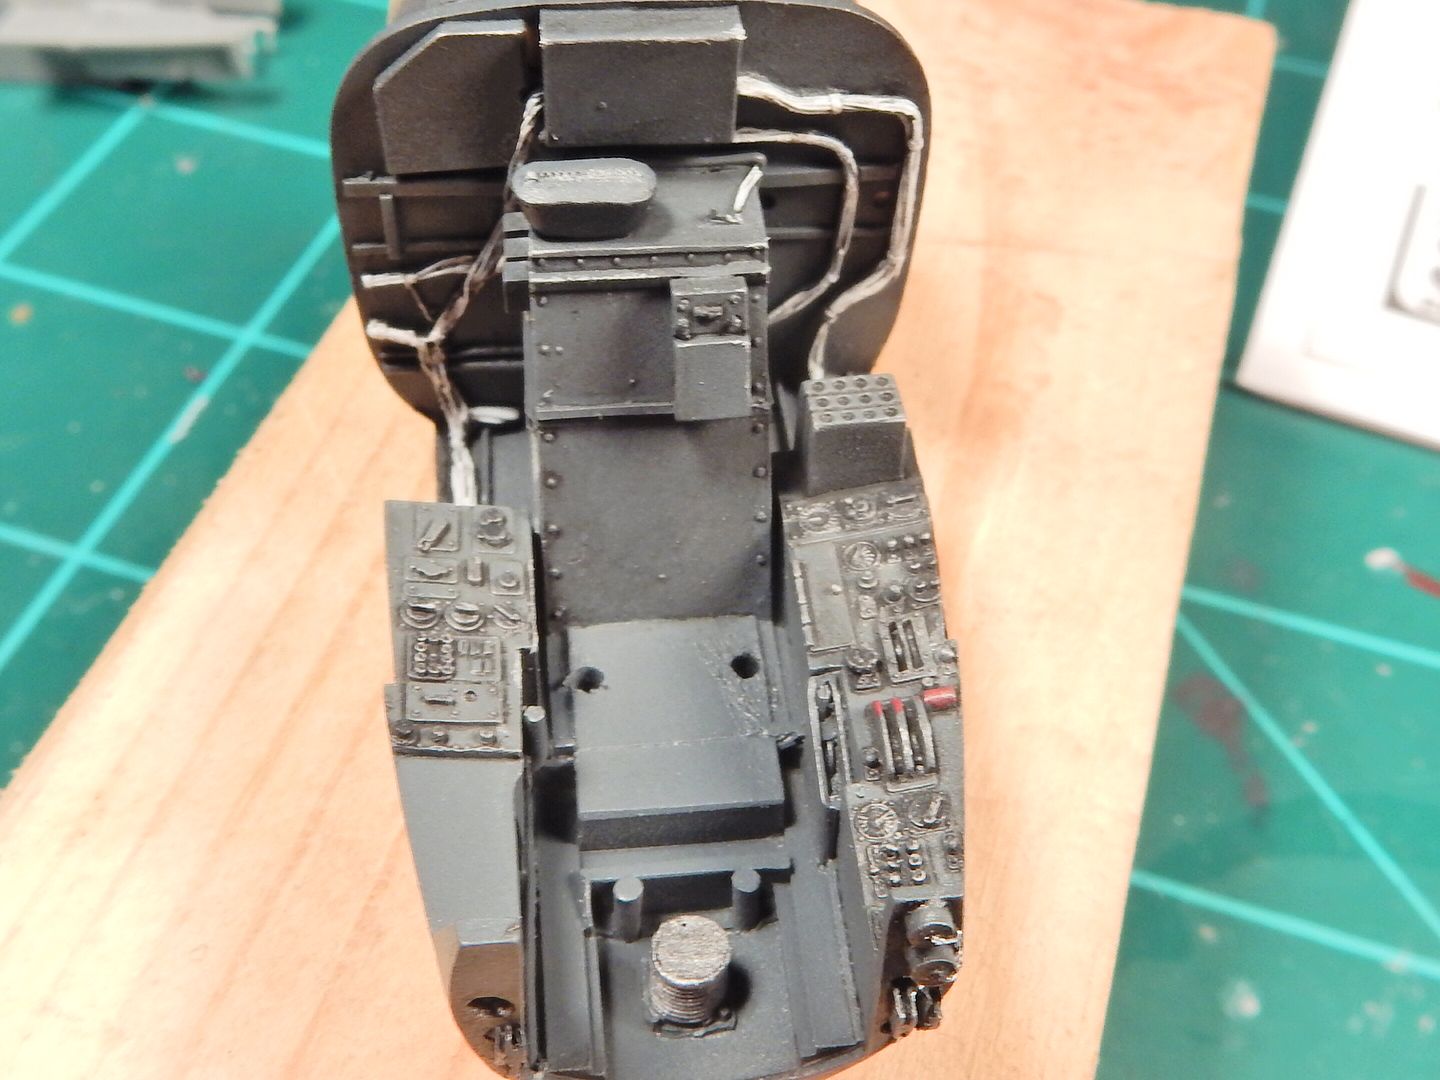
After test fit after test fit and a smooth black base primer I managed to shoot a base coat of RLM 66 enamel on and hit the highlights with a little acrylic RLM 66 with a drop of white in it on the high points. I set that aside to dry and then hit it with a coat of Tamiya Clear and allowed that to dry. I followed that up with a wash of MIG Productions dark wash lightened some so as not to be overbearing with it. After that dried under a lamp for a while I brought out all the details and dry brushed some silver over the corners and over some of the more frequently used controls through out the side consoles. I then went over everything with a coat of MM flat clear with a drop of grey in it to give the sun faded look. I still have to install the instruments at the R/H front console and at the upright panel at the front of the L/H console and then it'll be down to the PE details, resin pieces like the control yoke and seat with belts and then the main instrument panel. There's alot more stuff I didn't mention but the list is just too dang long. You get the picture though(no pun intended).
|
|
|
|
Post by Big D on Nov 20, 2016 18:45:54 GMT -7
I don't see how you can do this kind of detailing and stuff on 1/48th models Joe. I built a couple of 1/48th cars and an HO scale kit and I'm still cross eyed and grouchy.
|
|
|
|
Post by coyotecrunch on Nov 20, 2016 19:05:24 GMT -7
Holy Schnikeys man!!!!
cant-believe-my-eyes-smiley-emoticon
Awesome detailing for sure!!
|
|
|
|
Post by mustang1989 on Nov 20, 2016 19:27:21 GMT -7
Thanks fellas. More coming this week.
|
|
|
|
Post by mustang1989 on Nov 20, 2016 20:33:38 GMT -7
I don't see how you can do this kind of detailing and stuff on 1/48th models Joe. I built a couple of 1/48th cars and an HO scale kit and I'm still cross eyed and grouchy. Thanks Dennis. You kind of get used to it after a while. I practically live under a visor in "micro land" when I build up my favorite parts of a build which is usually the cockpits and engines. |
|
|
|
Post by Big D on Nov 20, 2016 20:48:40 GMT -7
Well it works for you, you do incredible work on both.
|
|
|
|
Post by mustang1989 on Nov 21, 2016 2:41:15 GMT -7
Well it works for you, you do incredible work on both. Thank you Dennis. I still aint where I want to be in modeling yet. One of these days I'd like to tackle some figures.
|
|
|
|
Post by kpnuts on Nov 21, 2016 3:20:55 GMT -7
Impressive work already
|
|
|
|
Post by stitchdup on Nov 21, 2016 4:03:18 GMT -7
Seeing the cockpit makes me wonder when you going to combine cars and planes in a build?
|
|
|
|
Post by mustang1989 on Nov 21, 2016 19:51:36 GMT -7
Thanks Les and Ken. Not quite yet on that aircraft/ auto combo there Les. lol
Here's a picture after I installed the seat and seat belts and a few other items:
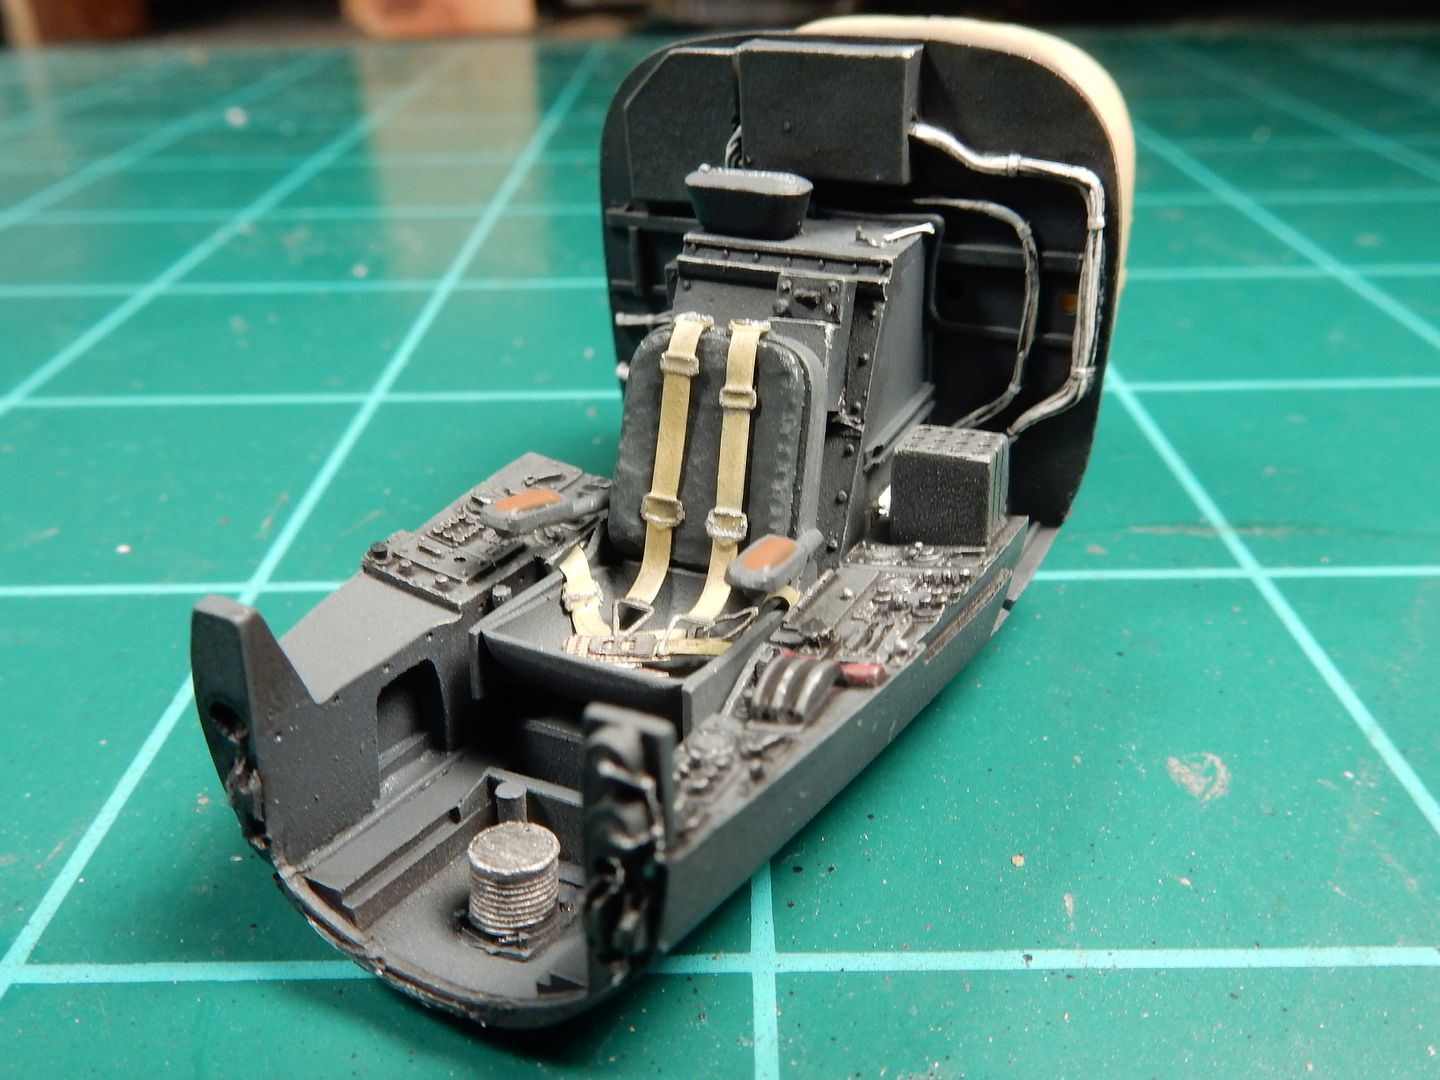
Still not done with the pit in this picture but I've got the bulk of the big stuff installed and the paint work weathered/ shaded for scale and shadow effect. I always black base my pits first, paint the base color and then I'll hit the high points with a slightly lighter shade and the shadowy areas are left with some of the black base bleeding through for the shadowed effect. I hit the corners and commonly handled areas like hand holds, control stick, high points on the flooring and such with ever so slight dry brushing with silver paint and for the lighter worn areas I use the sides of a silver lead pencil along the edges and corners. All of these small effects add up to a fairly realistic look.
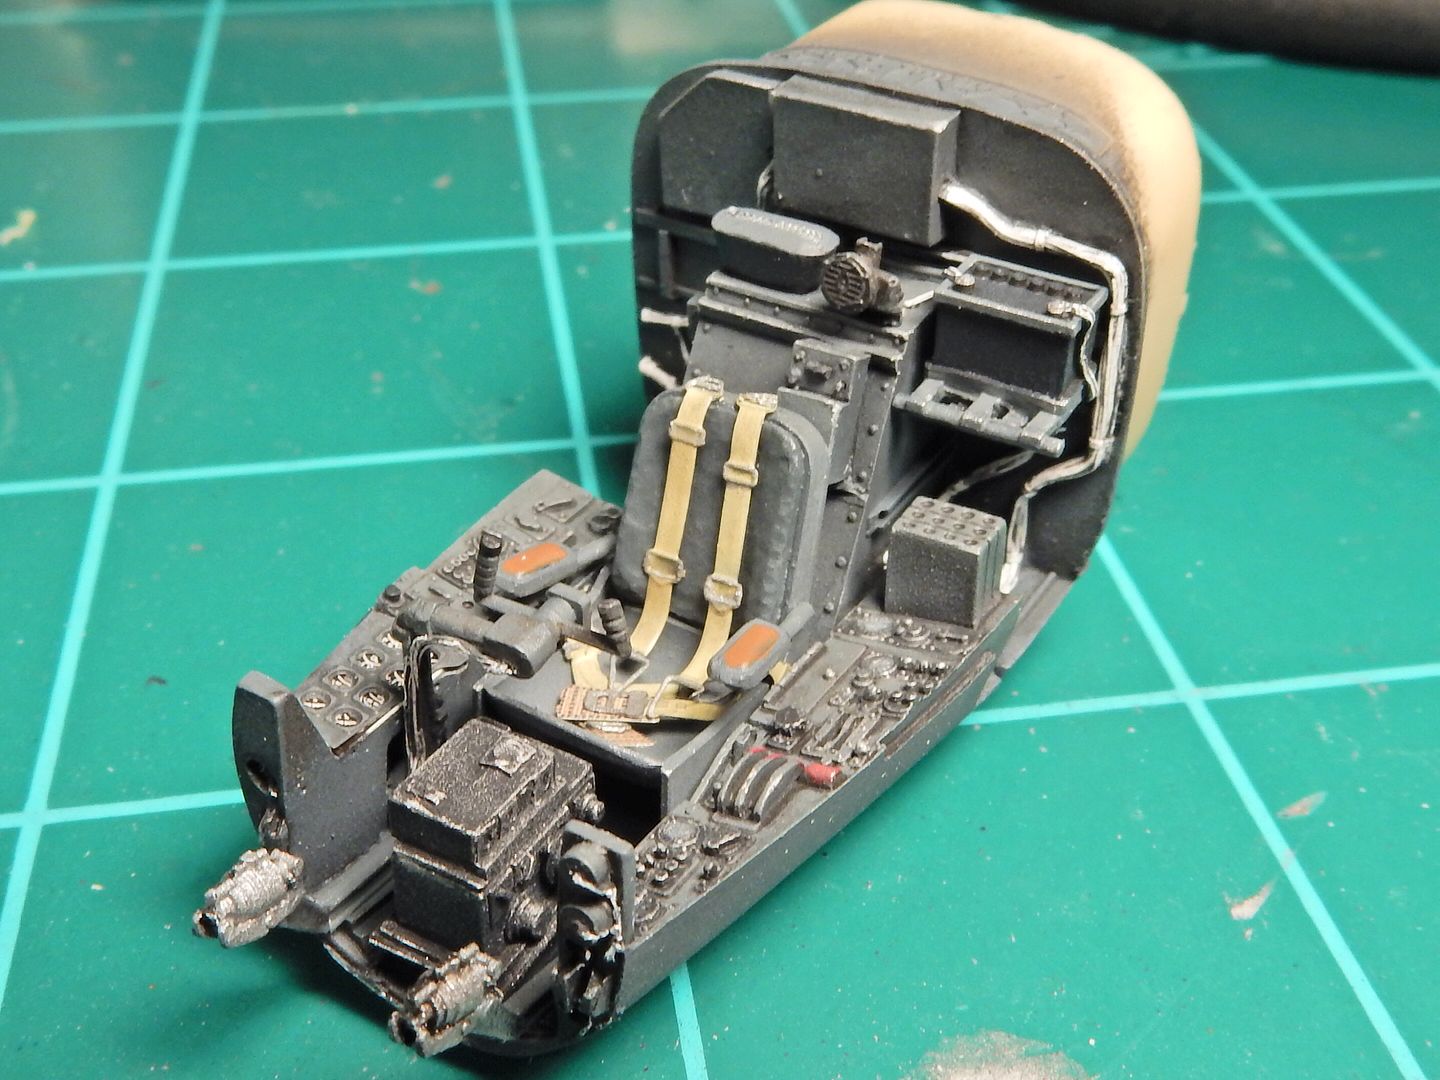
There's still more pit work on the way............................. |
|
|
|
Post by kpnuts on Nov 21, 2016 23:34:56 GMT -7
You can say that again, fairly realistic, don't you mean ultra realistic, incredible. praising-the-lord-smiley-emoticon praising-the-lord-smiley-emoticon and I don't use emoticons.
|
|
|
|
Post by mustang1989 on Nov 22, 2016 2:48:10 GMT -7
Thanks a lot Ken. I appreciate that.
|
|
|
|
Post by mustang1989 on Nov 23, 2016 4:00:14 GMT -7
I managed to finish the cock pit tub and am now working on the side panels. After that I'll be working on the glass enclosure, which is a real PIA on this kit. Plumbing at the front of the rudder pedals are field coil wire from a fuel pump relay that I've got in my tool box in the garage. Any ways, here's the completed tub:
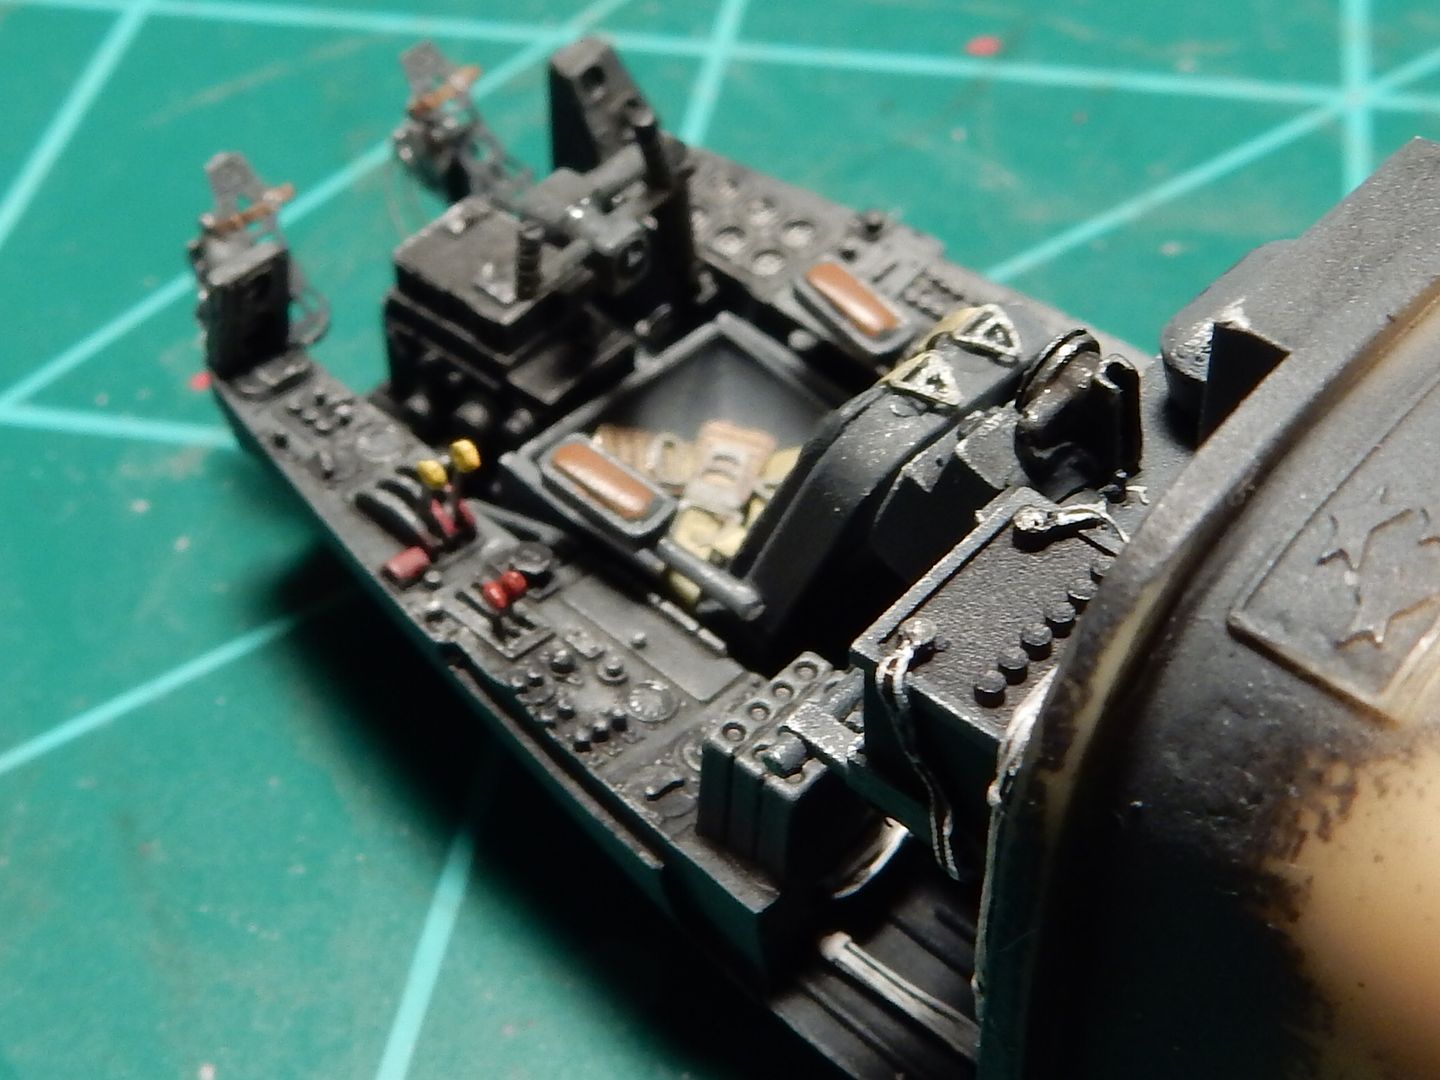
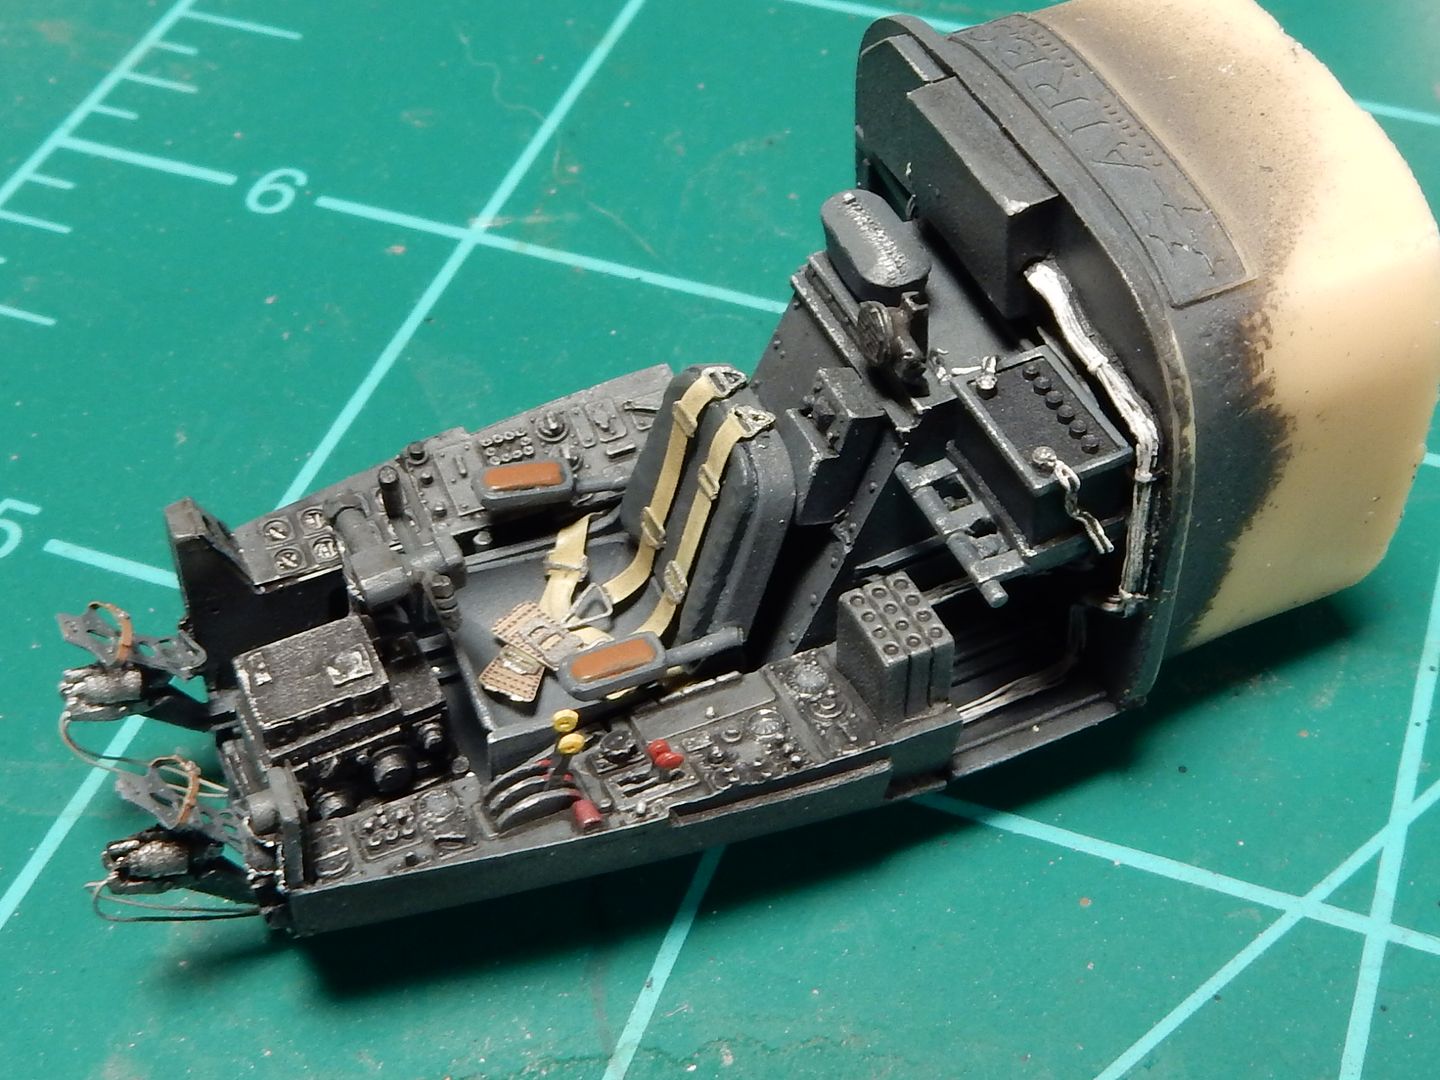
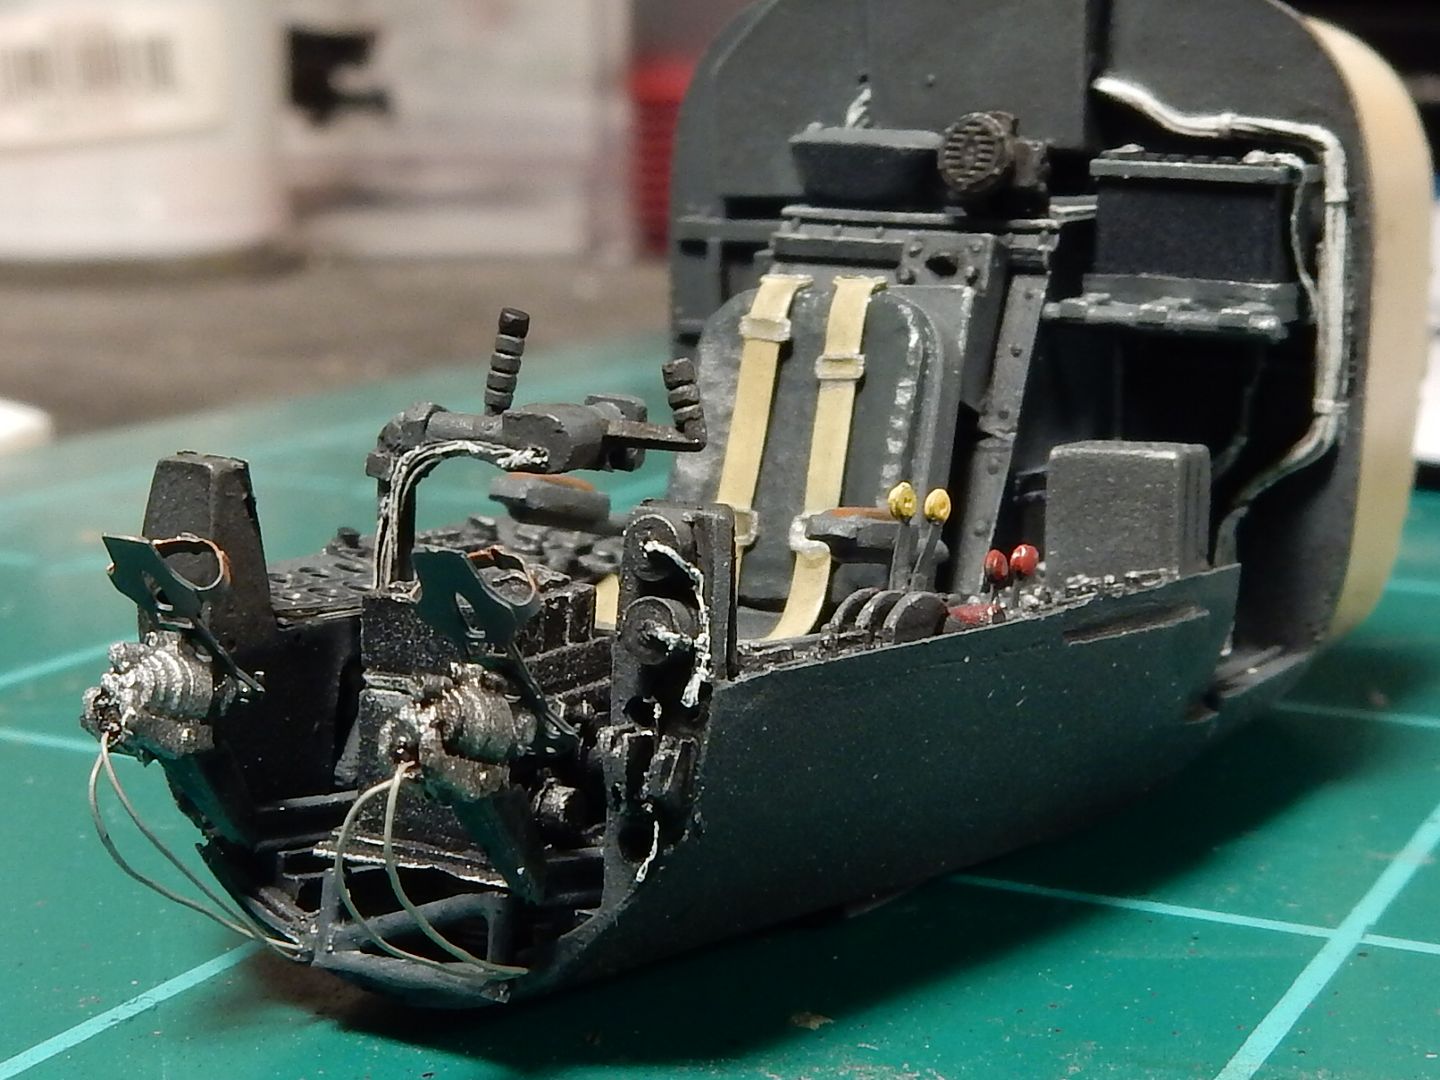
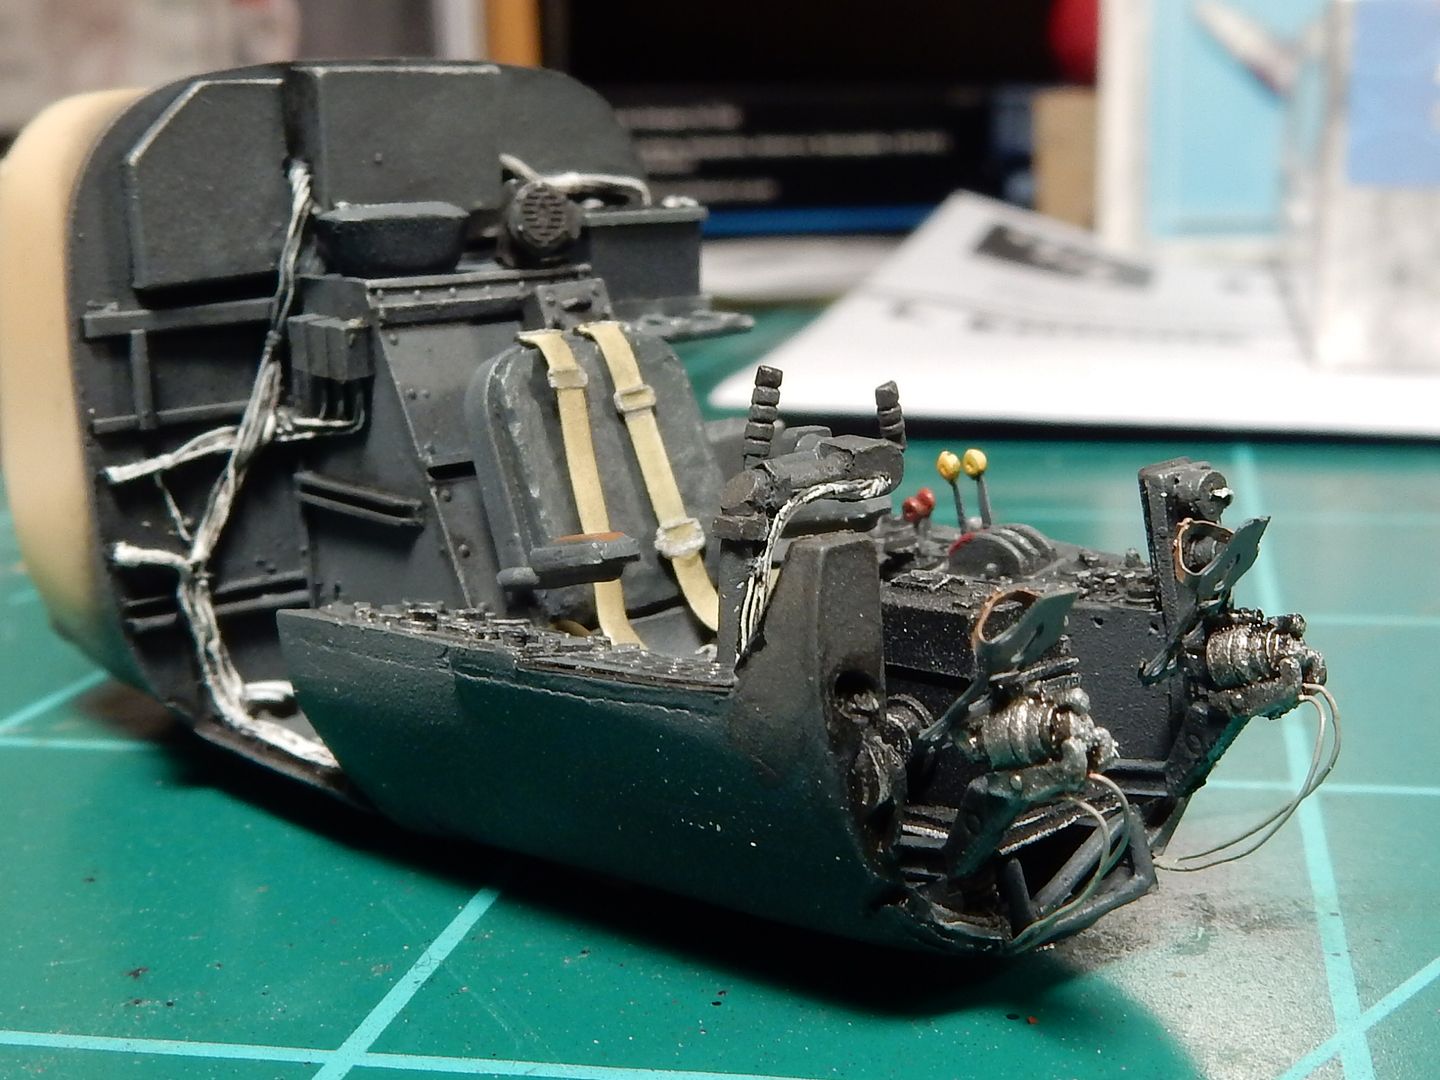
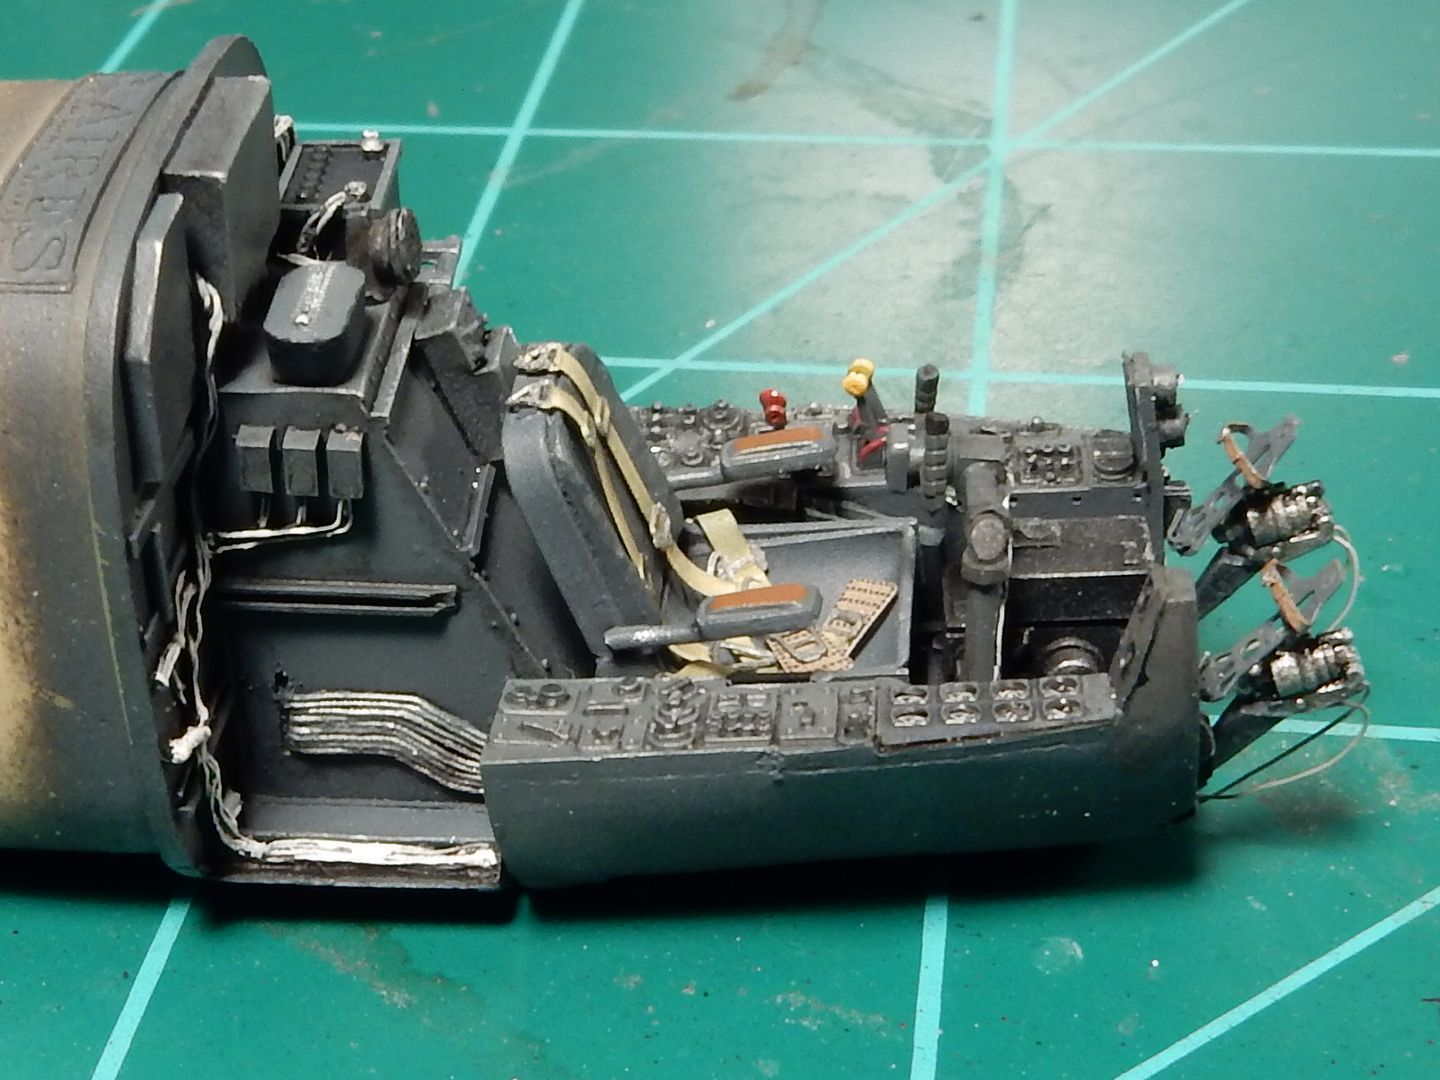
|
|
|
|
Post by stitchdup on Nov 23, 2016 7:14:33 GMT -7
You sure you aren't just taking pics at the airplane graveyard as they chop them up?
|
|
|
|
Post by mustang1989 on Nov 23, 2016 8:27:02 GMT -7
LOL! Now that's funny right there! Thanks Les.  |
|
|
|
Post by kpnuts on Nov 23, 2016 8:32:37 GMT -7
Truly master workmanship there my friend.
|
|
|
|
Post by mustang1989 on Nov 23, 2016 10:45:11 GMT -7
Thanks Ken. Visual progress will slow down, or it will at least appear that way, while I make my way through all the cutting and prep work that'll be needed for seam filling, rivet replacement and panel line rescribing after all the sanding and all I'll be doing to make this one look half decent. There also be plenty of cutting, sanding and drilling to make way for the opened up Junkers Jumo 004 engine on the port side.  |
|
|
|
Post by 70cudatj on Nov 24, 2016 4:30:48 GMT -7
Wow .... nice work two-thumbs-up-smiley-emoticon
|
|
|
|
Post by mustang1989 on Nov 24, 2016 7:46:49 GMT -7
Wow .... nice work two-thumbs-up-smiley-emoticon Thank you Tim.  |
|
|
|
Post by mustang1989 on Nov 28, 2016 5:18:31 GMT -7
If you ask anybody closely associated with me in the modeling realm about my thoughts on landing gear, they'll tell you that I cannot stand this part of an aircraft build. To me it's the one thing that can absolutely make or break an aircraft build outside of a really obvious flaw or wing dihedral especially when it comes to shows. I judged aircraft at the last show I went to back in February and it was the one area of the build that was the deciding factor in a lot of the aircraft that were candidates for an award. Outside of the show and award realm, it's really irritating to spend a lot of time and put all kinds of work into a build only to see it either lean because the gear wasn't set up right or to see two landing gear legs that are waaay off in angles. I've got an Fw190 A8 build that I had such an experience with. It still sits in my display cabinet but has the flaw of incorrectly angled gear. I put all that time into the build and neglected to get the angles right and it really shows when it sits right next to my Fw190 D-9. So I get really nervous during this part of construction. This build is no exception to that rule and is IMO a lot harder to get the angles right because the gear has to be assembled in separate pods and then inserted into the fuselage as the halves are joined which is one aspect of this kit that REALLY sucks. I think I've got it though after a lot of time aligning and making sure everything was just "so-so". I didn't care for the RLM 02 that turned to more of a 66 after my shadowing attempts though, I can tell ya that!! 
Today's progress:
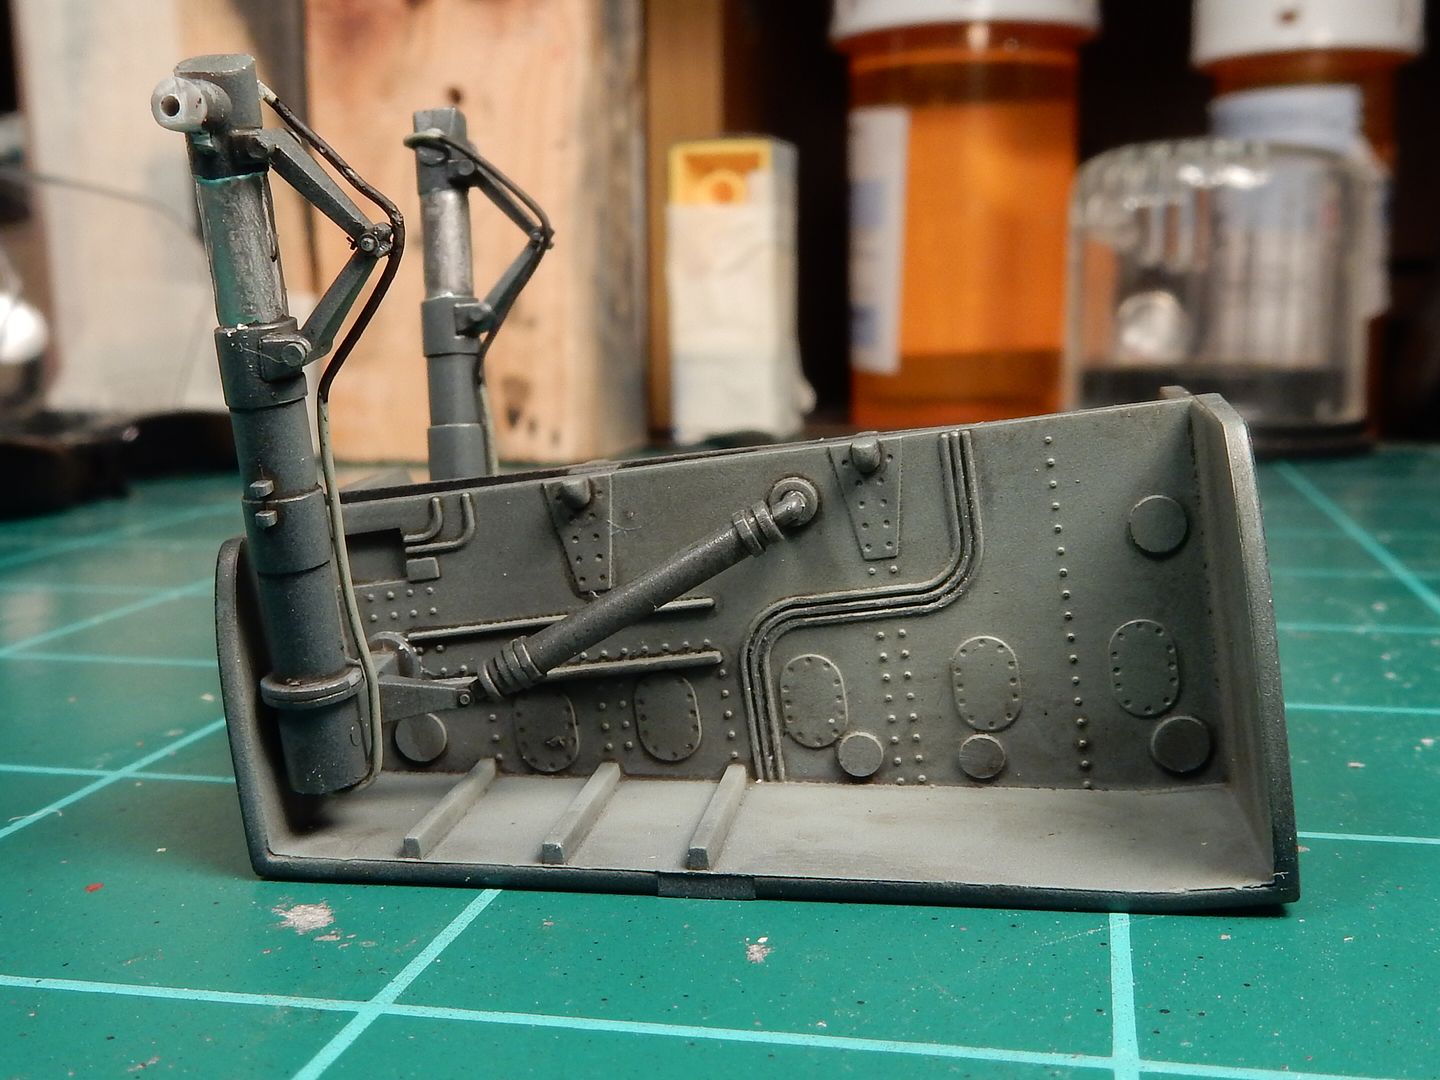
|
|
|
|
Post by kpnuts on Nov 28, 2016 14:41:18 GMT -7
And you talk to me about detail work, I slap my ships together. You da man, not me
|
|
|
|
Post by mustang1989 on Nov 28, 2016 14:48:23 GMT -7
And you talk to me about detail work, I slap my ships together. You da man, not me LOL! No no no! YOU da man! lol |
|
|
|
Post by mustang1989 on Nov 29, 2016 14:04:52 GMT -7
I got the fuselage together and the camera upper and lower fuselage clear panels glued into place. This weeks progress so far has seen the installation of the wings. The body work is immense but nothing compared to what I'm going through with my VW Bus at this point. Posted below is the progress so far with the problematic seams noted in red. Lots of filling and sanding in all four areas.......

|
|
|
|
Post by kpnuts on Nov 29, 2016 14:44:03 GMT -7
Looks good to me, you're just a perfectionist.
|
|
|
|
Post by mustang1989 on Nov 29, 2016 15:03:15 GMT -7
Looks good to me, you're just a perfectionist. Thanks good buddy Ken. A perfectionist . LOL.... I think.... NOT. |
|