|
|
Post by mustang1989 on Dec 6, 2016 14:26:32 GMT -7
Thanks a lot guys. I've got lots of reference on this bad boy so I'll be doing the detail painting starting on Thursday. LOTS more detail parts going on this thing in the way of more resin and PE parts yet to come....................
|
|
|
|
Post by kpnuts on Dec 6, 2016 14:31:54 GMT -7
Awesome in its awesomeness
|
|
|
|
Post by mustang1989 on Dec 7, 2016 8:29:33 GMT -7
Awesome in its awesomeness Thanks Ken. I didn't get to work on her today as my wife and I are in San Antonio for her MRI. Seeing the doctor in two hours now to see if she can come off of some of her meds. |
|
|
|
Post by mustang1989 on Dec 7, 2016 20:15:11 GMT -7
We're back from San Antonio all safe and sound and my wife got a good report. BTW.....I can't remember telling anybody here, she suffered from a ruptured brain aneurysm back in February of this year. Thanks be to God for putting me right in front of her when it all happened. You wanna talk about a icon_quotes_zpsonvimlps Come To Jesus Moment icon_quotes_zpsonvimlps !!! She survived it all after a coiling procedure to stop the bleeding in her brain and after two weeks in the Neuro ICU and two more weeks in physical therapy learning how to walk again. She's about 90-95% recovered and has some slight speech problems and tires very easy. Life has changed since it all happened but we really couldn't have it any better around here as she is alive and well and we are all very thankful for that. We'll go back to SA sometime within the month it looks like at this point to have an angiogram so we can see if all the coils are still holding good.
Tomorrow's a new day.......and we'll be back on the Jumo 004 some more......... |
|
|
|
Post by kpnuts on Dec 7, 2016 23:33:33 GMT -7
Congrats on the outcome,I know what your saying my missus had a bad fall and could have been paralysed to say the least but she also is about 90% right now and on the way to 100, hope things continue to improve for you.
|
|
|
|
Post by mustang1989 on Dec 8, 2016 2:50:20 GMT -7
Congrats on the outcome,I know what your saying my missus had a bad fall and could have been paralysed to say the least but she also is about 90% right now and on the way to 100, hope things continue to improve for you. You know Ken I do remember about your wife. You were saying something about that over at Britmodeler I believe.... Wasn't it in your building a bug/beetle for my wife or a thread like that? Will pray for her continued recovery and thank you for your thoughts and comments coming back this way for my wife.  |
|
|
|
Post by coyotecrunch on Dec 8, 2016 7:29:37 GMT -7
Really good to hear the good news Joe - now build her something, would ya!
|
|
|
|
Post by mustang1989 on Dec 8, 2016 7:30:35 GMT -7
I started detailing the Jumo 004 engine this morning and am learning ALOT about this engine. You see, this engine was not only used in this aircraft but also the famous Me-262 as well. And I do have plans on building one of these as I have one of these in the stash.....
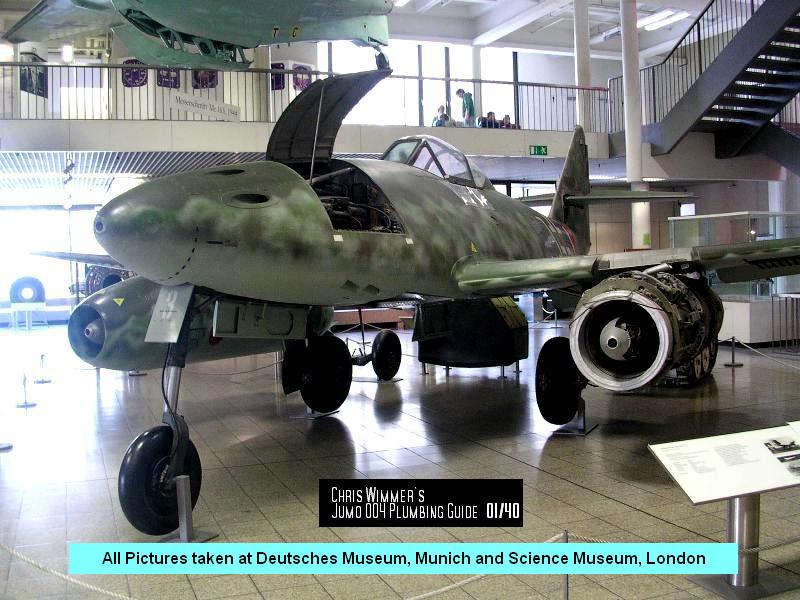
and my kit.....coming to a WIP near you............(BTW I'll be opening the engine area up on this one too.)
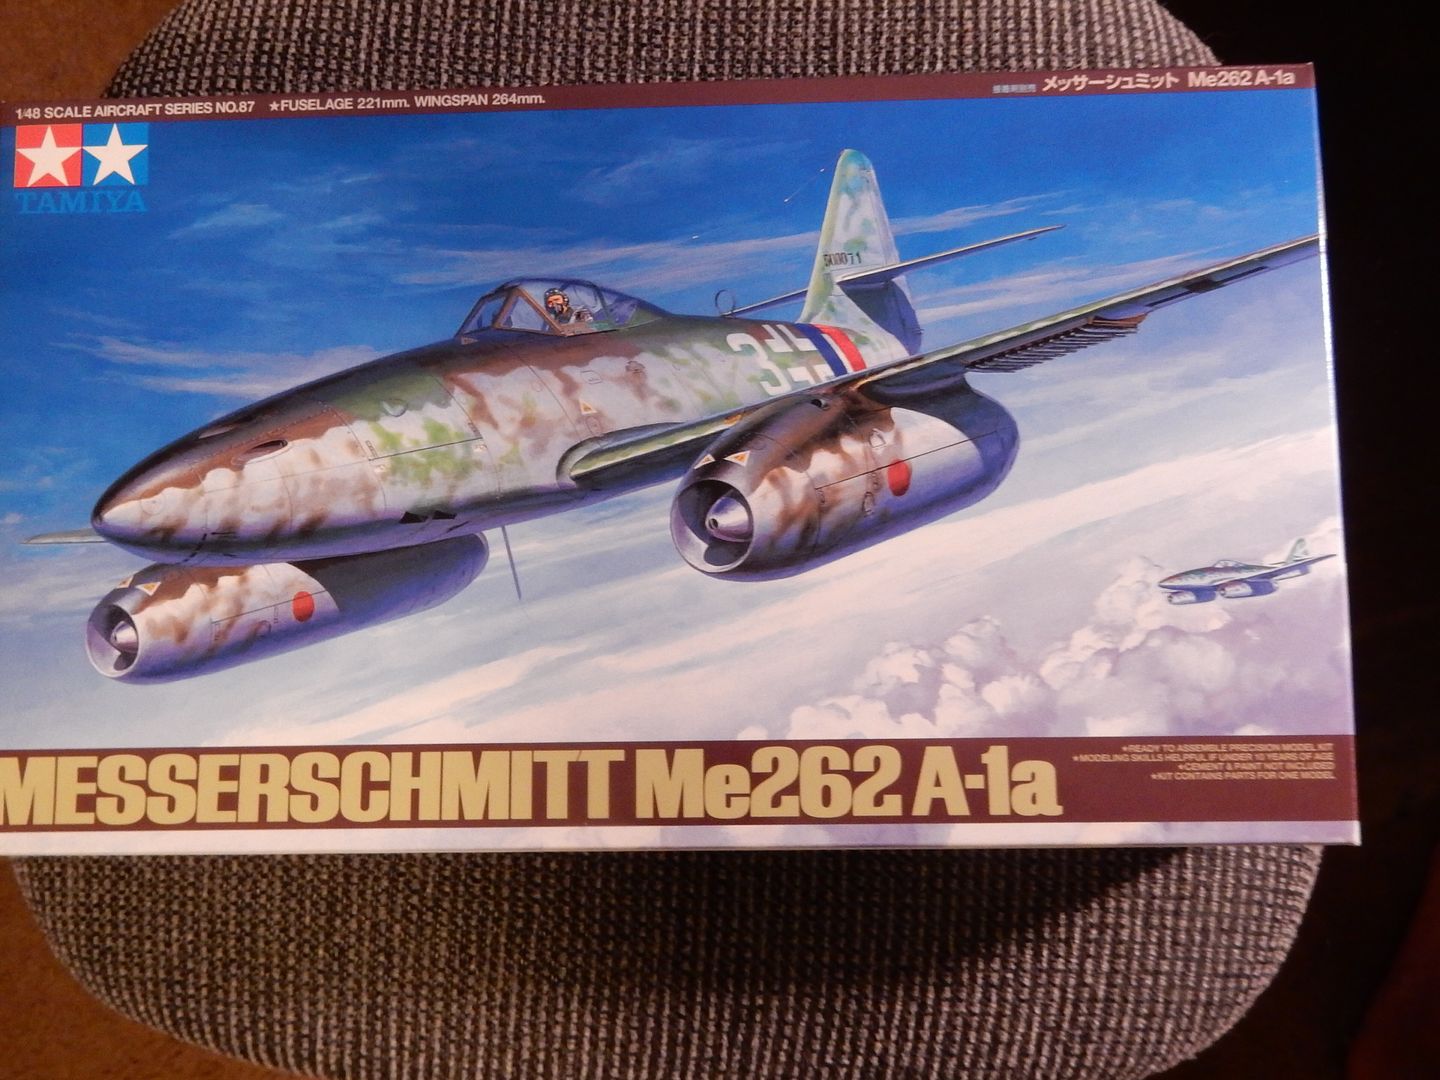
Here's a reference shot on the area of the engine I was working on this morning. You cannot but help to learn something about this masterpiece of an engine through this website.
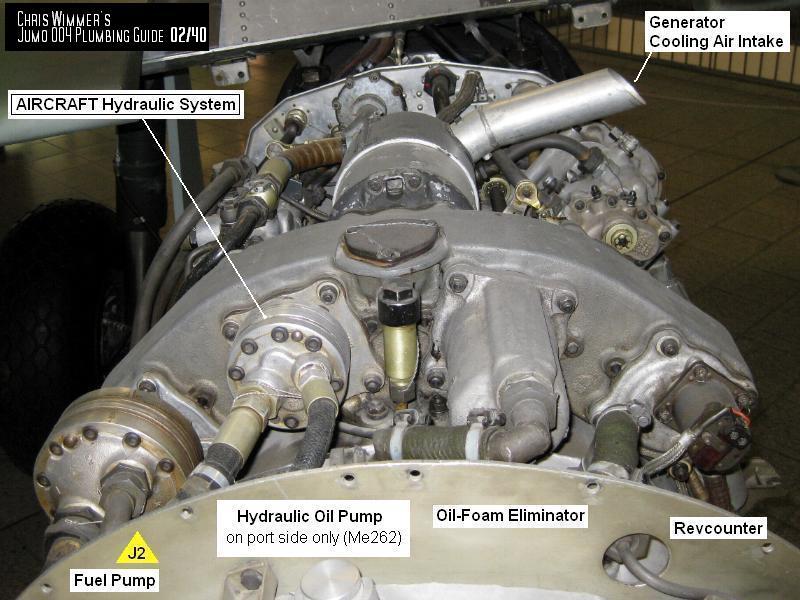
|
|
|
|
Post by stitchdup on Dec 8, 2016 7:56:09 GMT -7
Is it just me or does that plane look like a tiger shark with wings?
|
|
|
|
Post by mustang1989 on Dec 8, 2016 8:00:29 GMT -7
Is it just me or does that plane look like a tiger shark with wings? I know right? The thing looks pure evil. |
|
|
|
Post by kpnuts on Dec 8, 2016 14:31:31 GMT -7
It certainly does, thanks for the comment Joe, my prayerson go to your missus.
|
|
|
|
Post by mustang1989 on Dec 9, 2016 5:24:55 GMT -7
Thanks Ken.  |
|
|
|
Post by mustang1989 on Jan 22, 2019 13:12:02 GMT -7
I've been eyeballing this one to re-start on after my current Silverado build. Been wanting to build a plane again and this one's been at front and center since the day I put it up a few years ago.
|
|
|
|
Post by mustang1989 on Mar 8, 2019 20:03:40 GMT -7
Well......after a couple and a half years here we are where I left off. I had installed the engine mount bosses and had test fitted the engine only to find that the engine was not centered in the engine nacelle. WOW!! 
It was at that point that I had totally lost heart in the build. However …………..today I picked it back up and it came so easily to me. I cut off the locating pins that protruded out of the wing for the engine (getting those in there in the first place AFTER I had assembled the wing was a true nightmare BTW as they were supposed to be mounted in place from the back side before the wing halves were assembled. It took great pains to install those locating pins after the wings were assembled. Hindsight is a true beeeeyatch) . Cutting them off 2+ years after installing them wasn't near as painful as it would've been back then. I simply drilled new holes and made new locating pins out of cut off bobby pins to move the engine to the right a smidgen. Here we are now with the engine test fitted with it centered in the nacelle. Somebody break out tha friggin BEER!! There's gonna be a dang party!!!!

|
|
|
|
Post by leon on Mar 9, 2019 5:16:32 GMT -7
Nice work there Joe!
|
|
|
|
Post by mustang1989 on Mar 10, 2019 19:55:48 GMT -7
Thanks Leon. Still finishing up with the 454 SS so most of my time and energy is going to that. More progress coming on this one soon...... |
|
|
|
Post by mmthrax on Mar 11, 2019 8:02:24 GMT -7
This looks intense. Plenty of detail to keep you busy Joe.
|
|
|
|
Post by mustang1989 on Mar 11, 2019 9:39:19 GMT -7
This looks intense. Plenty of detail to keep you busy Joe. Thanks Mark. You should go back to Page 2.....it already has been keeping me busy. lol |
|
|
|
Post by mmthrax on Mar 11, 2019 9:40:41 GMT -7
Yeah, that's what I mean. It doesn't look like it's letting up anytime soon.  |
|
|
|
Post by mustang1989 on Mar 11, 2019 9:43:37 GMT -7
Yeah, that's what I mean. It doesn't look like it's letting up anytime soon.  LOL! That engine is really going to be a test of my fine motor as well as patience skills but I'll be able to set that aside for a little while so I can concentrate on the overall paint job and weathering work. |
|
|
|
Post by mustang1989 on Mar 12, 2019 14:46:53 GMT -7
Feels different switching back to aircraft. I had adapted the pinning method to autos when attaching the side rear view mirrors. Rule #1 in auto modeling--NEVER mount side rearview mirrors directly onto the car body without pinning. You're just begging for a blemished paint job and the mirrors falling off later. Just drill a hole just large enough for the pin, test fit..... 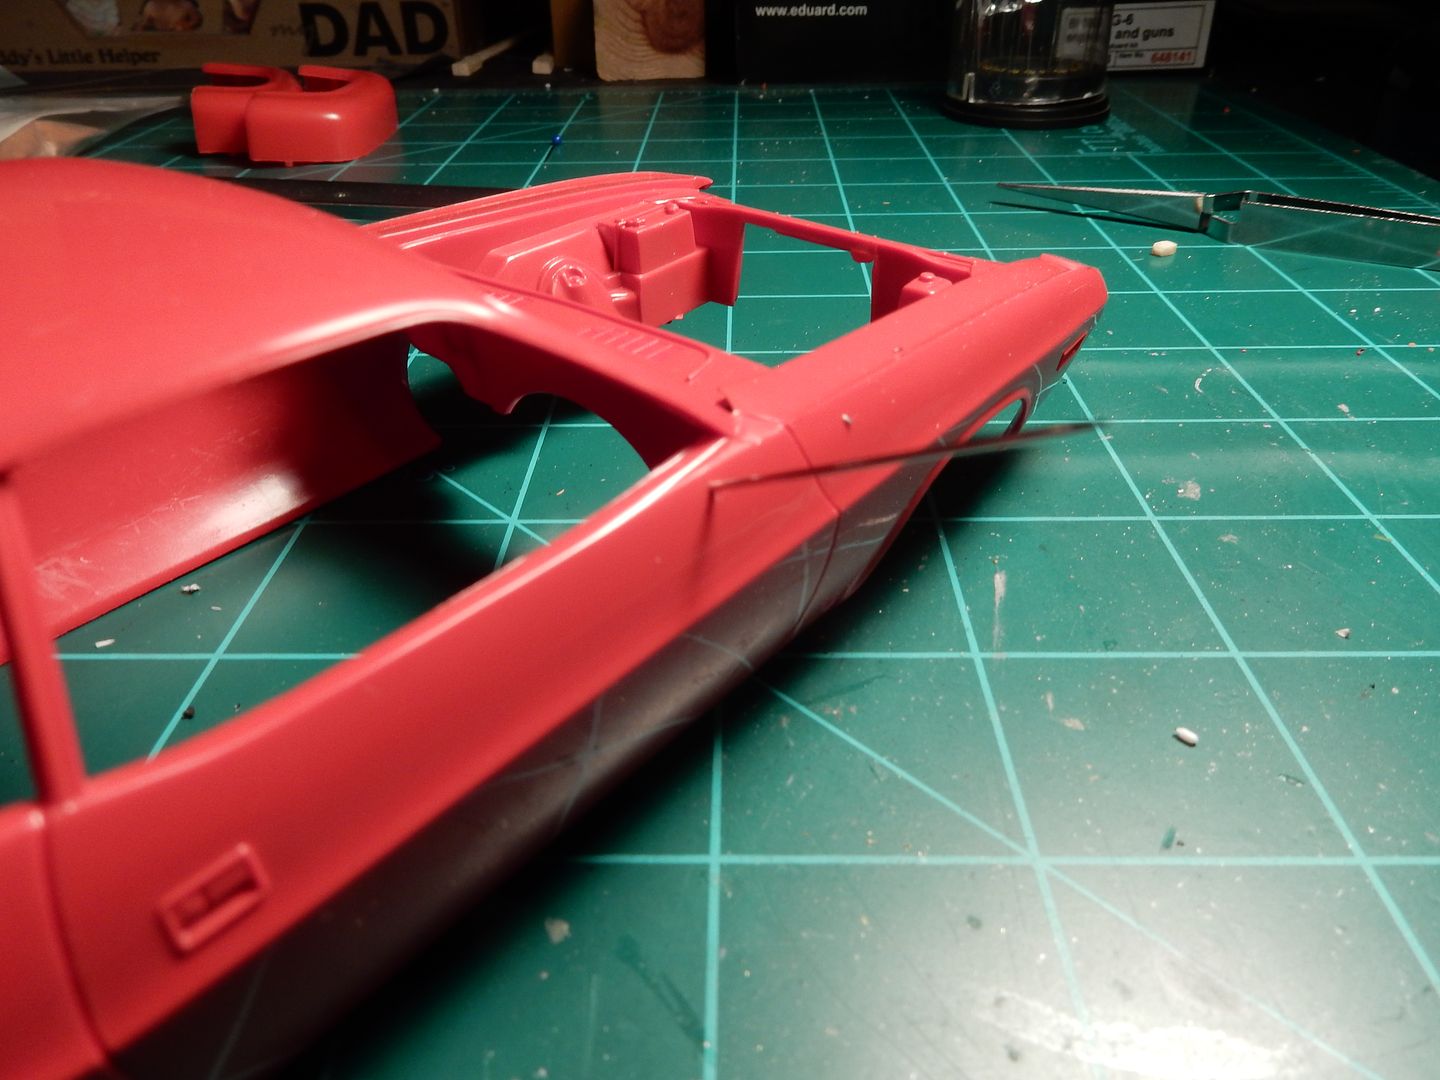 Then cut the excess off: 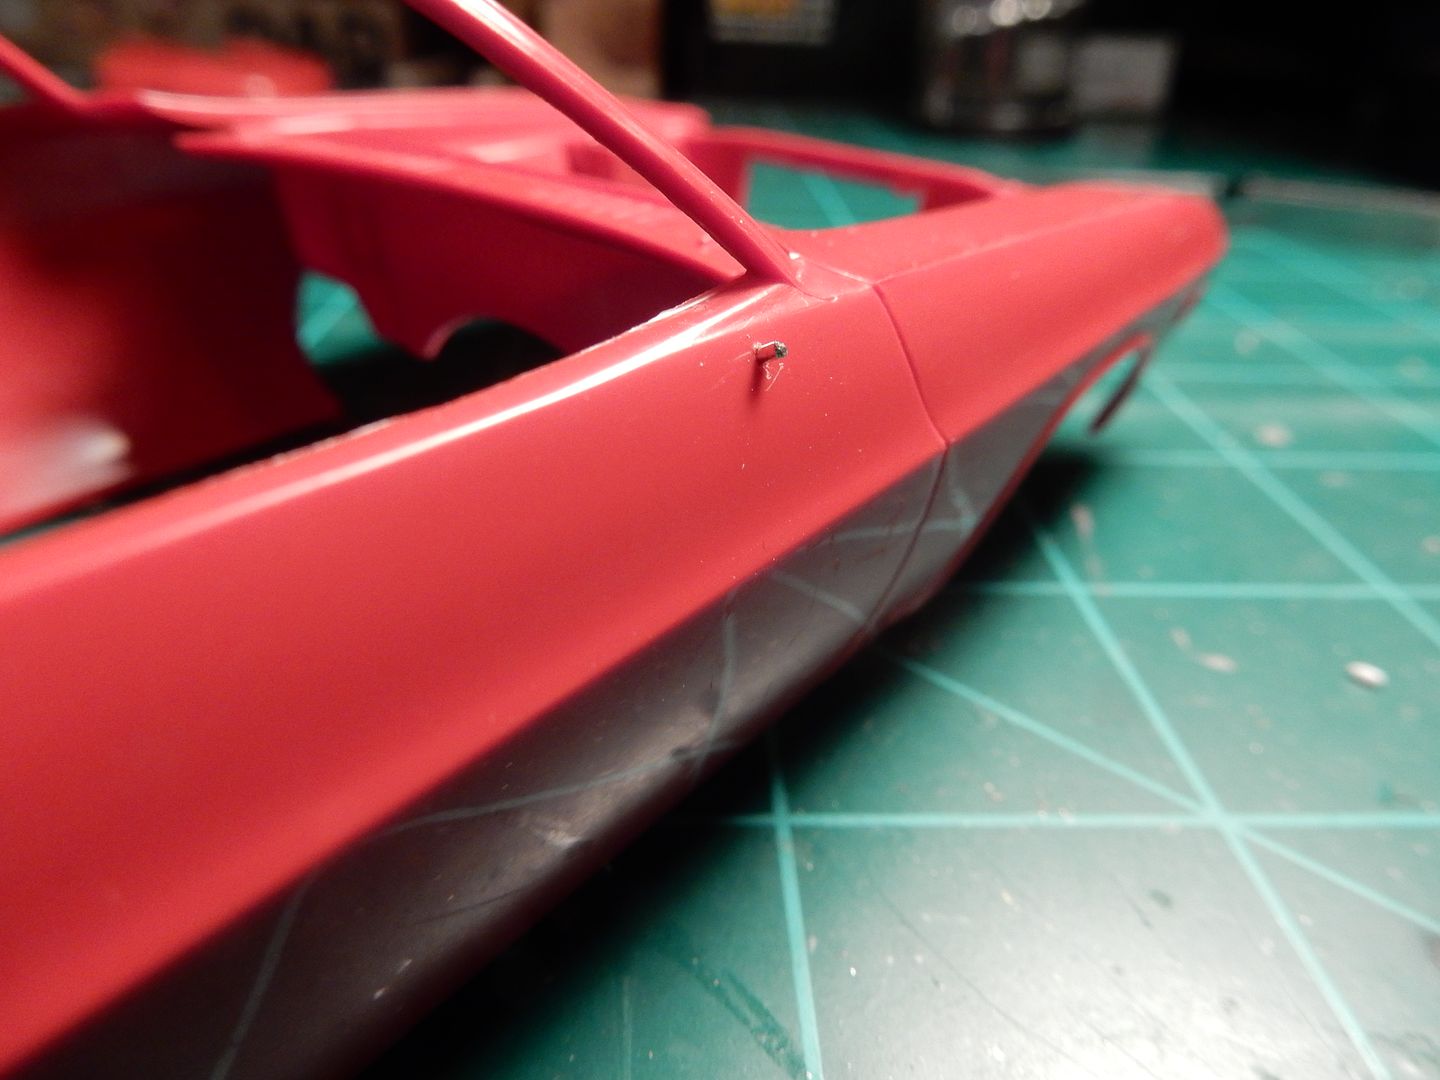 drill a same sized hole in the mirror body and mount it with super glue... 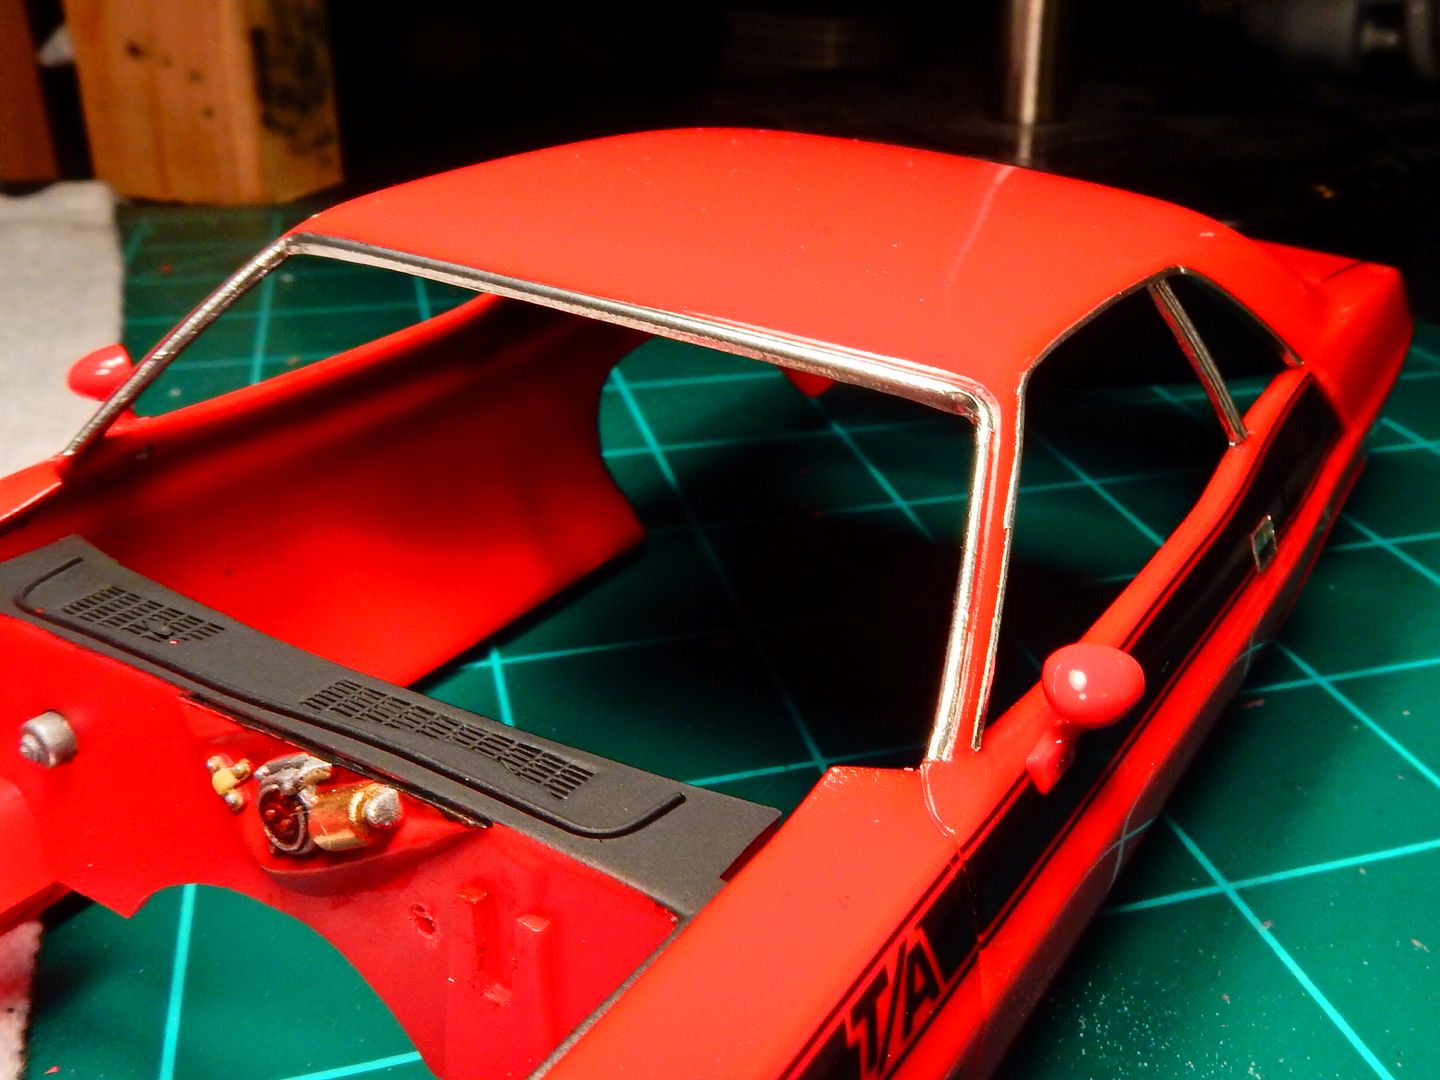 Same goes for here. Just look at how far off it was. I swear I wanted to initially throw the whole build in the trash. But...…………..here we are.  |
|
|
|
Post by moramarth on Mar 12, 2019 17:04:36 GMT -7
Good point about "pinning" stuff. I might go with plastic rod, though. It's a habit from repairing metal wargaming sailing ships. Broken masts could be drilled to take a pin, but would inevitably break again at the limit of the hole/end of the pin and because if the pin was metal it was harder than the lead alloy of the model and couldn't be drilled out. Plastic could be, but as subsequent breaks were usually repeats of the original damage and the flexible plastic rod didn't shear or distort I didn't bother!
Regards,
M
|
|
|
|
Post by mustang1989 on Mar 23, 2019 6:29:38 GMT -7
Good point about "pinning" stuff. I might go with plastic rod, though. It's a habit from repairing metal wargaming sailing ships. Broken masts could be drilled to take a pin, but would inevitably break again at the limit of the hole/end of the pin and because if the pin was metal it was harder than the lead alloy of the model and couldn't be drilled out. Plastic could be, but as subsequent breaks were usually repeats of the original damage and the flexible plastic rod didn't shear or distort I didn't bother!
Regards,
M
Thanks for the comments and advice M. It's definitely something to consider.
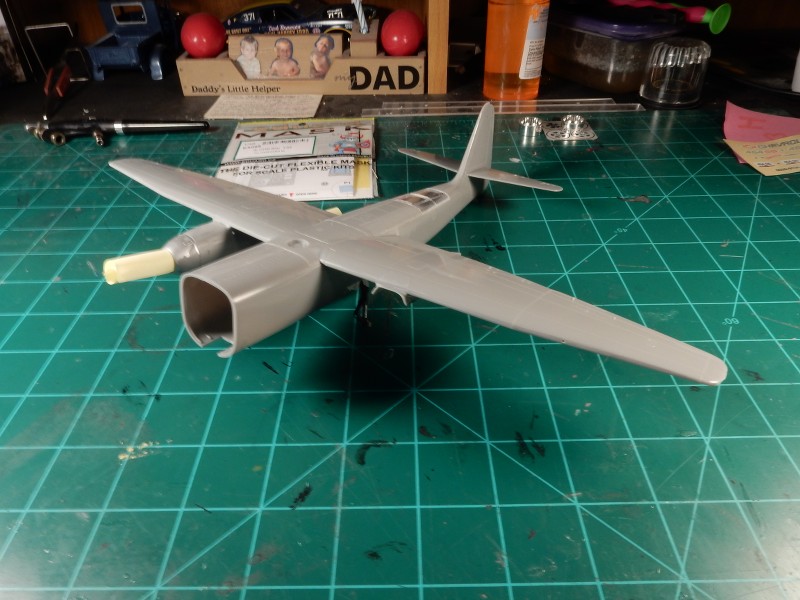
Ok gang. I got the elevators/ stabilizers mounted up this morning, will do the necessary body work at the joints and then I'm going to shoot an automotive style semi gloss black paint job on this one to black base it. After that I'm going to try this whole marble pattern out for the first time to see just how well that system works.
Any how here we are all masked off (except for the landing gear struts) and ready for the black base.
|
|
|
|
Post by leon on Mar 23, 2019 6:39:59 GMT -7
Coming along nicely Joe!
|
|
|
|
Post by mustang1989 on Mar 24, 2019 6:32:17 GMT -7
Thanks Leon!
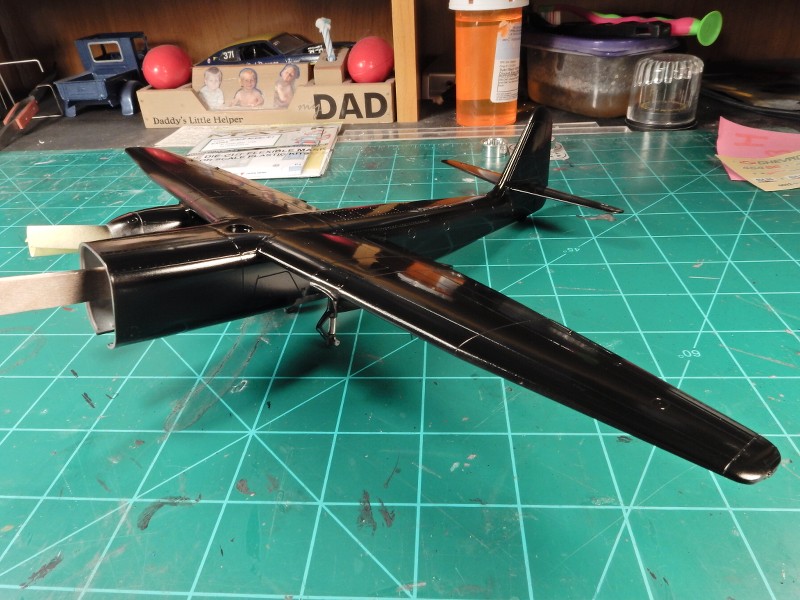
I black based this beast this morning and got a fairly even coat on it. I used the same method I use for my autos that I paint in black using semi gloss black for a base. I'm pretty happy with this.
Nice n' smooth:
|
|
|
|
Post by mrversatile on Mar 24, 2019 7:25:58 GMT -7
Wow, can't believe I missed this one. Looks like you have working on it for quite a while. Nice to see you get back to it. Looking good so far.
|
|
|
|
Post by leon on Mar 24, 2019 9:07:45 GMT -7
Paint looks really good Joe!
|
|
|
|
Post by RetroSpectKustoms on Mar 24, 2019 14:33:44 GMT -7
Paint looks great.
|
|
|
|
Post by mmthrax on Mar 25, 2019 6:55:47 GMT -7
Yes, very nice, and very smooth.
Watching this space....
|
|
|
|
Post by mustang1989 on Mar 25, 2019 8:07:40 GMT -7
Thanks fellas. I'll be trying out the marble pre-shading method for the first time. As shown in the picture below( a Hellcat borrowed from Britt Vallot over at FSM), it should look something like this when I'm done with the preshading process. The starboard wing is still the black base while the port side has had the marble effect shot on. 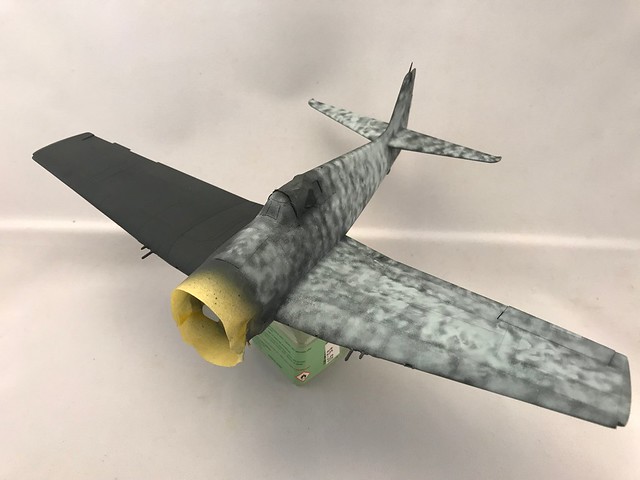 |
|