|
|
Post by DeeCee on Nov 30, 2016 1:23:46 GMT -7
That is some incredible detail work mate, very realistic.
|
|
|
|
Post by mustang1989 on Nov 30, 2016 4:19:12 GMT -7
Thanks fellas!
I broke out the pin vise to restore all of the rivet detail that got sanded away at the front part of the fuselage. I've still got the section behind and on the sides of the fuselage at the wing root to go and that's not to mention re-applying the panel lines that are gone as well. Here's 45 minutes worth of sanding and re-riveting:
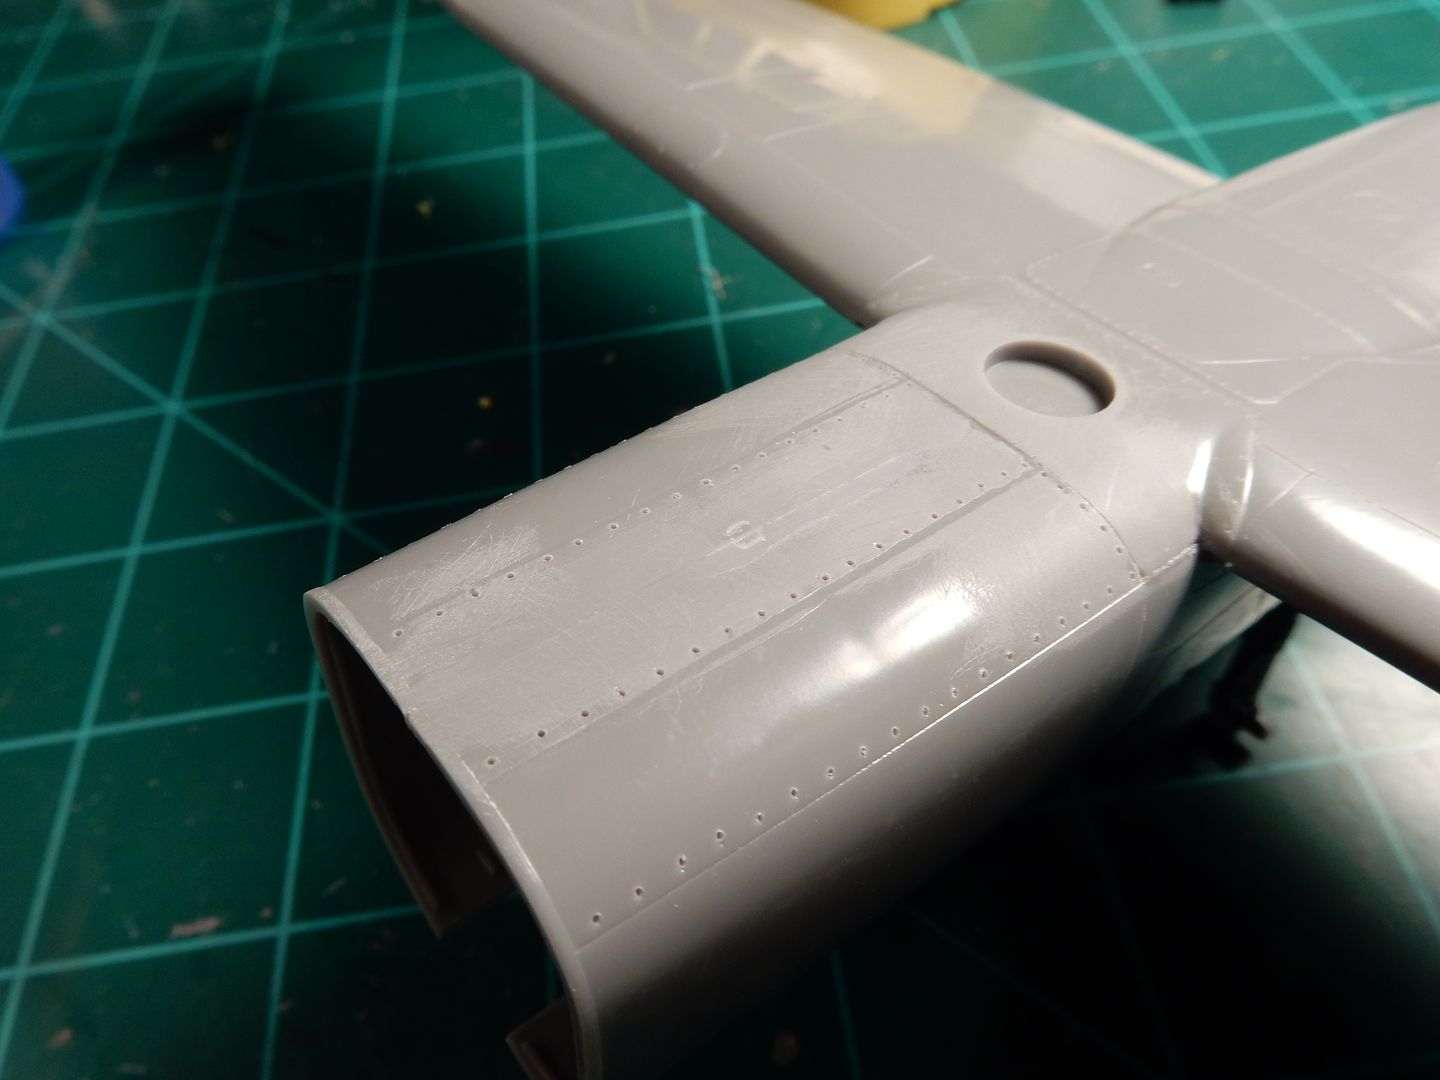
|
|
|
|
Post by stitchdup on Nov 30, 2016 5:50:48 GMT -7
Man, you're a glutton for the details, easy to see why they turn out so well
|
|
|
|
Post by Big D on Nov 30, 2016 7:38:15 GMT -7
This is called having fun!
|
|
|
|
Post by mustang1989 on Nov 30, 2016 8:41:07 GMT -7
Les: Thank you sir. I've always liked "miniatureland" for that quality alone..................the details.
Dennis:  |
|
|
|
Post by Big D on Nov 30, 2016 8:46:25 GMT -7
Seeing the cockpit makes me wonder when you going to combine cars and planes in a build? It would make a great race car cockpit wouldn't It!!! 2gwb921 |
|
|
|
Post by mustang1989 on Nov 30, 2016 9:08:40 GMT -7
Seeing the cockpit makes me wonder when you going to combine cars and planes in a build? It would make a great race car cockpit wouldn't It!!! 2gwb921 I'm not quite there yet and don't have the imagination that guys like Ira or Ridgerider over at MCM does. The stuff that those guys come up with is crazy!! |
|
|
|
Post by stitchdup on Nov 30, 2016 9:51:10 GMT -7
It would make a great race car cockpit wouldn't It!!! 2gwb921 I'm not quite there yet and don't have the imagination that guys like Ira or Ridgerider over at MCM does. The stuff that those guys come up with is crazy!! I just have to call you on that one Joe! In all seriousness have you looked at your vw bus recently? If that's not imagination I don't know what is |
|
|
|
Post by mustang1989 on Nov 30, 2016 11:49:35 GMT -7
I'm not quite there yet and don't have the imagination that guys like Ira or Ridgerider over at MCM does. The stuff that those guys come up with is crazy!! I just have to call you on that one Joe! In all seriousness have you looked at your vw bus recently? If that's not imagination I don't know what is Ummm.......I kinda forgot about that one.... sorry%20bout%20dat_zps1nny96hw |
|
|
|
Post by mustang1989 on Dec 1, 2016 10:38:32 GMT -7
Thank you all for the encouragement on this bad boy. It's much appreciated .....especially when I have times at the bench like I've had for the last couple of days. I mean.........I pulled this next stunt off but it was a bit frustrating to me.
I finally opened up the Aires engine set because I'm at that point to where I want to work on the engine mounting for the starboard engine as that's the one I'll be displaying opened up. I was just getting over all the goodies in the kit (these engines look fabulous BTW) when I turned my attention to the instructions of how these beauties mount up to the wing. At first I wanted to put everything back in the box and move on. 
You guys know about where I'm at with the build right now so you can imagine how I felt when I saw this in the instructions:
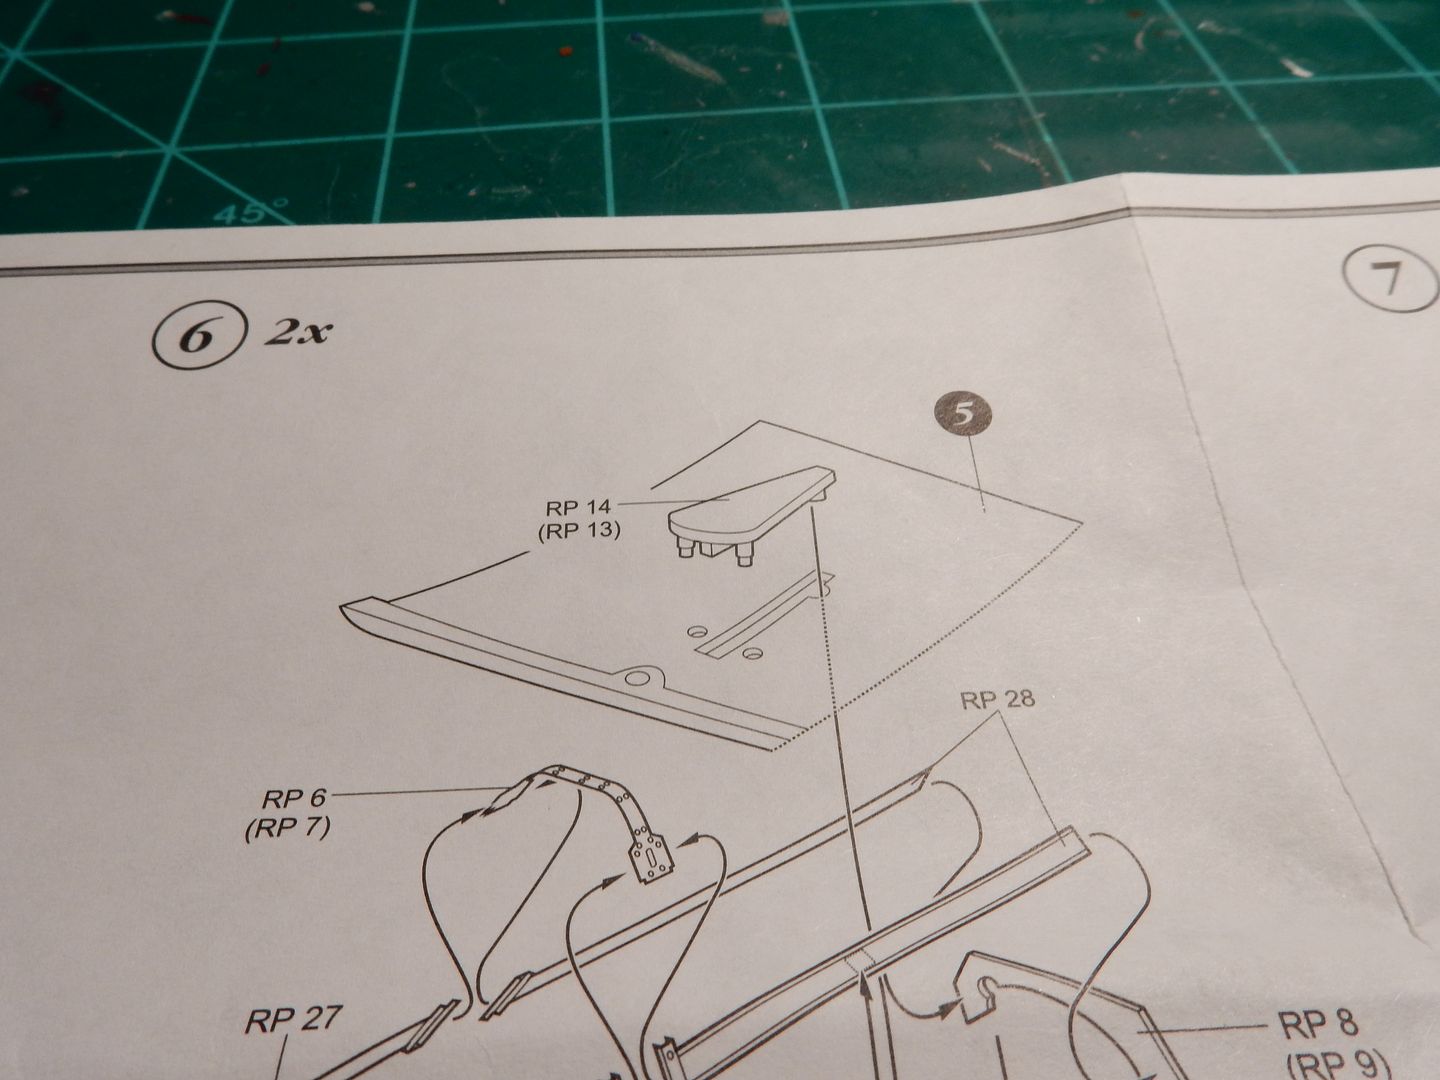
Yeah. That's what I said too.
I did, however , think about it over a cup of coffee and came up with this plan:
I took this

and cut the locating pins off of the base and sanded the back side down until I was left with the center strip and the offset mounting hole, made all the cuts and holes in the wing like I was supposed to and inserted everything into the openings and holes in the wing from the outside.
The results? Something I think I can live with:

Ok.....made it past that hump! Movin' right along now.................................
|
|
|
|
Post by stitchdup on Dec 1, 2016 10:53:10 GMT -7
I did notice the sky in the west turn blue for a few moments, must have been you cursing!! 84 at least you got it done though
|
|
|
|
Post by mustang1989 on Dec 1, 2016 14:11:10 GMT -7
I did notice the sky in the west turn blue for a few moments, must have been you cursing!! 84 at least you got it done though Yeah it got pretty rough there for a minute alright.  |
|
|
|
Post by kpnuts on Dec 1, 2016 14:46:40 GMT -7
You are doing Stirling stuff here mate.
|
|
|
|
Post by mustang1989 on Dec 1, 2016 14:52:56 GMT -7
You are doing Stirling stuff here mate. Thanks Ken.  |
|
|
|
Post by mustang1989 on Dec 2, 2016 19:14:55 GMT -7
Lot's of cutting and sanding going on as of late. I've got the port side engine pod minus all the panels about ready though. I still have some sanding and filling to do at the front and rear but I feel fairly good about the progress so far.......it's just taking forever to get anywhere past all the cutting........and filing...........and sanding............and cutting..............and filing..............and sanding............and....etc. icon_bored_zpscodtnzo5
Cut and sectioned out:
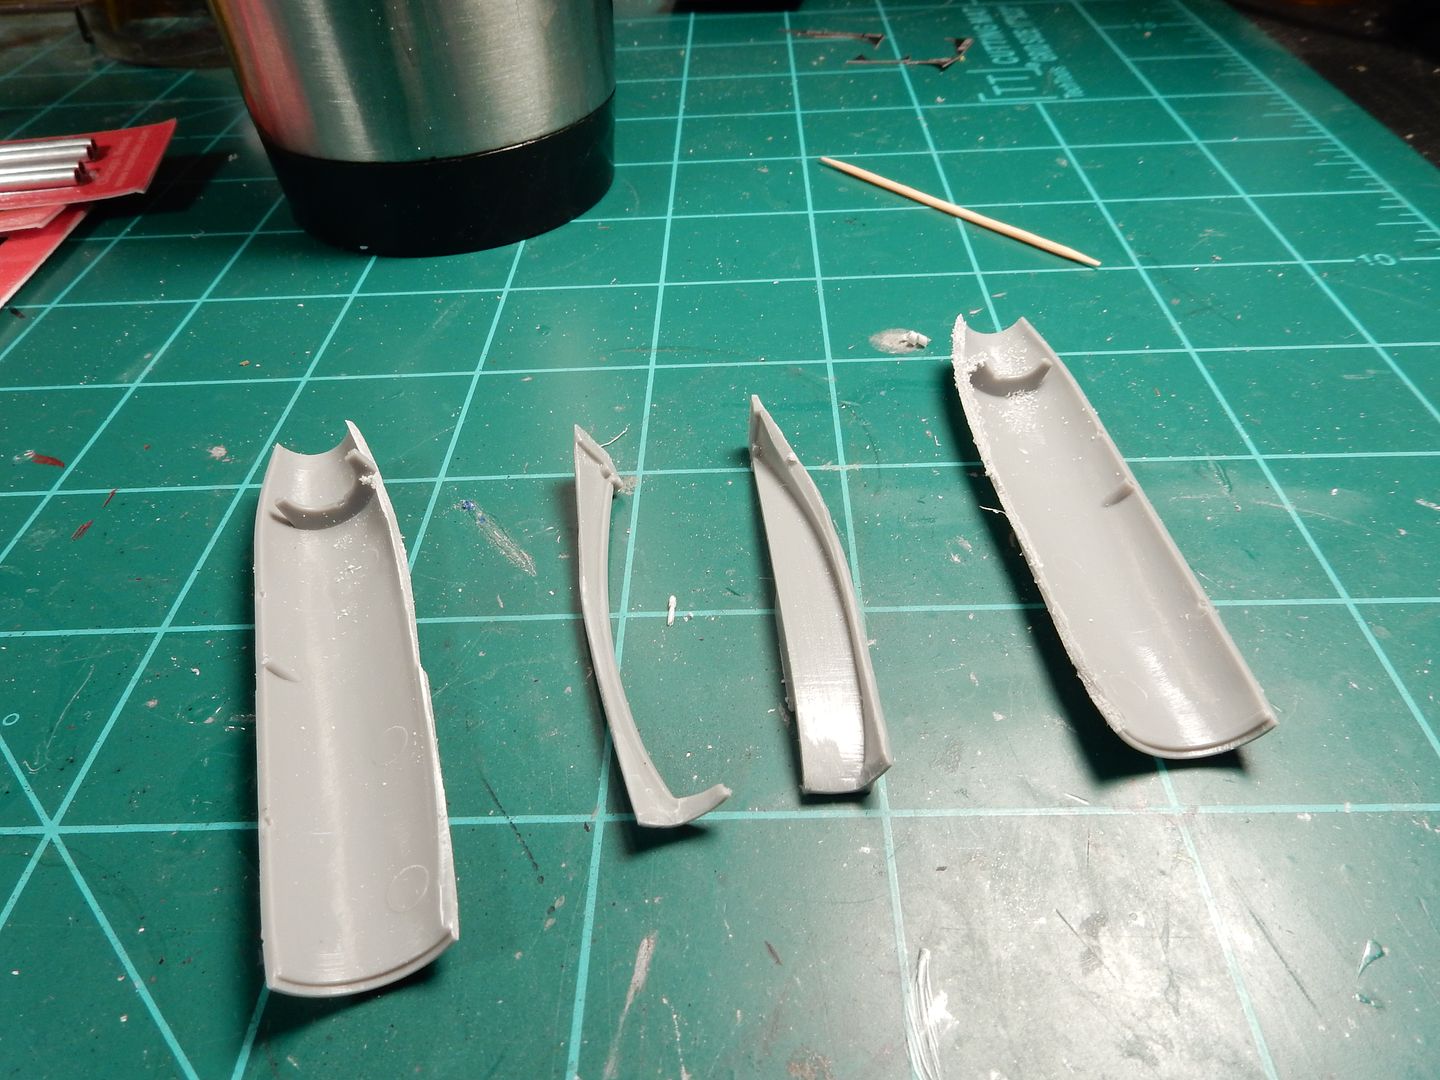
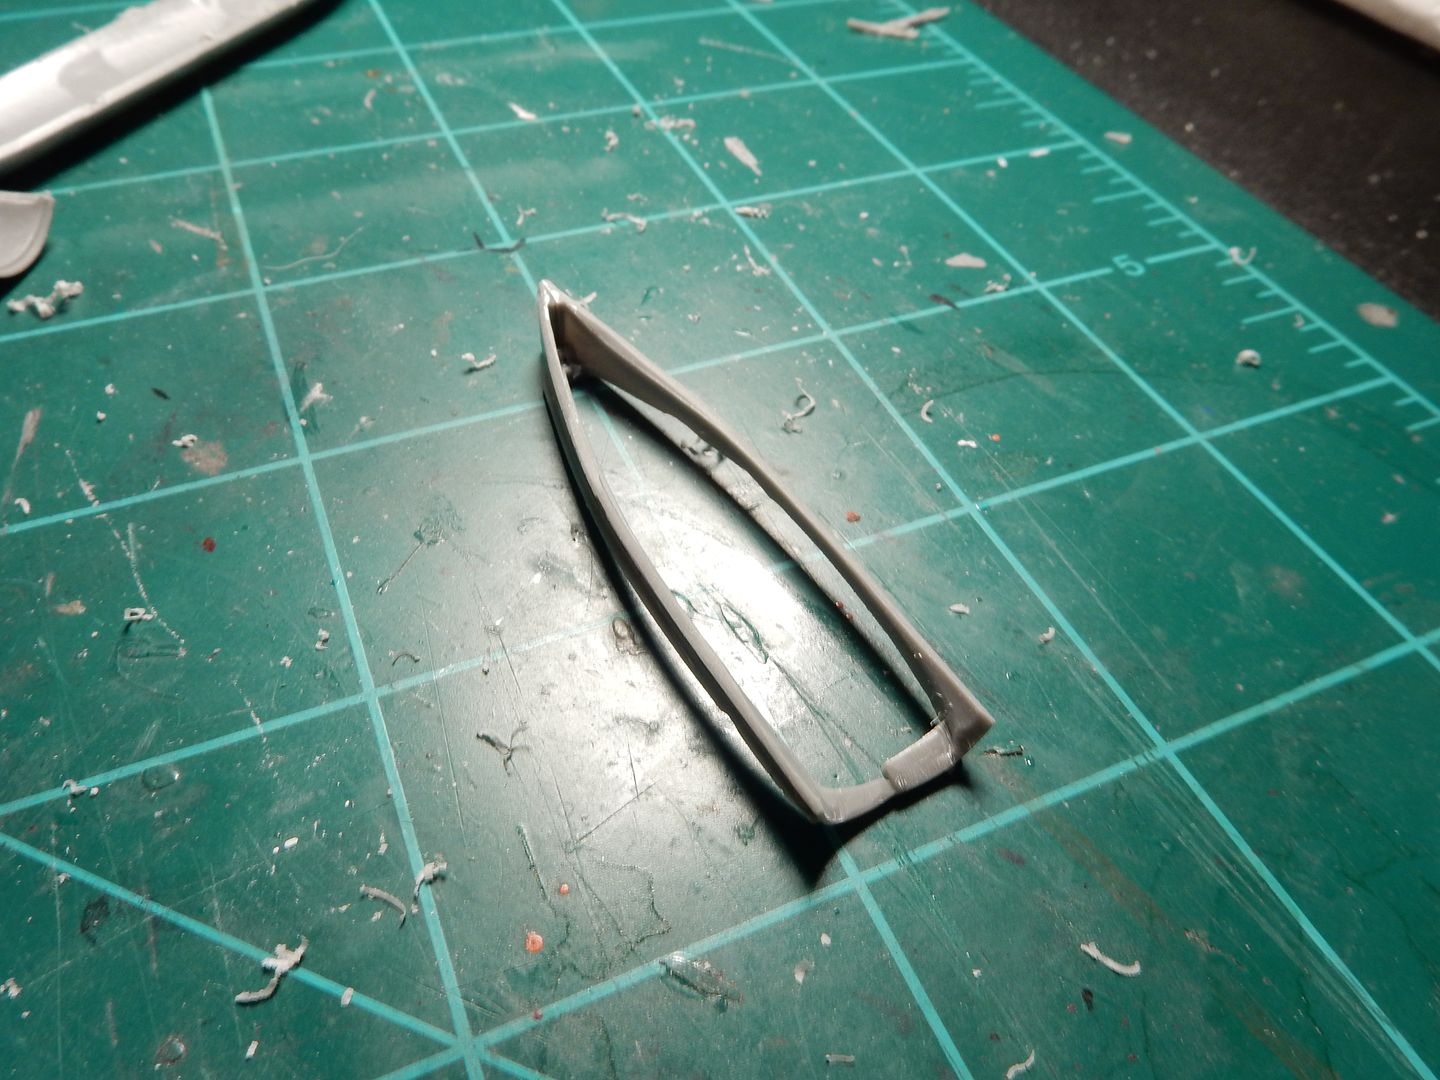
I cut the center strip out of the left over engine pod root and got the halves glued together:
I didn't foresee being able to paint the engine air intake area on the starboard closed up engine uniformly so I cut the starter assy out of the center of the air intake to paint it and will reinstall it after painting.
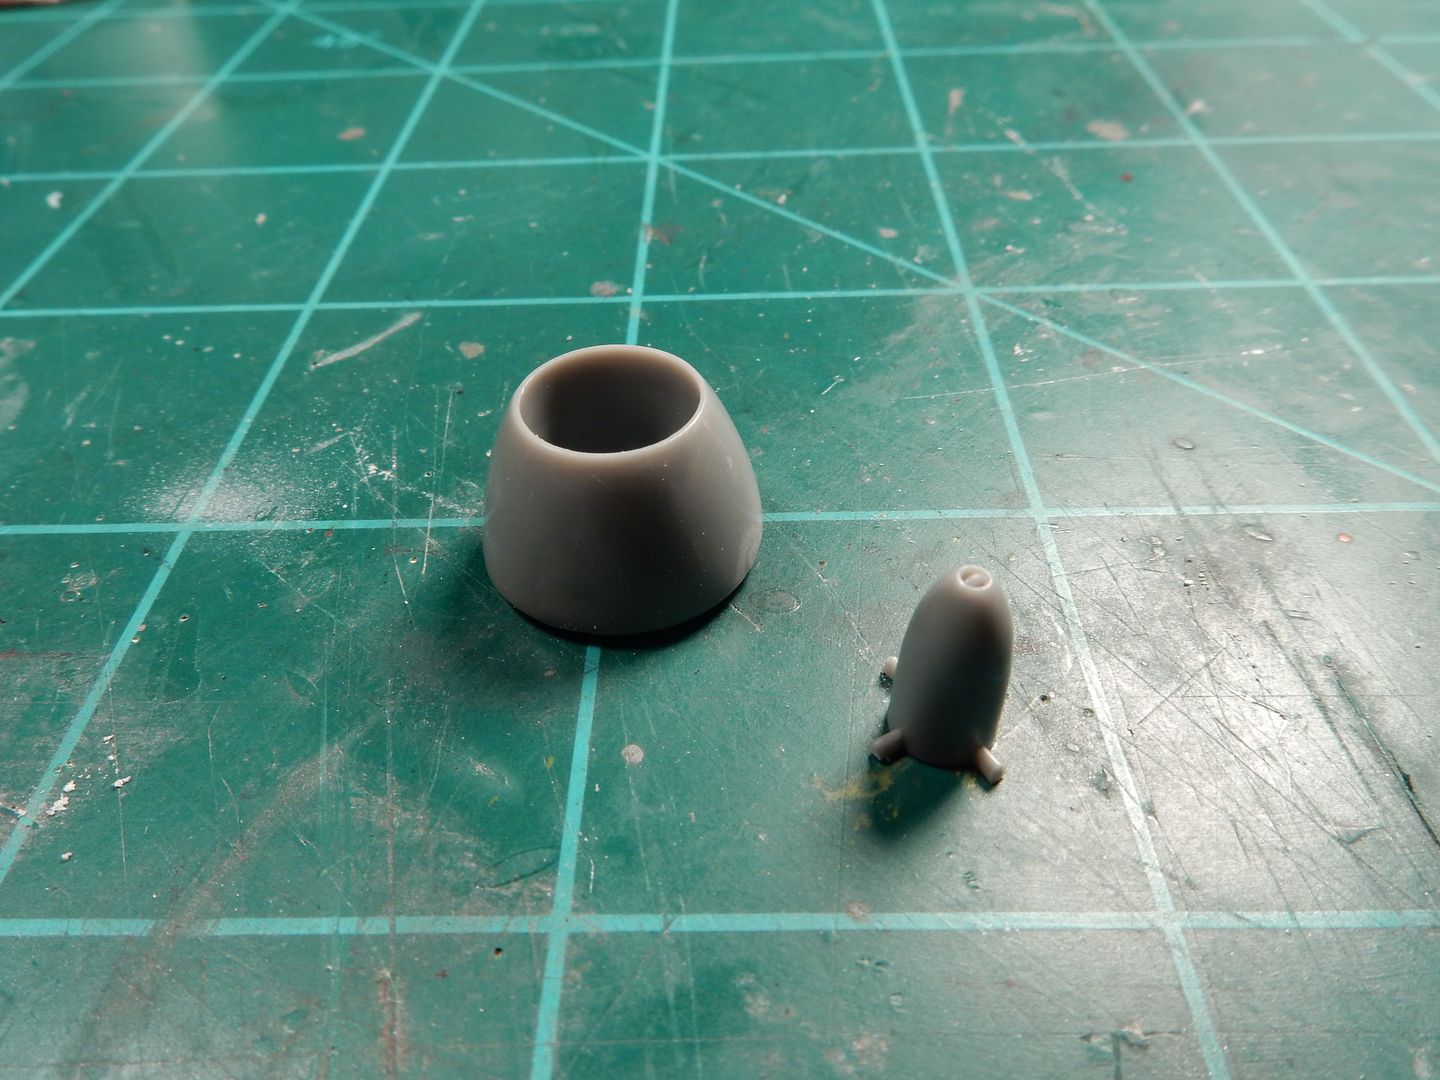
Looking forward to next Monday when I start back up on this bad boy.
|
|
|
|
Post by Big D on Dec 2, 2016 19:41:50 GMT -7
Stay with it Mustang man. Looking good.
|
|
|
|
Post by mustang1989 on Dec 2, 2016 20:24:13 GMT -7
Stay with it Mustang man. Looking good. Thanks Dennis. Hopefully I'll get through this and my two VW builds with my sanity still intact. 84 |
|
|
|
Post by Big D on Dec 2, 2016 20:40:16 GMT -7
Stay with it Mustang man. Looking good. Thanks Dennis. Hopefully I'll get through this and my two VW builds with my sanity still intact. 84 If you're a model builder you never were sane to start with, especially if you try to be good at it. |
|
|
|
Post by kpnuts on Dec 3, 2016 2:52:10 GMT -7
Corse you could make it easy on yourself and just slap the kit together and not do any of your amazing detailing, keep plugging away mate you're doing incredible work.
|
|
|
|
Post by mustang1989 on Dec 3, 2016 3:47:47 GMT -7
Thanks Dennis. Hopefully I'll get through this and my two VW builds with my sanity still intact. 84 If you're a model builder you never were sane to start with, especially if you try to be good at it. Dennis: Yes sir..............I do believe that your are right. 
Ken: Aside from the cockpit/ nose , I'll betcha this kit could be put together fairly soundly in one day. There's just really nothing to it. Thanks for the encouragement Ken.
|
|
|
|
Post by stitchdup on Dec 3, 2016 4:34:32 GMT -7
It's moving forward, I'm looking forward to seeing the engine go in and detailed
|
|
|
|
Post by mustang1989 on Dec 3, 2016 5:26:32 GMT -7
It's moving forward, I'm looking forward to seeing the engine go in and detailed Thanks Les. I'll probably get the engine built up and detailed as soon as I have all the attachment points for the engine nacelles cleaned up but it won't get actually installed to pretty close to the end of the build. Speaking of engines..........these Aires engines area very well represented and detailed. I've got about 50-60 reference shots of the Jumo 004 turbine engine in total from different resources. Should be a pretty fun build up. |
|
|
|
Post by Big D on Dec 3, 2016 11:25:46 GMT -7
Engine YES! I want to see the engine! Popcorn%20and%20drink%20emoticon_zpsnbkzs8ys
|
|
|
|
Post by mustang1989 on Dec 3, 2016 12:31:35 GMT -7
Engine YES! I want to see the engine! Popcorn%20and%20drink%20emoticon_zpsnbkzs8ys Lol. I just hope I can do it the justice it deserves. |
|
|
|
Post by mustang1989 on Dec 5, 2016 4:00:55 GMT -7
Ok gang....It's Monday which means we're back on the Arado once again. I got the engine nacelle installed on the starboard side and did ALOT of test fitting and trimming for the displayed port side engine.
Here's where we are today.
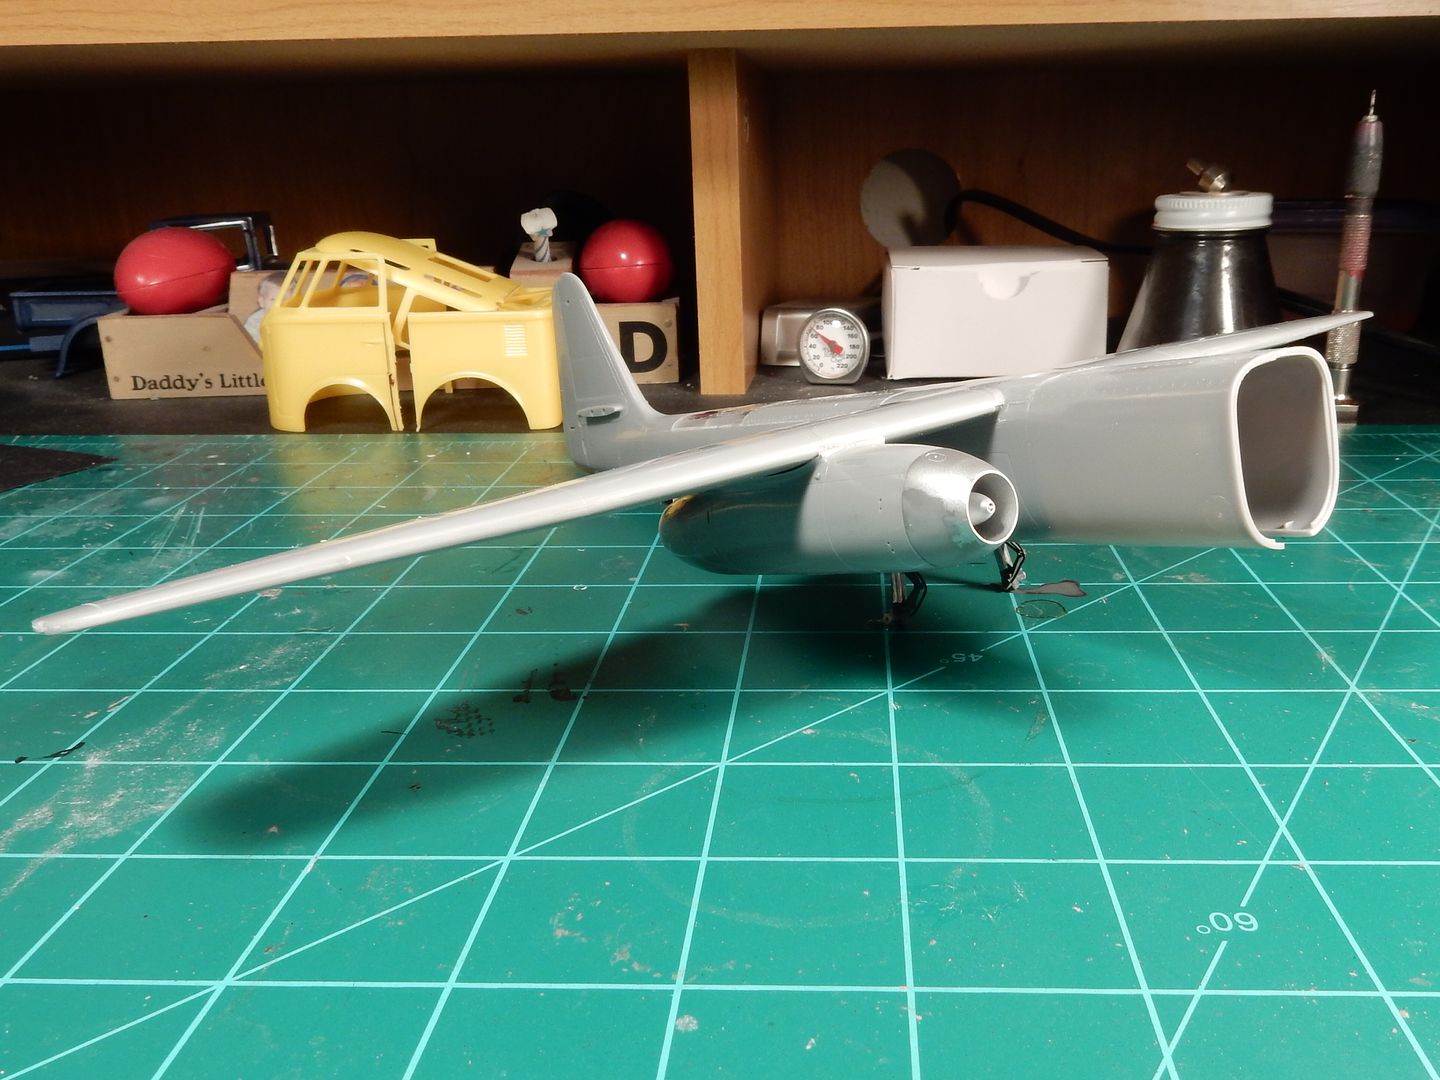
I've always been drawn to these late war jets. It's almost fascinating how those guys were able to come up with some of the stuff that they did at such an early time in aviation history.
The Arado 234 has such a nasty and sinister look to it.

|
|
|
|
Post by mustang1989 on Dec 6, 2016 4:14:43 GMT -7
Up to this point its been a lot of body work but I think we're getting into the "meat and potatoes" of the build now. I was going to go for primer stage this week but it's been raining and cool out so I'll wait until fairer weather hits us. That'll take us to the engine build up stage. Folks I just can't express enough how much I enjoy building up resin engines from Aires. I mean you've gotta watch 'em and plan out the build around 'em as some times they'll throw a "curve ball" at you in regards to fit but you just can't beat them for the "wow factor" as a builder as they pack a punch in terms of detail.
I started with the base engine assy which consists of three main parts shown here:
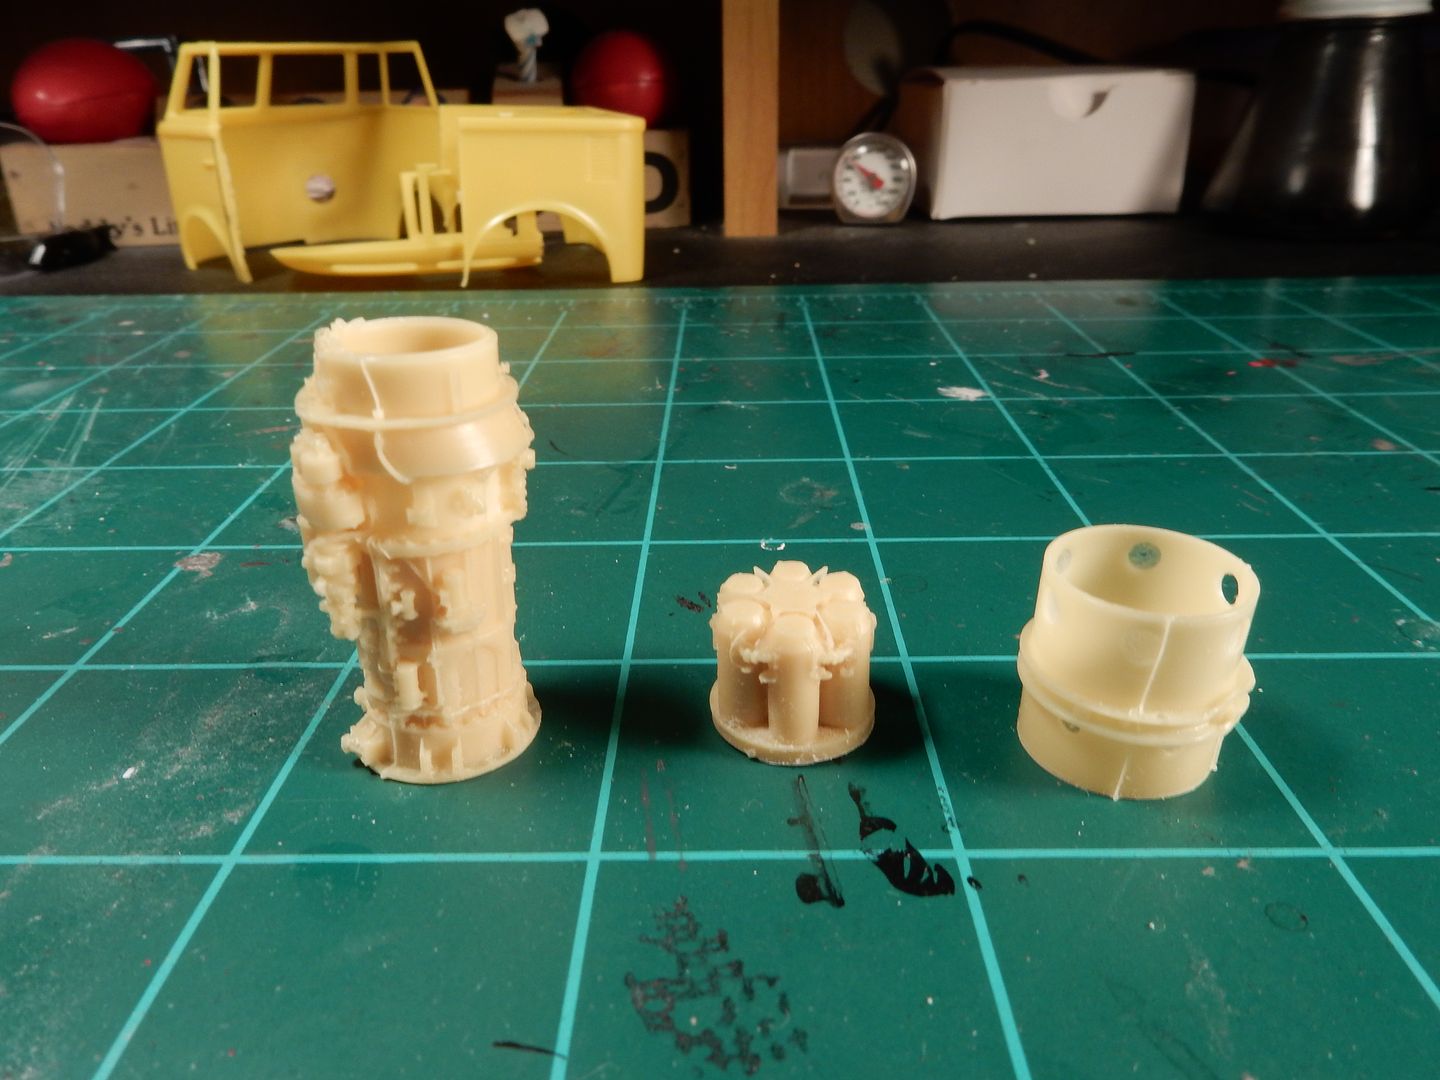
and all build up nicely to form the base engine ( like I said...........a ton of detail):
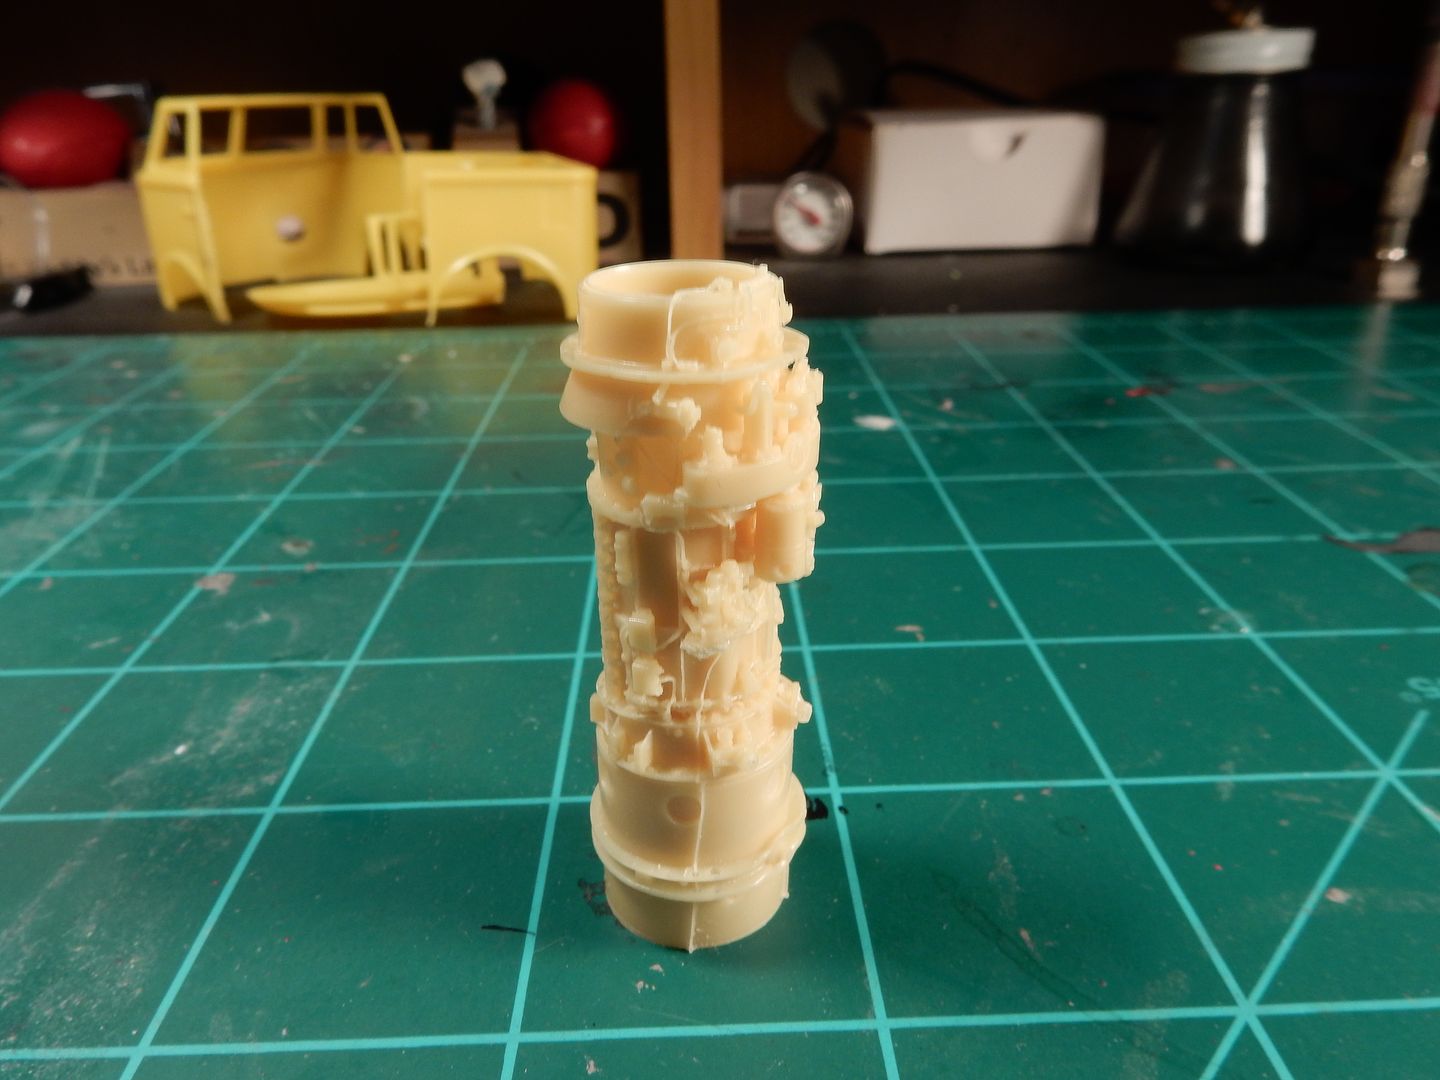
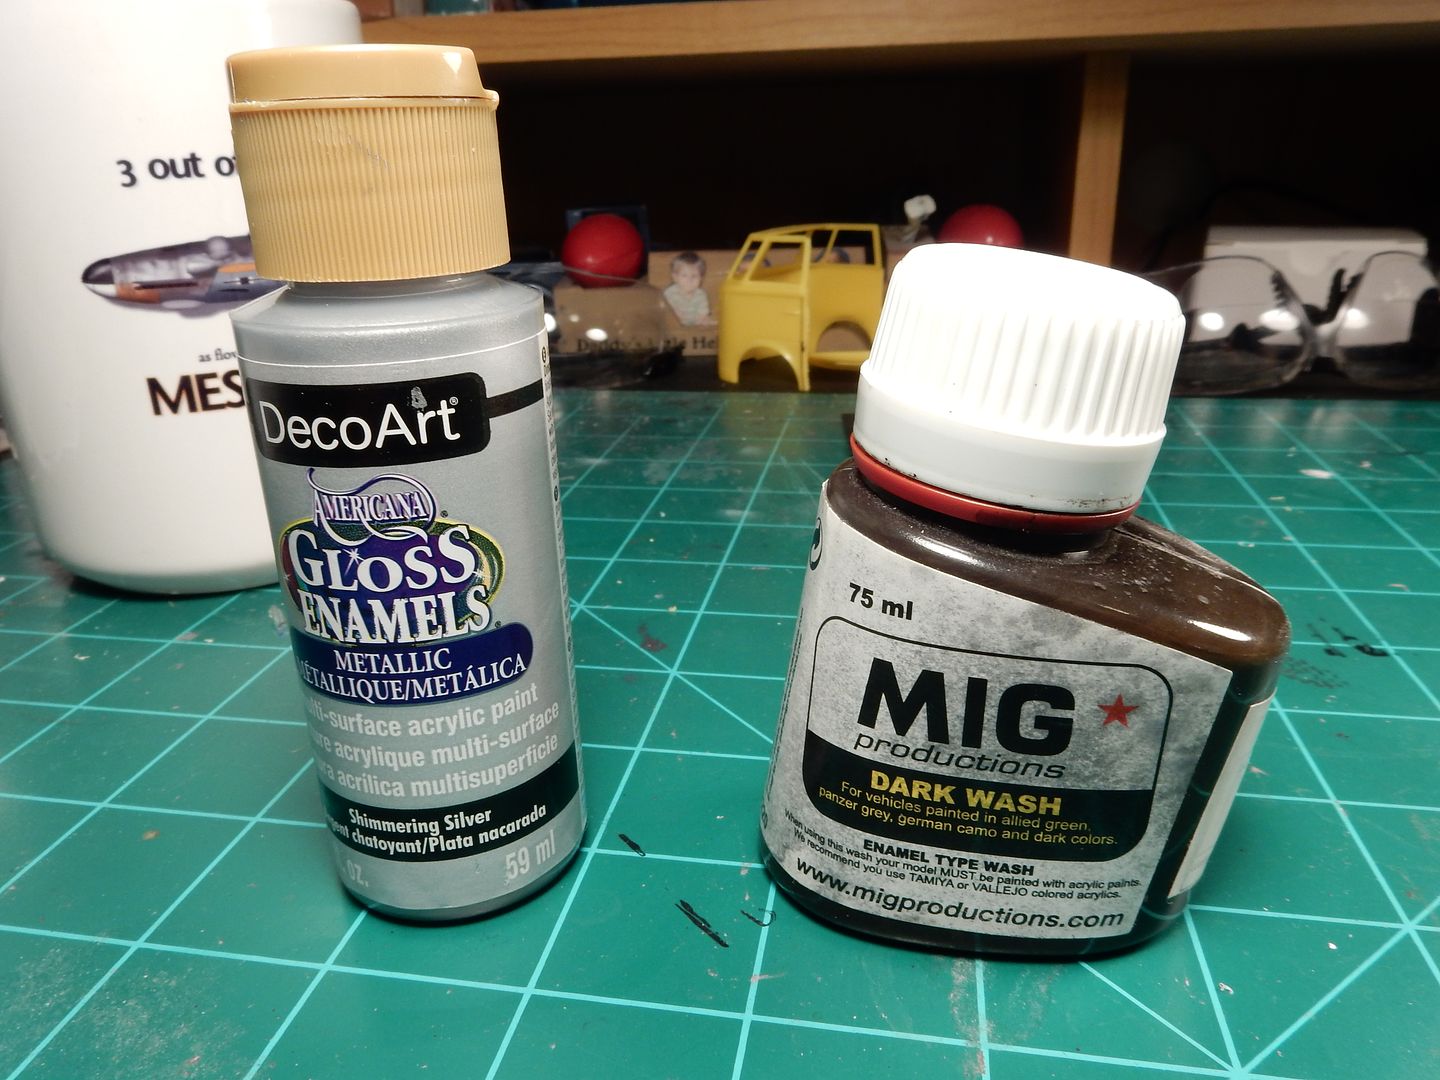
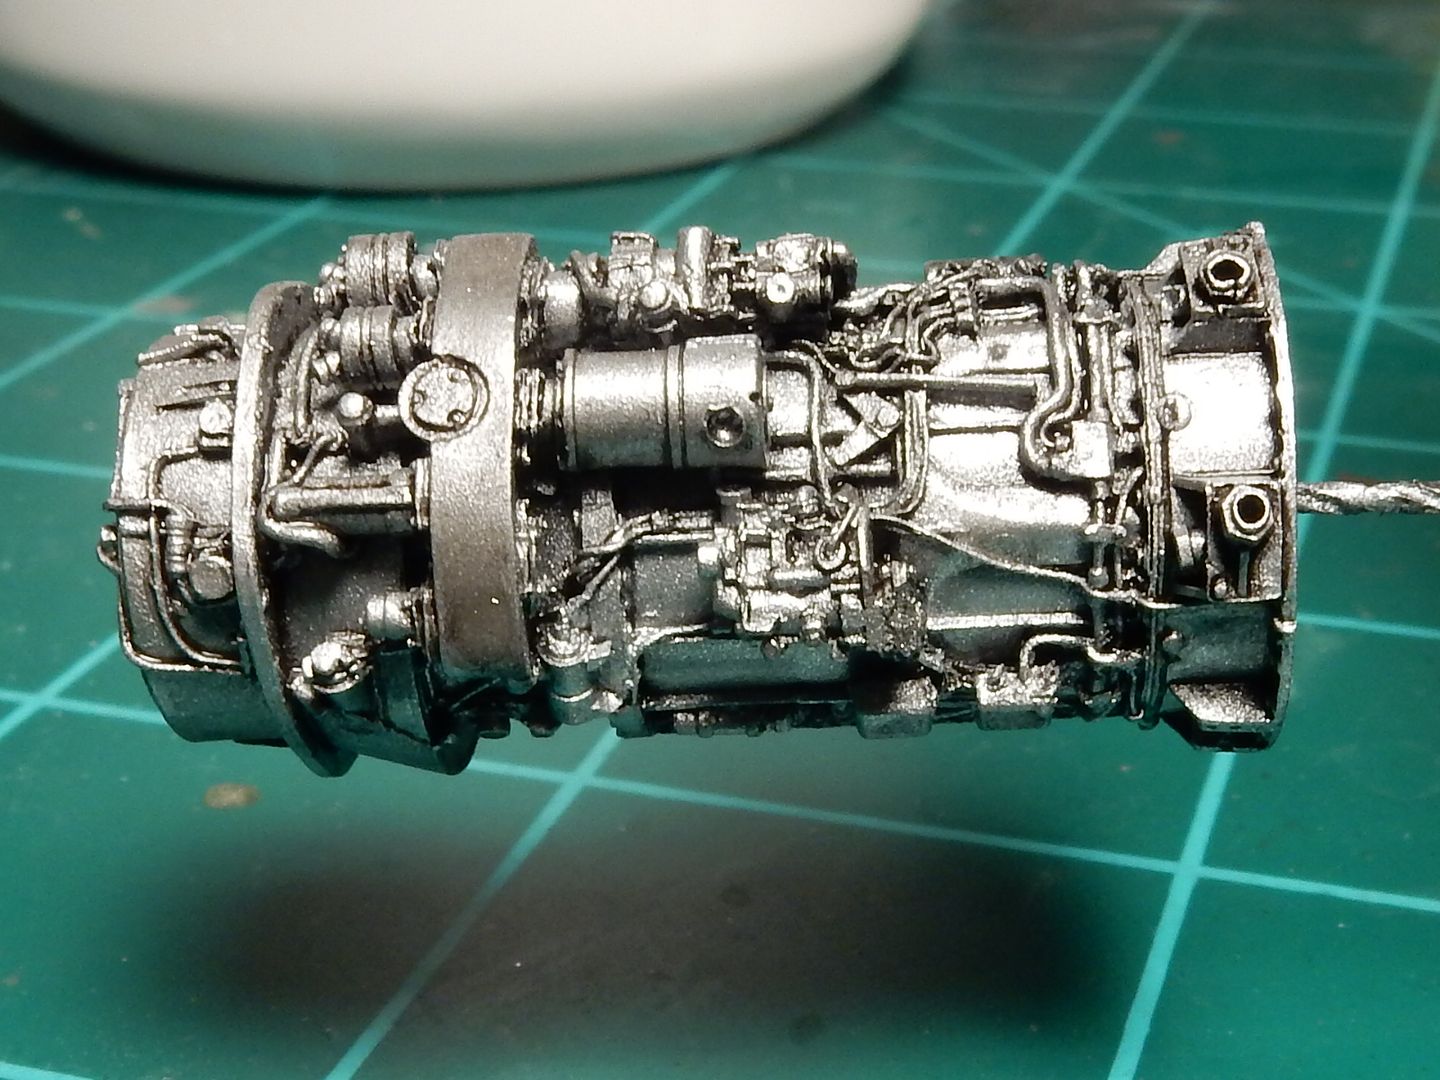
I black based all three parts separately and shot the compressor section and ignitor sections with Testors Aluminum enamel but it was waaaay too grainy for my tastes. So I was in search of a more smooth and true aluminum look without it having that automotive aluminum intake manifold texture to it. What I found next was by pure (and a lot of us run into this in modeling) accident. My wife is a mosaic artist and uses all kinds of paints and things of that nature in her "builds". She was working with some letter decorations last night and was showing off this neat acrylic silver paint that she had and once I saw it there was a "ding"  . .
So I used her silver paint over the enamel that I had already sprayed on and after that had dried I used some Mig Dark Wash (which folks, I haven't found a better wash out there yet for coverage and bringing the most out of details) and the results were mind blowing to me:
Here are the materials:
and here are the results on my Junkers Jumo 004 engine. I've still got a lot of detail work and detail painting to do but THIS.........is gonna WORK.
|
|
|
|
Post by DeeCee on Dec 6, 2016 4:28:21 GMT -7
cant-believe-my-eyes-smiley-emoticon I would need to post up pics of all these parts on the computer before i started, just so i could see the details....  UNBELIEVABLE Joe..... great detailing mate.. |
|
|
|
Post by mustang1989 on Dec 6, 2016 5:50:21 GMT -7
cant-believe-my-eyes-smiley-emoticon I would need to post up pics of all these parts on the computer before i started, just so i could see the details....  UNBELIEVABLE Joe..... great detailing mate.. Thanks Dale. LOL! |
|
|
|
Post by coyotecrunch on Dec 6, 2016 8:26:29 GMT -7
Cool man - Cool!!!!
sSig_youtheman_zpsb3e30900
|
|
|
|
Post by Big D on Dec 6, 2016 9:26:39 GMT -7
Looks really good there Joe.
|
|