|
|
Post by pete on Jun 27, 2020 8:53:07 GMT -7
Glad you fellas are enjoying the build. I do em all like this. Main reason I can never do an out of the box build LOL. Also why it takes me months to finish one. ( I must admit, this one is going faster than usual for me) must be the no job due to the Covid 19 fiasco. Its all good though, taking the summer off is fine by me. (Getting caught up on house projects...Car projects And of course a few model projects I have been itching to get ahead on) Thanks for following along and commenting, its all very appreciated. Pete  |
|
|
|
Post by pete on Jun 27, 2020 13:29:30 GMT -7
Ok Were gonna call this installment: "Loose ends" There are things that don't get posted up due to being booorinnng or inconsequential as well as just plain forgot to do it so, heres tying some loose ends... Location marks/holes. I put a small hole where a door handle/marker light or some such was before I removed it for whatever reason. This allows me to put the new part right where it belongs. 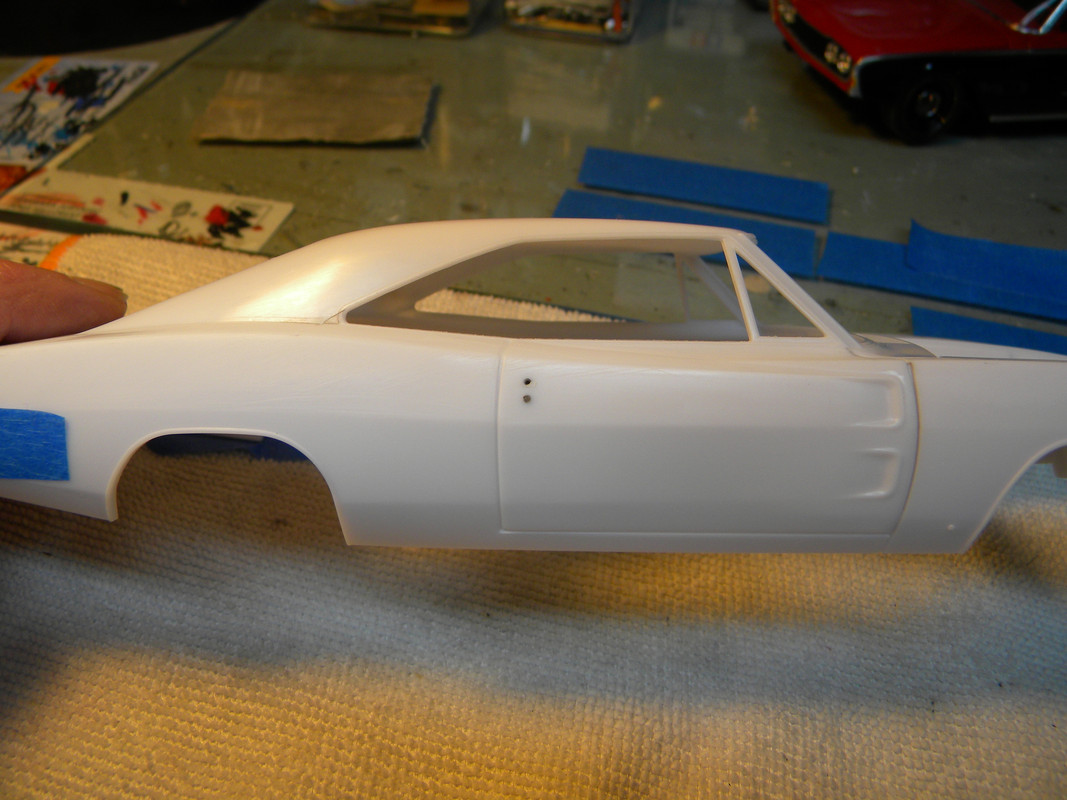 I just drill a hole, sanding dust wont collect in a hole and come out during final paint application. Some pics I am sure you noticed... Primer on body here and there, next pic, no primer? what gives right? I have not done a model car build thread on a forum before soo. I do a bunch of work, document it as I go along and post up an installment. I try to be at least two steps ahead on the installments. That is to say...What you see today... I did a few days ago. I try to present everything in an ordered progression as well so its all easy to follow along. Hence, things get left out or forgotten since they don't necessarily move the thread along. Heres a few left outs...   Oh and a pic of my end mill for doing the core plug detail on the heads...See I posted this pic up and never gave an explanation for it.  And that's all for now. I'm sure I have forgotten other stuff too, so I may do another loose ends thread before this is done. Don't worry the installment I mentioned in the last post will get posted up...Soon. Its time to eat and feed the cats...  |
|
|
|
Post by mustang1989 on Jun 27, 2020 13:40:14 GMT -7
This is all looking swell so far Pete. Wow!
Yeah.....that cats got "the look" alright. lololol
|
|
|
|
Post by pete on Jun 27, 2020 14:42:18 GMT -7
Yeah she does!!! Her and her sister...Calicos both of em and all attitude.
|
|
|
|
Post by mustang1989 on Jun 28, 2020 7:47:49 GMT -7
Yeah she does!!! Her and her sister...Calicos both of em and all attitude. We always had cats growing up. Seemed like we were cat poor a couple of times. lol. They each had their own personalities that's for sure. Once my wife and I got married we've had nothing but dogs. While I do like dogs and we've had a decent track record with our acquisitions through the years....we really bit off more than we can chew with this latest stray we took in. Being half German Sheppard and half Lab 1.) she's huge....and 2.) she's a big two year old baby that gets into EVERYTHING. She requires a lot of attention and patience. The one and ONLY thing we really don't have to worry about is that she is house broken......THANKFULLY. |
|
|
|
Post by pete on Jun 28, 2020 14:49:04 GMT -7
I hear ya there. Had dogs our whole lives Barb and I. Labs/sheppards malinuars Sp? And Malamutes. All of em high energy/maintenance, but fun. Cats are just so much easier and just as much fun. Our Calicos, Heidi and her sister Gretta (bonded litter mates) are both hyper intelligent 3 yr olds. That's the problem with Calicos, they are always kittens. All attitude and personality to spare...LOL.. Wouldn't have it any other way though. Now If we could just get a puppy the cats wont try to kill or corrupt...  |
|
|
|
Post by pete on Jun 28, 2020 19:51:40 GMT -7
Todays installment will be short and sweet: 440 6 Pack parts, no the intake and carbs are not in yet...sorry. But! I did have to scrounge up a few things for the engine anywhoo. The Revell 440 parts are on the right, the rocker covers are oversized and wrong for a 440 6 Pack. The manifolds are a bit oversized as well and not well defined. The Parts on the left are better. The rocker covers are correct for a 6 Pack. Breather/oil cap are in the right place as well as the PCV valve. The correct notch for power brake booster is also present. The exhaust manifolds are also much better defined and more representative of the proper 6 Pack parts. I found these in an AMT 71 Charger kit that wont be needing em any more.   As for the final prime before finish paint... Yeah got a pic of that stuff too.  Next installment: A prepped/painted 440 engine and Trans and the beginning of the frt/rear suspension prep/paint and detailing... Stay tuned! |
|
|
|
Post by pete on Jun 29, 2020 14:30:06 GMT -7
Today: 440 6 Pack, minus the 6 pack (bummer) and some suspension stuff. Once I found the necessary parts to build a proper 440 6pk I set to work getting everything built out and in primer. I did add a small detail to the engine that normally goes un-noticed. Besides the vally pan fits horribly on these revell RB engines and I had to hide an ugly gap. Gaps everywhere and they seldom line up well with the heads and ends of the eng block. A few pieces of .010 X .040 strip plastic to fab up a pair of proper vally pan end plates (just like the real thing) and its problem solved. Bad gaps at the heads will be invisible once the intake manifold is in place.    Among the other parts I scrounged up was a proper 440 6Pk air filter assembly. The one on the right is a revell piece, the orange one on the left is the proper one and, its a much more detailed part. I will strip it and re paint it all with the engine. (And I have a little trick to spice it up a bit in the detail department)   Ta Daa! primed and ready for the Hemi orange paint. After finish paint and a day to dry, I gave the engine and oil pan a coat of Tamiya semi gloss clear. I left the air filter assembly glossy since they were never painted with the engine and came from a separate vendor already painted and ready to install.(Sometimes the color was off too) Besides, decals lay down better over glossy finishes.  Too shiny  Better with semi gloss. |
|
|
|
Post by pete on Jun 29, 2020 14:38:46 GMT -7
As for the air filter assembly: AMT gave a lot to work with here so...Far be it for me to ignore the potential!! If your throwing out an old pair of sheer curtains. Cut off a chunk to have around for air filter material. cut a strip to go all the way around the filter. Get out your favorite canopy/window glass glue and carefully glue the material in place.   once the glue dries...Trim it to fit and glue the air filter assembly together, put on your decals and call it good!  And heres a teaser for ya...  |
|
|
|
Post by pete on Jun 29, 2020 14:57:22 GMT -7
Front suspension parts. Not many here but the detail is very good. Lots to work with. I did decide not to make the front wheels poseable here. To many other fish to fry with this build.   After cleaning up all the mold parting lines and the slight amount of flash I went right to paint with this stuff. Mr Color 1500 Black ( This black is awesome if you are doing a proper 50s' hot rod with a flat black paint job) After the black is dry, its time to pick out the details. Lower control arms get a dark gold coating to simulate the cosmoline the arms were coated in when built. They were bare steel and had to be protected from the elements while waiting in bins to be used on the assy line. A dark anodonic grey (metalizer from Testors) for the spindles some steel for the tierods/center link and more metalizer for the sway bar. Finish it off with a few assembly line inspection marks. The orange paint mark on the K member denotes a big block (B/RB) engine. If it had an H written on the orange it would denote a Hemi application. Red and green swatches on the steering knucles to denote left/right. gloss black paint on the torsion bars to top it off and its on to other things. Next installment will deal with the rear axle/suspension. Stay tuned!!! |
|
|
|
Post by pete on Jun 30, 2020 17:14:03 GMT -7
 OOPs!! didn't mean to put this here...tiger tail, its great for making scale parking brake cables and other things....Todays installment: Rear suspension and other things. I dug this out of my super secret stash of way cool doo dads. Its a complete set of drum brakes, with Drums/Backing plates/Brake shoes W/hardware, hubs/wheel studs and you guessed it! A pair of splined on one end, axle shafts... I know right?.. Ill be using the rear backing plates for sure and maybe the drums. ( i'll know about the drums for sure, once the steel wheels get here from Fireball model works)I drilled 2 holes in each backing plate for brake lines and E brake cables, a hole in each front caliper for a brake hose, Then painted it all to match. Since this car is a 440 6 pack/4 speed car it gets the Dana 60 like a Hemi/4 spd car would. After putting a coat of semi gloss clear over the axle housing and diff cover, its on to the details. Get out your mopar decoder rings gang! here we go... 3 orange hash marks on the bottom of the diff along with a number on the diff cover (in this case a 9) Denotes a 3.91:1 Axle ratio. The yellow hash in front of the orange ones denotes a limited slip diff. Yellow splotch on diff cover fill plug means the diff is oiled up. Blue line shows where the junction block for the rear brake lines/hose goes on the axle tube. I could have done more but, enough is enough here. After gluing a piece of plastic square stock painted gold on the axle tube, its was time to bend up a pair of brake lines, glue em in place and put the E/parking brake cables in place. Then the leaf springs were glued in place and the whole assembly was set in place on the chassis to set up/dry in its final install position.       I seem to have lost the pic with the cables installed...  Next installment: An exhausting fiasco and maybe I'll find that missing pic. Thanks for looking and stay tuned!! |
|
|
|
Post by mustang1989 on Jul 1, 2020 3:22:10 GMT -7
That trick with the air filter is tha "bee's knees" Pete. Really doin' this one up nicely pal.
|
|
|
|
Post by pete on Jul 1, 2020 16:26:10 GMT -7
Thanks Joe! I'm just rollin' along...Oh hey...Its time for those exhaust tips to show up...
|
|
|
|
Post by pete on Jul 1, 2020 16:52:33 GMT -7
Todays installment: Exhaust system...Ok so you change the kit from its as engineered design, expect a bit of a fiasco somewhere. I knew I would need to alter the head pipes where they meet the manifolds. Figured I would just use the pipes off the Revell manifolds...Nope...Not happening.   I changed the manifolds to AMT pieces...Ok AMT exhaust head pipes right? No again, system just didn't fit the chassis right. Pipes were wrong diameter so, not grafting em to the revell system.  We have all heard the phrase "your own worst enemy" Yeah, I ended up doing what I fully expected to have to do anywhoo. It was a fiasco of my own making lOL...Wasted 2 hrs scrounging and fitting. I just fabbed up a pair of head pipes from some left over sprue...Used these two 90 deg bends.  Of course I had to mock up the engine/trans in place to fit it all up and proceeded to, cut/shave/sand and cut some more till... I ended up with a fit that will be seamless once sanded and painted. 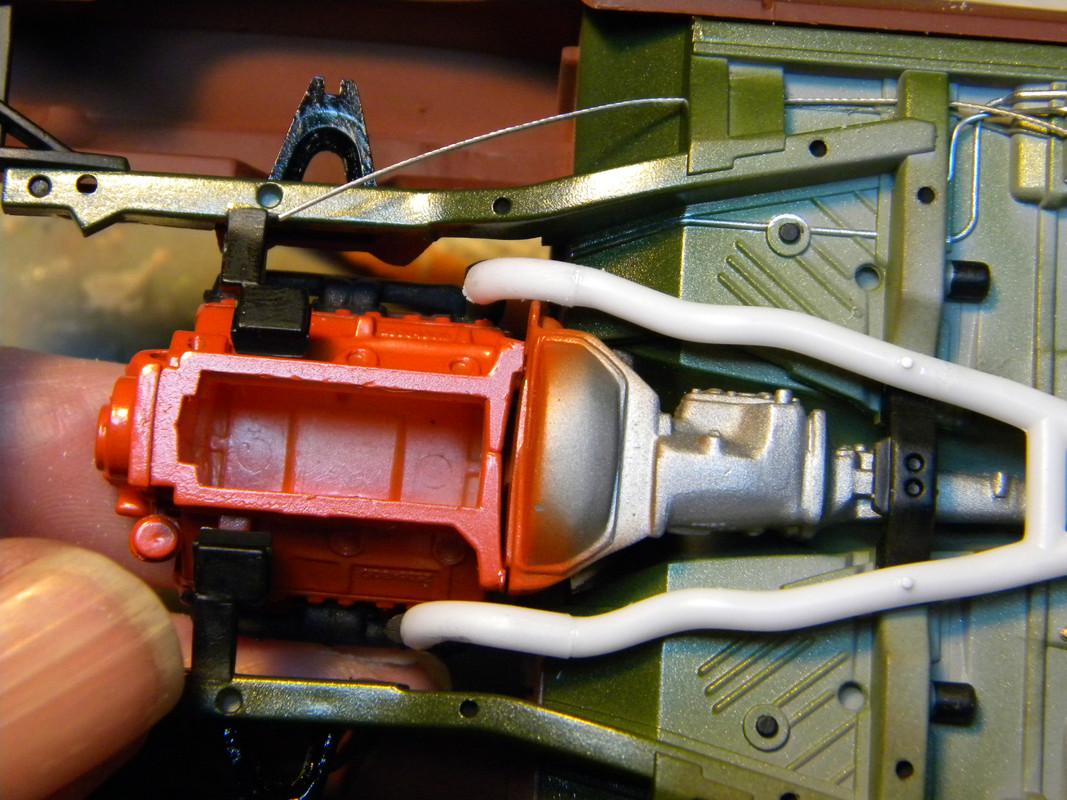 Yeah, had to pin the pipes to the trans cross member to keep it all in alignment   Once the glue fully dried (I gave it 24 hrs for a solid bond) I sanded all the seams and blended em out.  Then it was onto paint and a little heat discoloration to finish it up.  |
|
|
|
Post by pete on Jul 1, 2020 17:29:19 GMT -7
Now...I did say I had something in mind for the chrome exhaust tips. I had 2 choices, either work with the kit pieces or fab my own with some aluminum tubeing. So heres attempt #1: My dentist is a cool dude. I asked him once (yrs ago) What do you do with the worn out cutting/grinding bits and drills once they are dull and used out? He said that he just throws them out. I asked him to hang onto a few for me. "I can use them in my model building" So here is one of em. Its a mill type bit good for drilling and grinding/shapeing.(Been using it for at least 10 yrs) Yeah, makes your teeth vibrate just lookin at it!  First I drilled a pilot hole clean through the tips. Then opened the hole up with a larger bit.  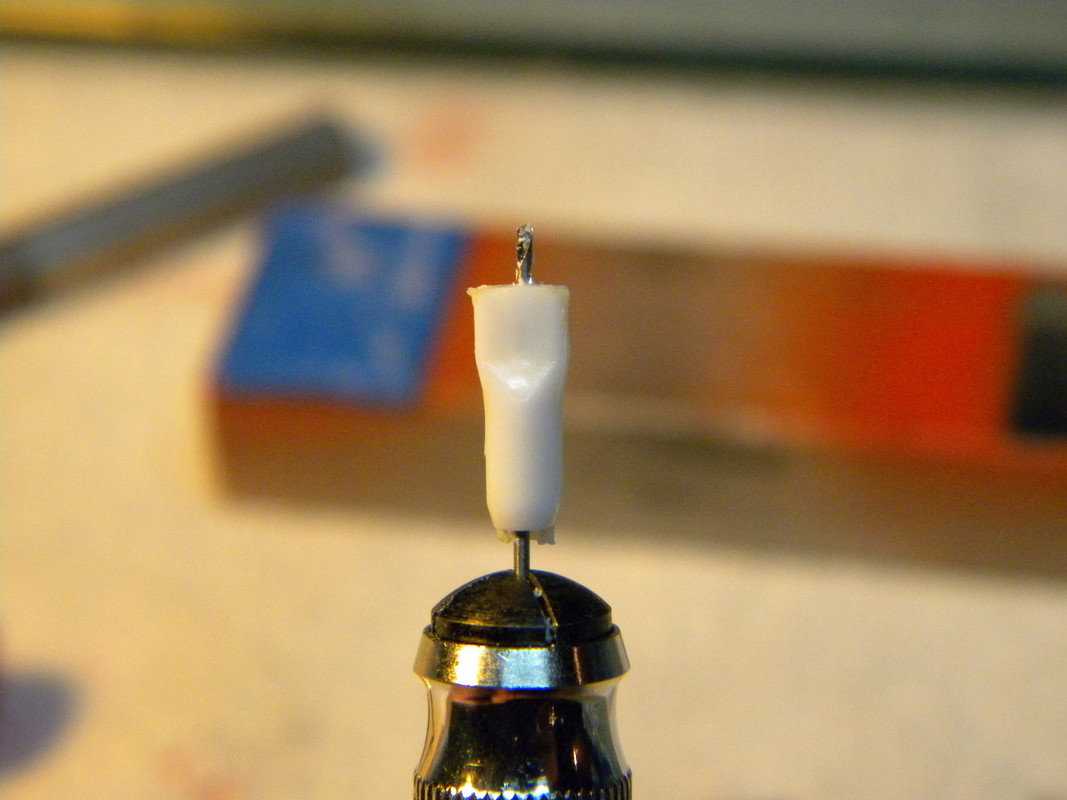 Then while holding each tip in my fingers (Tightly) I very carefully ground out the ends, removing enough material to allow me to finish em out with a small file. The black line you see in the pics is a reference line drawn on the edge with a sharpie. Gotta have a line to denote your margin. Grind out too much material and the edge will disappear.  Once filed out and finish sanded.( Yes I did cut an angle to the tips) Thanks MRMike!! They look like this.  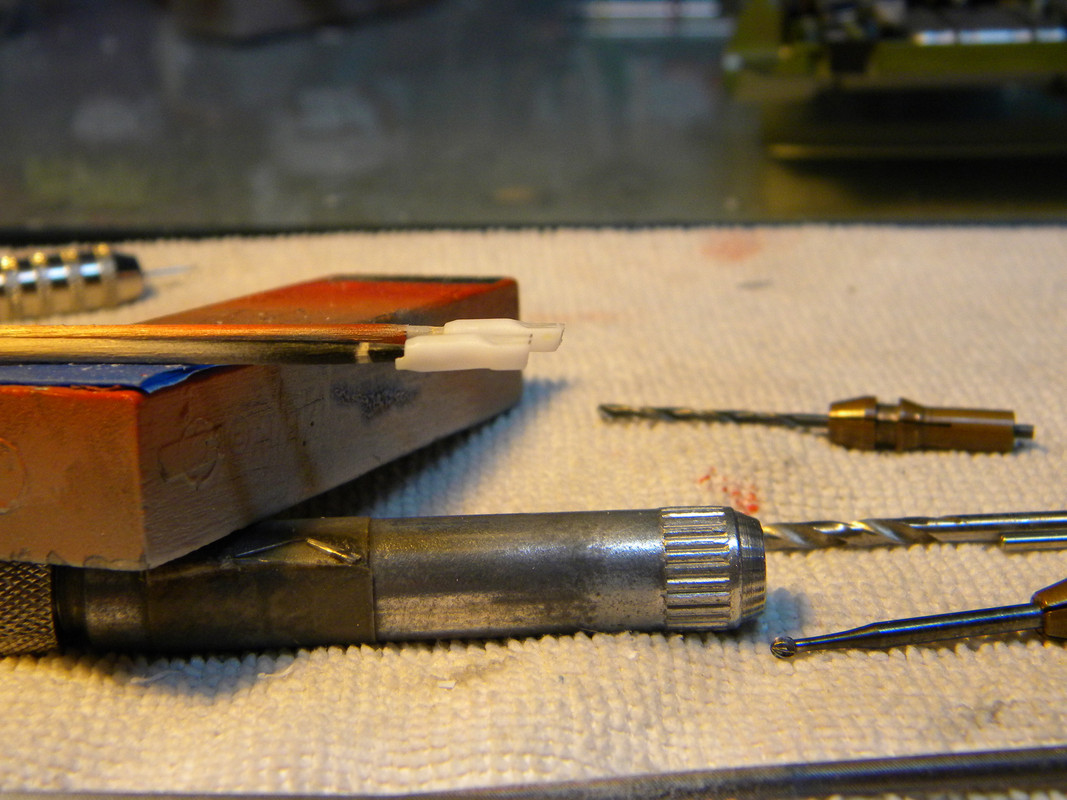 I then drilled a hole in the end of each tail pipe to carry a pin that the tips will attach to. Once chromed along with the other parts that require it they will look like the real deal. Heres a shot of the exhaust system permanently mounted to the chassis along with the rear axle and those Parking brake cables.  Next installment: Fiddly bits and other detail oriented make you go cross eyed stuff. Stay tuned!!! |
|
|
|
Post by leon on Jul 1, 2020 17:58:00 GMT -7
WOW...This is getting detailed to the max Pete!
very impressive work there.
|
|
|
|
Post by pete on Jul 2, 2020 18:39:28 GMT -7
Thanks Leon. Glad your enjoying the madness that is my mind...LOL...
|
|
|
|
Post by pete on Jul 2, 2020 19:00:21 GMT -7
OK, Fiddly bits and some detail stuff: Fiddly bits first, All the little chotchkeys that go on the car here and there. (minus a few I forgot about)  I treat all these items as models in and of themselves. I cut em, sand em, drill em and make em look as proper as I can before paint.  I made a driveshaft as well (I usually do) From 3/16ths & 1/8th inch aluminum tube. Grafted the kit U-joints to it after a little polishing and paint. 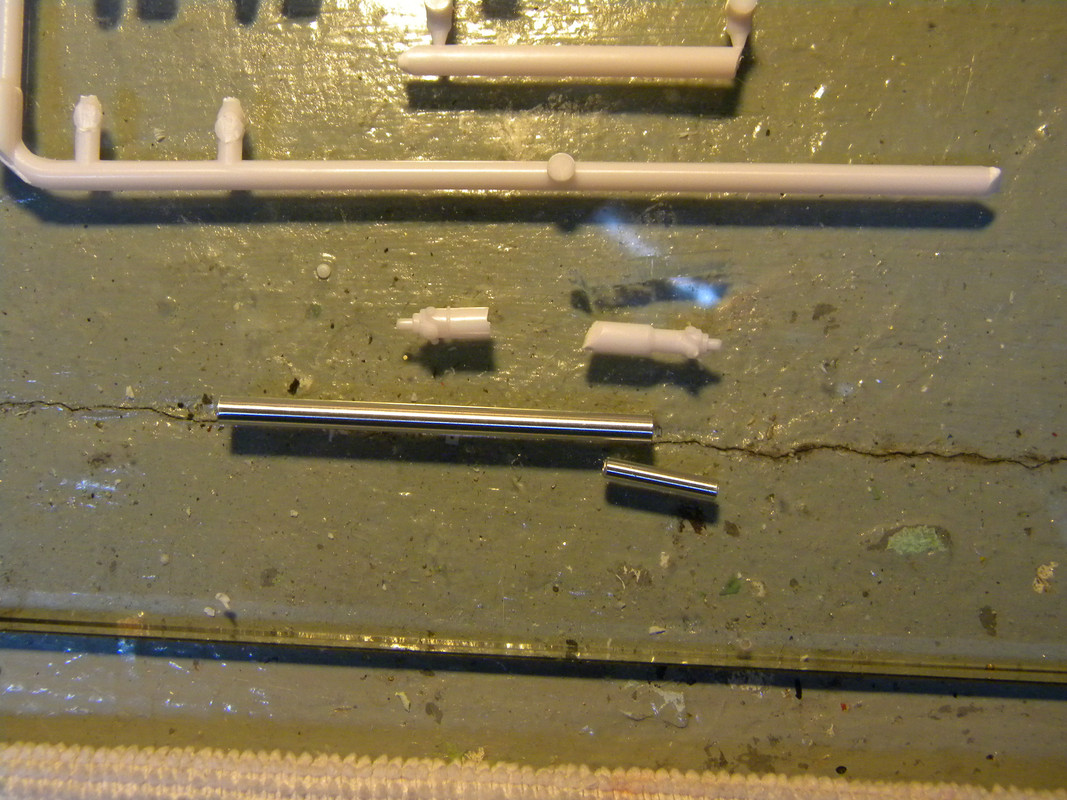  Heres a test fit of the finished drive shaft.  And a little teaser for you since it may be a few days before I post up another. Gotta get the ole homestead ready for guests this Saturday, get the food prepped, booze chilled etc...  Next installment will deal with the interior. Stay tuned!!! PS: If your wondering why the fan is aluminum and not black. All Hemi/ Hi Output engines got an aluminum fan assembly since it was lighter than its steel counterpart. |
|
|
|
Post by mustang1989 on Jul 3, 2020 3:13:35 GMT -7
Nice job on that driveshaft Pete. Really brings a new level of detail to the chassis.
|
|
|
|
Post by leon on Jul 3, 2020 3:30:52 GMT -7
Great looking drive shaft Pete! A lot of nice detail work going into this.
|
|
|
|
Post by pete on Jul 6, 2020 11:33:23 GMT -7
Interrior...Probably my least favorite thing out of the whole build.(Unless its a convertible) Sometimes I think I should just paint all the glass black and call it good. LOL, I think its because I save it for last and by the time I get to it, i'm burned out. Or its because its all so difficult to see in a car with a roof, when its all done. Then theres the color choice. I love black interriors but they can be plain looking even with different finishes/sheens on the various components to bring em out. Well, enough of my ranting right? here goes: I cleaned up all the parts. Filled seams on the front seats (still gotta sand that stuff down) Thinned down the peadal stalks, they are always too heavy and decided on a color for the whole office. Nope! not black. Since the body color is Ivy Green, basically metallic Army green. That's what I went with for the interior...OLive drab...LOL. 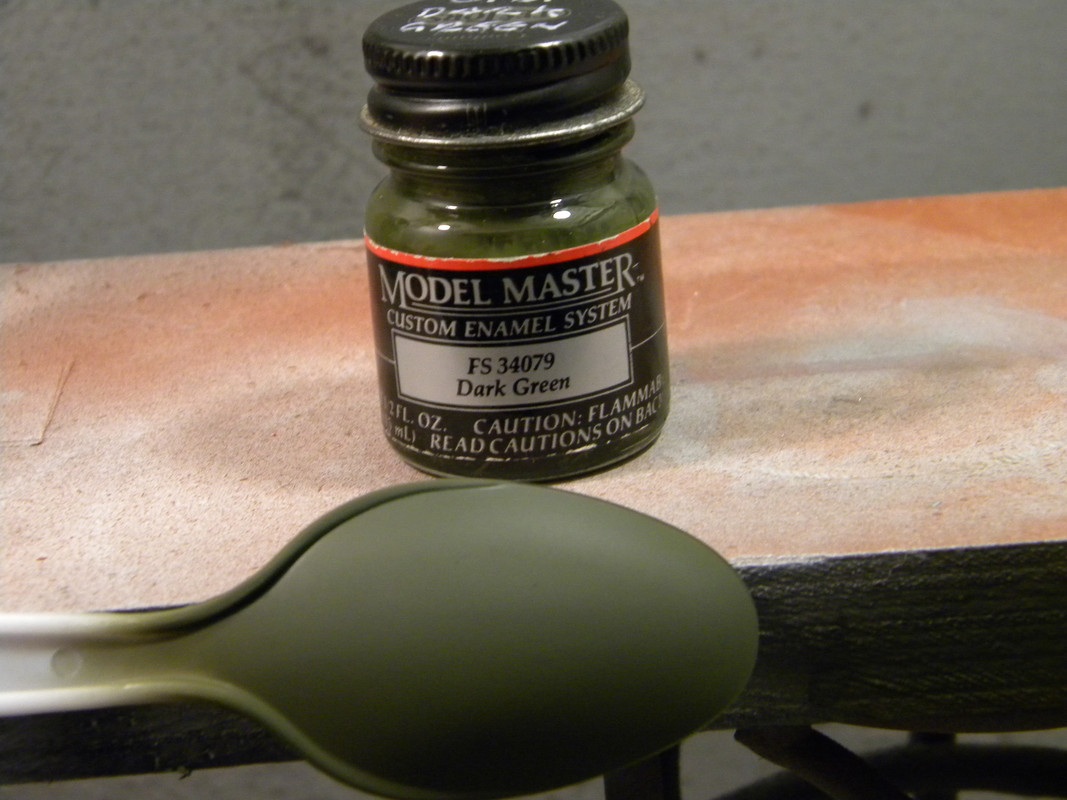  Relax...I have a plan. I am a bit of a mad scientist when it comes to paint. I will try things that probably shouldn't be done or shouldn't work but...  You see where I m going with this now... This will make the OD green a dead nutz ringer for mother Mopars Ivy green interior color. One pass with the pearl clear, and Bobs your uncle!    Next installment: More interior drudgery...Semi gloss clear over all of it and chrome details/wood grain ETC...Stay tuned!! |
|
|
|
Post by leon on Jul 6, 2020 13:52:37 GMT -7
WOW...That looks awesome Pete!
|
|
|
|
Post by pete on Jul 6, 2020 15:16:05 GMT -7
|
|
|
|
Post by pete on Jul 7, 2020 19:56:01 GMT -7
Ok, more interior drudgery: Finally sanded down the filler in the seat seams. Painted em up. Yeah, olive drab, then pearl clear/semi gloss clear. A little seat belt hardware...Ta daa! 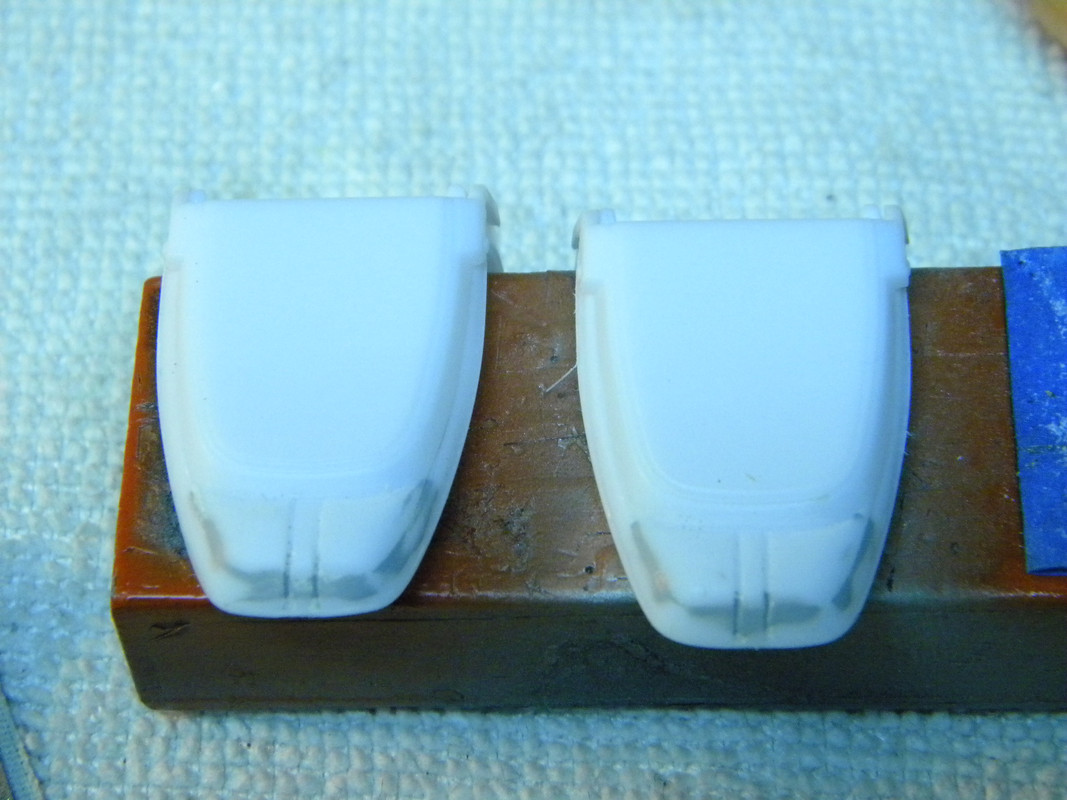  Got the console and instrument panel finished out...Yeah, 4 applications of microsol a little heat and the decal FINALLY laid down. Wood grain on the console basically installed itself, laid down just fine. A little Molitow chrome on the details...   OK OK I know, LOL, the carpet is black so are the seat belts and they should be green like everything else. I like contrast and I have seen an original owner 69 Super Bee in Ivy with an Ivy interior and a black carpet, original car. (No it wasn't restored) Hey, Chrysler did some odd stuff back in the day. like putting a vinyl top on a car that shouldn't have one...They would do that if the roof skin was wavy or the paint was ugly on the roof. It was cheaper and faster than correcting the roof or the paint on the assembly line. Ford was notorious for this too. Yeah some PE emblems on the door panels and a little Molitow chrome pen action here too.  And now for the finished product, from several angles...    Next installment may be final prep for paint, my parts from Fireball model works are taking their own sweet time. Its holding up my fine detail work on the engine soo...yeah  Stay tuned!! more to come... |
|
|
|
Post by DeeCee on Jul 8, 2020 1:47:27 GMT -7
WOW!! That interior looks just amazing Pete.... as good as the real thing mate, this is going to be one MASTERPIECE for sure... and it's a Mopar, even better  |
|
|
|
Post by mustang1989 on Jul 8, 2020 3:16:03 GMT -7
Yes, Yes and YES!!! For a guy who doesn't like interiors much you sure made it all look like it's your favorite part of auto building Pete. You really brought this to life.
For some crazy reason I really enjoy interiors. I guess being a trimmer in the dealership got me used to working in places like that. lol
|
|
|
|
Post by lowlife on Jul 8, 2020 4:27:42 GMT -7
Very nice build Pete, and apologies I've not commented before !
As it's been said, a true masterclass for model building. A lot of this thread applies to every car model we build, build every part like a model in itself !
Great thread, I've enjoyed catching up with your progress, and look forward to more !
|
|
|
|
Post by pete on Jul 8, 2020 8:45:06 GMT -7
Thanks for the kind words gents  I really appreciate it. Makes the effort all the more enjoyable. Dale, its a Mopar, its gotta be top notch...LOL...I want your Valliant ute by the way. We never got cool stuff like that here. Joe, I do the occasional upholstery work/head liner on the real deal from time to time, and enjoy it too. I think the better the available detail in a kit the happier I am about the interior. This one was nice to work with. I Just wish Revell would make up their minds about instrument panel detail VS decals for instrument detail... Martin, no apologies necessary man! Just glad you tuned in to see the madness that is my mind LOL...Its my hope that every one who does tune in gets something out of it, be it inspiration ( As I have found here) or a tip/concept that helps someone down the road. You sir are a surgeon! I don't know if I would cut up a car to the extent you do and I aint scared of nuthin! Keep tuning in, theres more madness to come!! Pete |
|
|
|
Post by pete on Jul 8, 2020 17:07:17 GMT -7
OK... I couldn't leave the kit supplied turn signal stalk in place...It was an ugly oversized blob. I fixed it! Once the white glue dries, a little touch up and its good to go!  |
|
|
|
Post by mustang1989 on Jul 8, 2020 18:11:42 GMT -7
I like it.....a lot better. You gonna put some keys in that bad boy Pete? That really steps things up a whole nuther level in any interior.
|
|