|
|
Post by mustang1989 on Jul 31, 2024 9:57:16 GMT -7
I worked on the suspension yesterday and today and sanded all of the molded in wiring off of the inner fender liners/ engine sidewalls. I'll be going back with actual wire harnesses from scratch on this one. I had the front suspension all painted up and ready for the application of tonal variations between parts when I noticed something off. One thing I learned at the Nats was not to "let certain things go" and I almost did it here. See the mold lines going chordwise on the leading edges of the control arms? 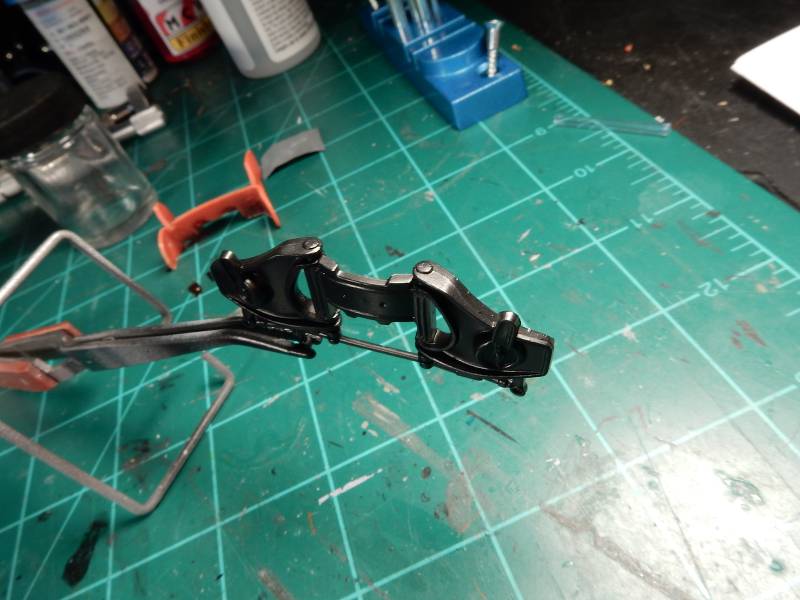 I sanded them off and re-applied the paint. There.....much better! 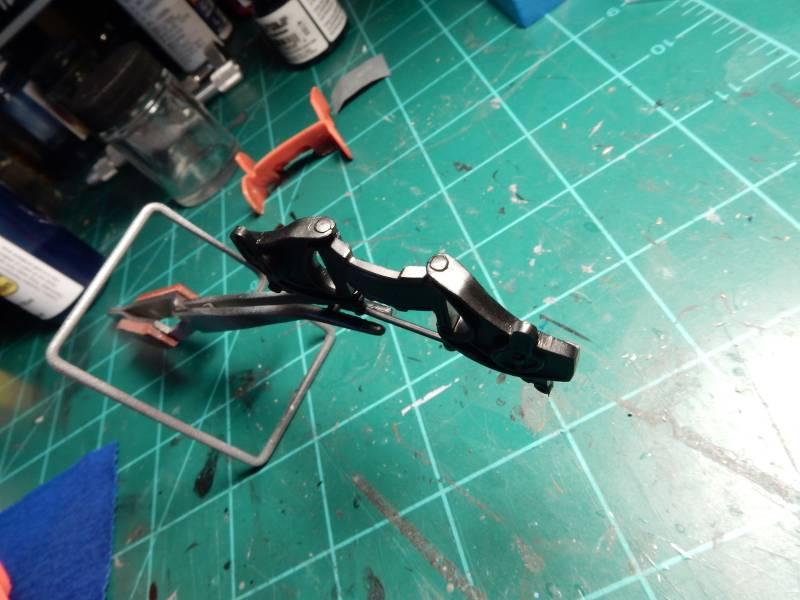 This is around two weeks work and believe me.....what you're seeing here is anything but a boring black suspension. There are 3 different shades of that color along with some other similar but different colors splashed here and there. Still gotta put the brakes and wheel backs on, install the crossmember and exhaust system and apply black BMF to the fuel tank retaining straps. 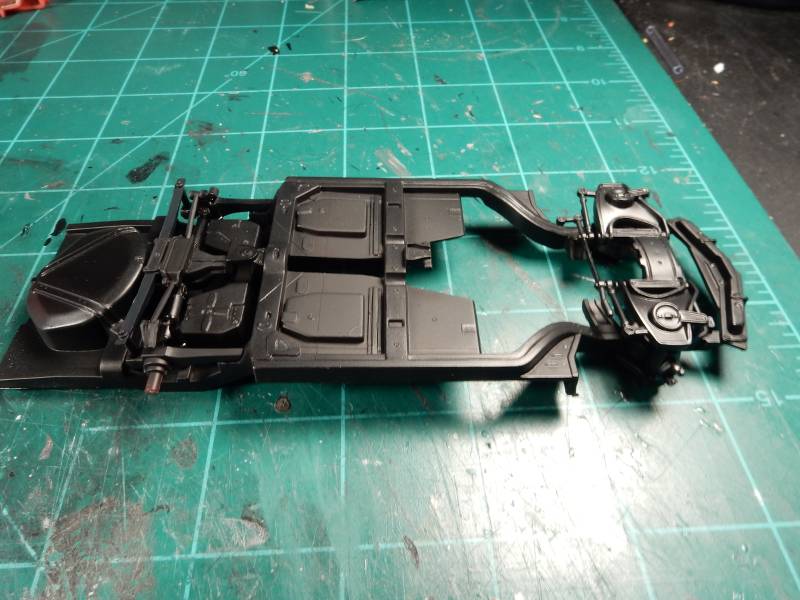 |
|
|
|
Post by mustang1989 on Aug 1, 2024 11:56:53 GMT -7
Little bit by little bit the chassis is getting more complete. About the only things I have left to do now is the exhaust install, apply black BMF over the fuel tank retaining straps and tone down that crossmember to a semi-gloss finish. That'll be easy enough to do as it's just laid in place in the photo below. I will say that getting the exhaust pipe placement may be a little tricky but what I'll do to help that process along is to build another mockup engine from one of the three kits that I have of this car and tack into the chassis so that they'll be in just the right spot. 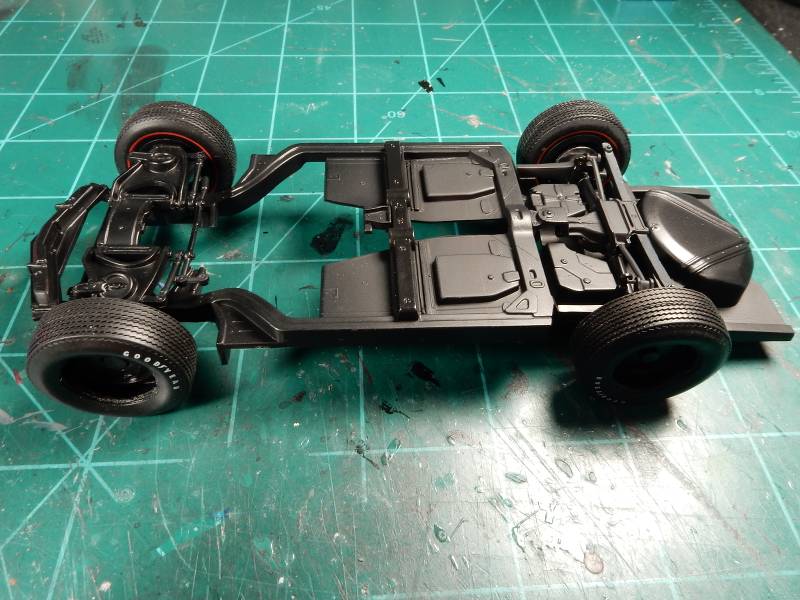 |
|
|
|
Post by poet on Aug 1, 2024 13:31:19 GMT -7
Lookin' good!
|
|
|
|
Post by mustang1989 on Aug 3, 2024 6:32:12 GMT -7
Thanks Dennis!! Had some time today to get some major progress done in regard to the chassis. Managed to clean the exhaust pipes up of all mold lines and paint them up. Mufflers were treated to a Matte Aluminum BMFing. I mocked up a spare engine and set it in place with the chassis upside down to give me an idea of where to position the exhaust and once positioned, installed the crossmember and glued everything into place. I also received my Black BMF in the mail yesterday so I was able to put that down over the fuel tank retaining straps. Pretty much finished up here save for the exhaust tips installation which will happen once the body is installed permanently over the chassis/ interior module. 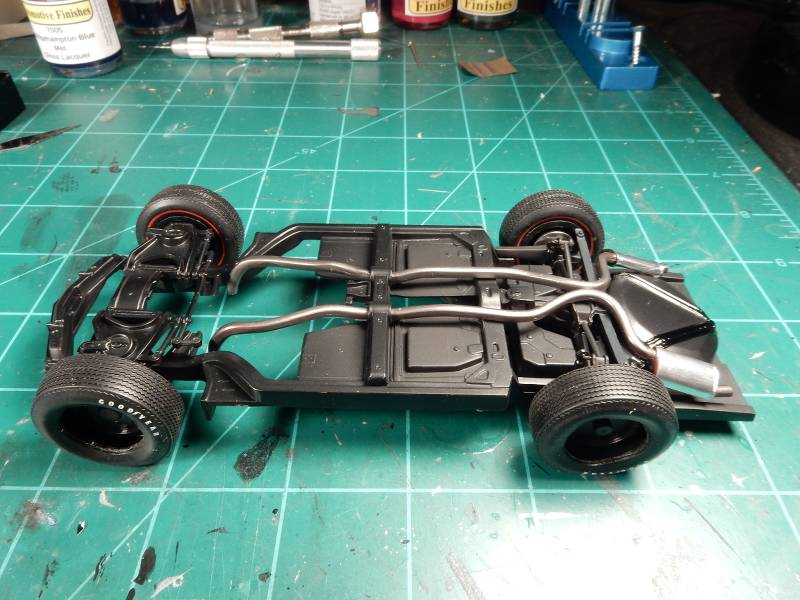 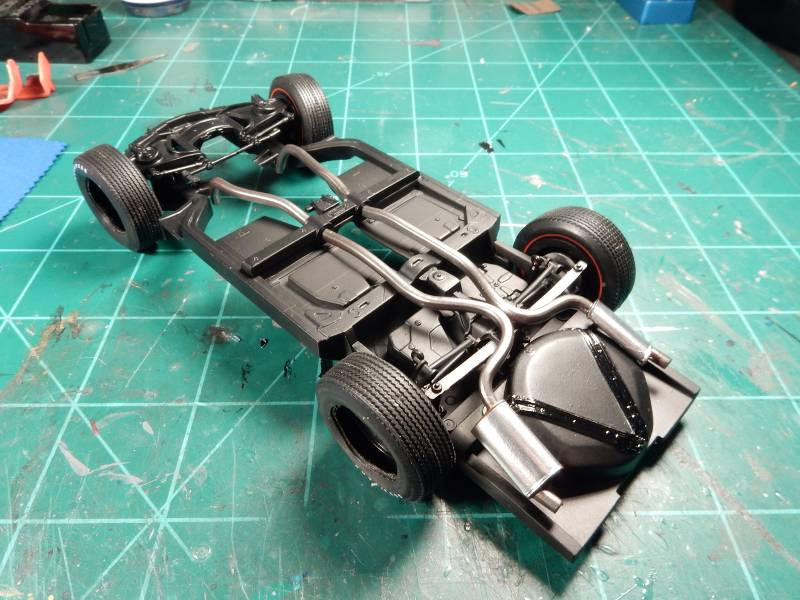 |
|
|
|
Post by mustang1989 on Aug 4, 2024 14:46:07 GMT -7
Alright folks, I've been working on the drivers side inner fenderwell on the engine side installing the headlight door vacuum lines and electrical harness. I ended up making a harness retaining strap out of a strip of PE formed and painted black. The real thing: 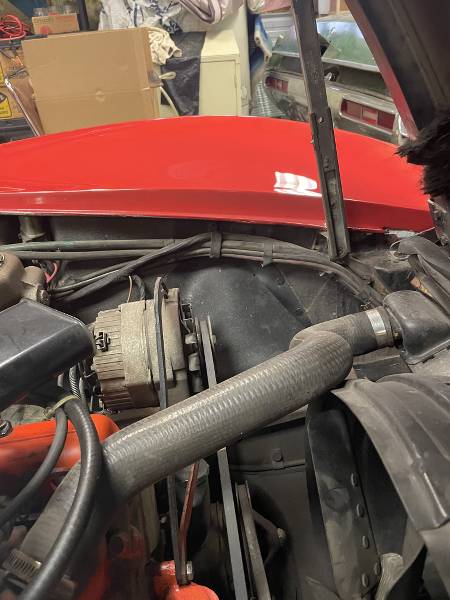 and the replication: 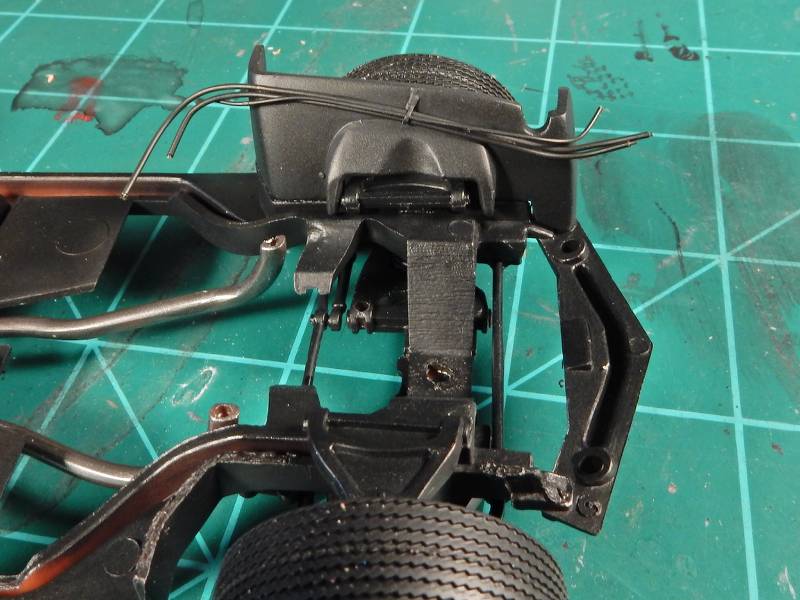 |
|
|
|
Post by sharp on Aug 4, 2024 15:27:36 GMT -7
This is looking awesome Joe! Love the details your putting into this one. Great work as usual bud.
|
|
|
|
Post by DeeCee on Aug 5, 2024 0:26:53 GMT -7
Some amazing work on those small touches mate, love the detail !
|
|
|
|
Post by Deano on Aug 5, 2024 2:09:16 GMT -7
This is a stellar build Joe, stunning stuff mate!
|
|
|
|
Post by mustang1989 on Aug 6, 2024 13:16:12 GMT -7
This is looking awesome Joe! Love the details your putting into this one. Great work as usual bud. Thank you Mike!! Some amazing work on those small touches mate, love the detail ! 'Preciate the comments Dale! This is a stellar build Joe, stunning stuff mate! Tim ol' buddy!!! Thank you as well bud. |
|
|
|
Post by mustang1989 on Aug 6, 2024 15:38:44 GMT -7
The firewall is almost complete with only the brake lines to fabricate & install on the master cylinder and then the vacuum line to the headlight actuator. I picked out the firewall wiring with a black lead pencil and then painted the standoff clamps a flat black and then picked out various other details. 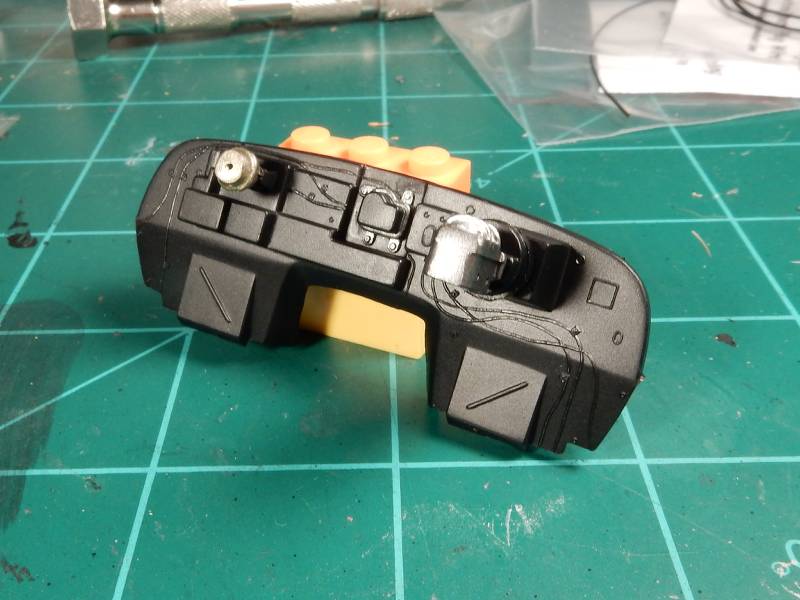  aaaaaaaaaaaaaaaaaaand .....the body is now in primer. I've got a couple of areas to work on but they're not big issues.  |
|
|
|
Post by mustang1989 on Aug 7, 2024 13:18:34 GMT -7
Here's the engine bay progress so far. Got a couple of more things to add to it but I'm pretty happy with where it's all at so I wanted to put a shot of it where it stands as of now..... 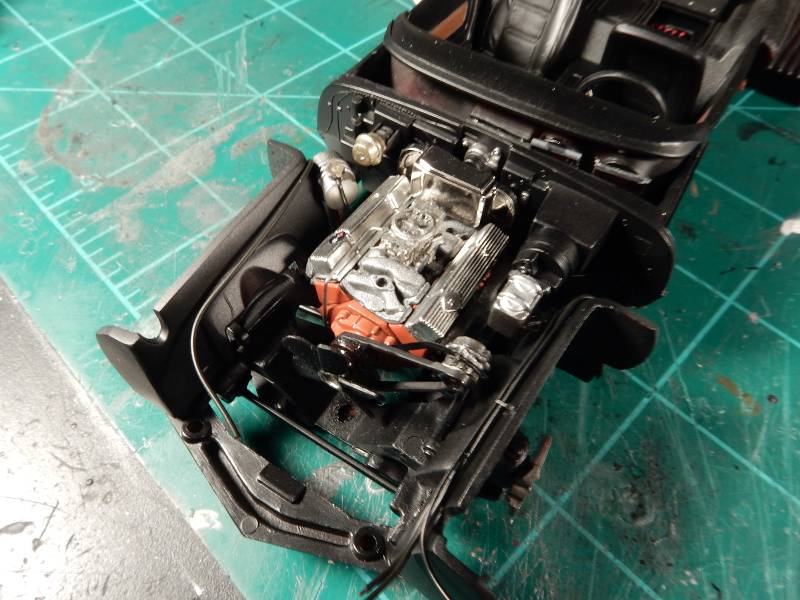 |
|
|
|
Post by mustang1989 on Aug 9, 2024 16:38:23 GMT -7
I finally got the chance to put some color on this bad boy. No wet sanding or anything like that yet....just color. I'm pretty happy with this. 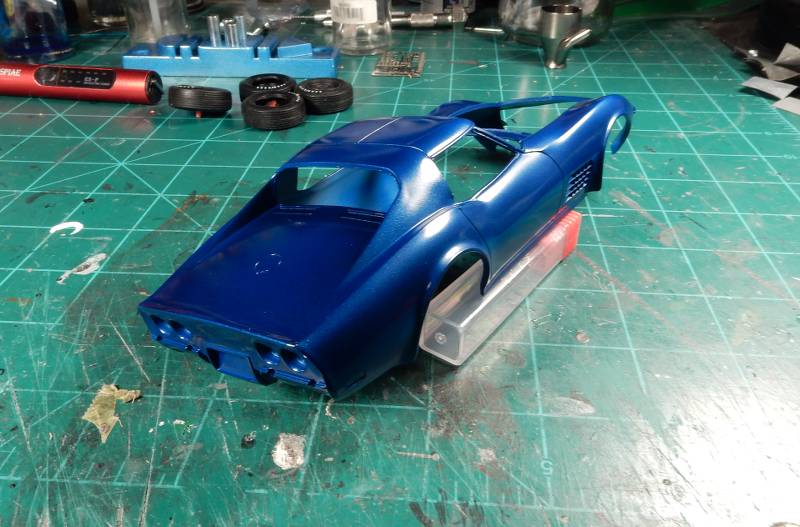 |
|
|
|
Post by DeeCee on Aug 11, 2024 3:52:15 GMT -7
That is one very nice blue mate.
|
|
|
|
Post by poet on Aug 11, 2024 6:24:57 GMT -7
Beautiful blue!
|
|
|
|
Post by sharp on Aug 11, 2024 7:21:27 GMT -7
Beautiful work as always Joe. Love that shade of blue you put on it.
|
|
|
|
Post by mustang1989 on Aug 11, 2024 17:07:24 GMT -7
That is one very nice blue mate. Thanks Dale. I fell in love with the color the moment I saw it. 'Preciate it Dennis!! Glad to have you back brother. Beautiful work as always Joe. Love that shade of blue you put on it. Mike!!! Always good to have you along buddy. |
|
|
|
Post by sharp on Aug 11, 2024 19:24:07 GMT -7
That is one very nice blue mate. Thanks Dale. I fell in love with the color the moment I saw it. 'Preciate it Dennis!! Glad to have you back brother. Beautiful work as always Joe. Love that shade of blue you put on it. Mike!!! Always good to have you along buddy. Glad to be here Joe. |
|
|
|
Post by RetroSpectKustoms on Aug 11, 2024 21:48:24 GMT -7
Excellent progress! that detail is superb!
|
|
|
|
Post by Deano on Aug 12, 2024 2:57:22 GMT -7
Each step forward here Joe just looks even better than the last 1, glorious work!
|
|
|
|
Post by mustang1989 on Aug 12, 2024 12:12:32 GMT -7
Excellent progress! that detail is superb! Thank you Bruce! Each step forward here Joe just looks even better than the last 1, glorious work! ' Preciate it Tim! I noticed that the engine was in the bay at a weird angle so I took some time to straighten everything up as well as to get the heater hoses formed and installed. I managed to make some heater hose clamps too. Still got the upper radiator hose, throttle linkage and a few other small details to go and then it'll be off to finishing up the car body and getting this thing to resemble a Corvette. 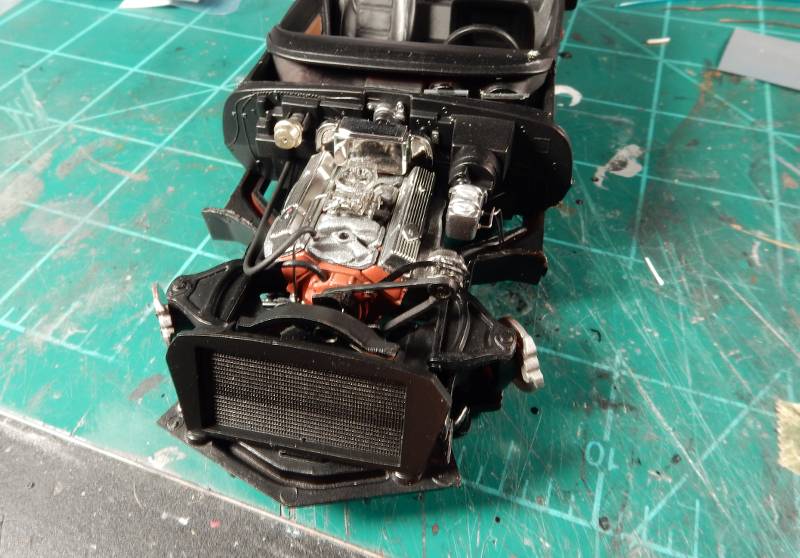 |
|
|
|
Post by mustang1989 on Aug 13, 2024 9:58:55 GMT -7
As with all detailed builds....a guy has to know when to call it and this is where I'm calling it. There are a couple more things that I could add but how far does a guy go? In any case....this part is completed. I'm now moving on to the car body so I can get this puppy wrapped up this month.  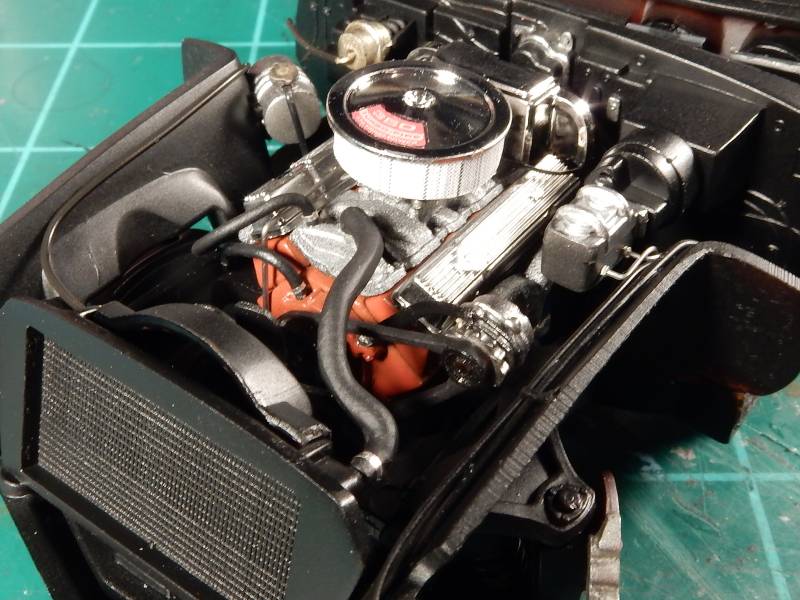  |
|
|
|
Post by transammike on Aug 13, 2024 11:11:07 GMT -7
You continue to do an amazing job on the 'Vette Joe. Gonna be a killer when done  |
|
|
|
Post by mustang1989 on Aug 15, 2024 4:20:38 GMT -7
You continue to do an amazing job on the 'Vette Joe. Gonna be a killer when done  Thank you for the vote of confidence Mike. I think I'm about ready to gloss the car body as I've got all the bare metal foil work done. There were also a couple of areas that I had to touch up some paint that got scuffed off somehow. I did cheat on the rear C O R V E T T E lettering by applying the kit supplied decal. The PE lettering was just WAY to large. After the gloss clear goes on I'll start the process of applying the emblems on it.  |
|
|
|
Post by RetroSpectKustoms on Aug 15, 2024 18:31:09 GMT -7
Body looks great Joe, and that engine bay is outstanding! Well done.
|
|
|
|
Post by DeeCee on Aug 16, 2024 2:37:16 GMT -7
Awesome engine detail mate, but i can not see how the PE lettering is too large..... I can not use PE stuff, as it is just waaaay to small to even see, so i don't know how anybody can actually use it..  |
|
|
|
Post by mustang1989 on Aug 16, 2024 5:04:14 GMT -7
Body looks great Joe, and that engine bay is outstanding! Well done. Thank you Bruce. This one has been a LOT of fun already. Awesome engine detail mate, but i can not see how the PE lettering is too large..... I can not use PE stuff, as it is just waaaay to small to even see, so i don't know how anybody can actually use it..  It depends on what visor you're using. LOLOLOL!! I use a ton of PE and now 3D decals on my aircraft detailing. If you haven't seen 3D decals yet, you're in for a real surprise/ treat on that. Let's look at what we're dealing with here: Tamiya F-14 cockpit from a fella named jkim and these are the 3D decals I was talking about in regard to all instrument and console paneling:  |
|
|
|
Post by Deano on Aug 17, 2024 0:24:52 GMT -7
Glorious work on the corvette aside, 3D decals?  Seriously??? Thought I'd seen it all! |
|
|
|
Post by mustang1989 on Aug 21, 2024 7:45:13 GMT -7
Glorious work on the corvette aside, 3D decals?  Seriously??? Thought I'd seen it all! Right??!! It brings a whole new level to modeling. Quinta has them for some auto racing cars, military vehicle and aircraft like that F-14 pictured. Hobbynut Models is a distributor for Quinta. |
|
|
|
Post by mustang1989 on Aug 21, 2024 12:18:06 GMT -7
To address the wheel and tire fit there's some work that has to be done. This is what the assembly looks like with no modifications using the chrome rallye wheels. OOB assembly on the left and modified parts on the right. 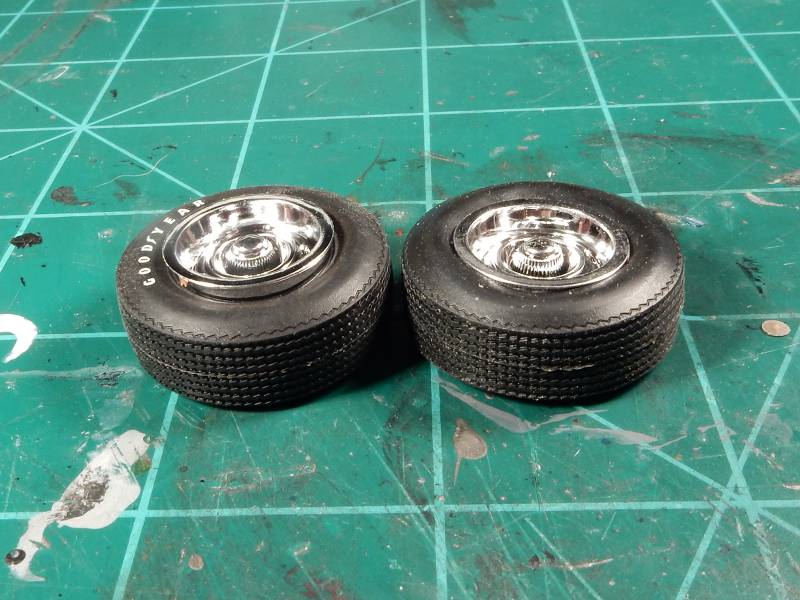 The wheel backs don't play nice either and cause the wheel and tire to stick outside of the wheel opening a good 1/16 to 1/8 of an inch 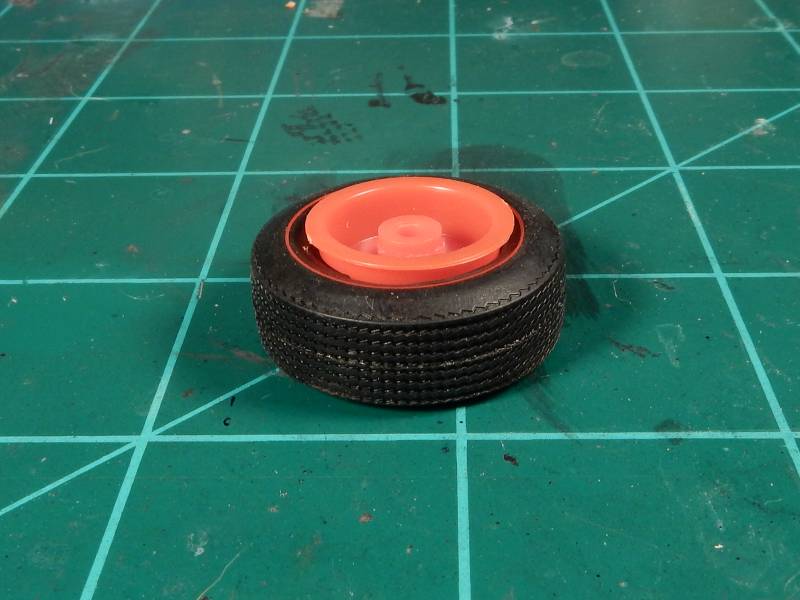 This is how much has to be taken off of the wheel backs AND the wheel to make everything look right. Unmodified parts on the left and the corrected ones on the right. 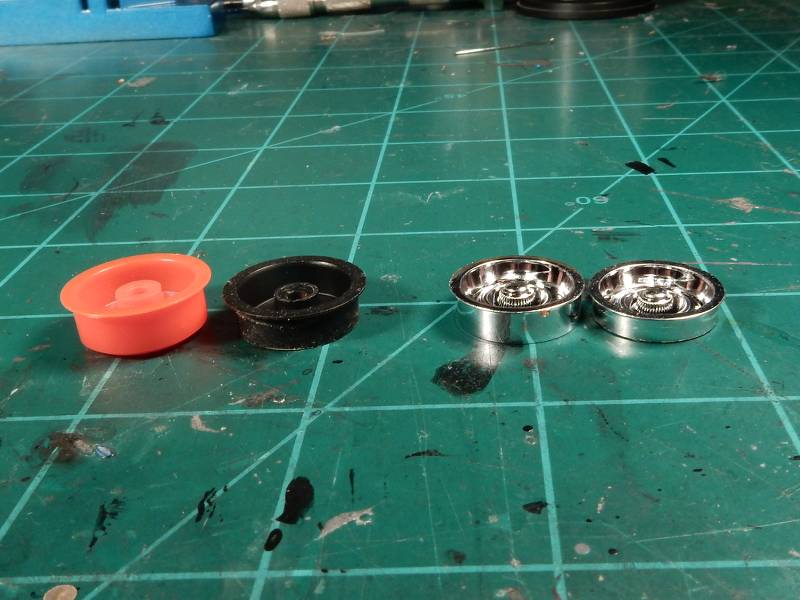 Corrected assemblies now ready for tread scuffing, BF Goodrich Radial T/A lettering decals and wheel painting and detailing..... 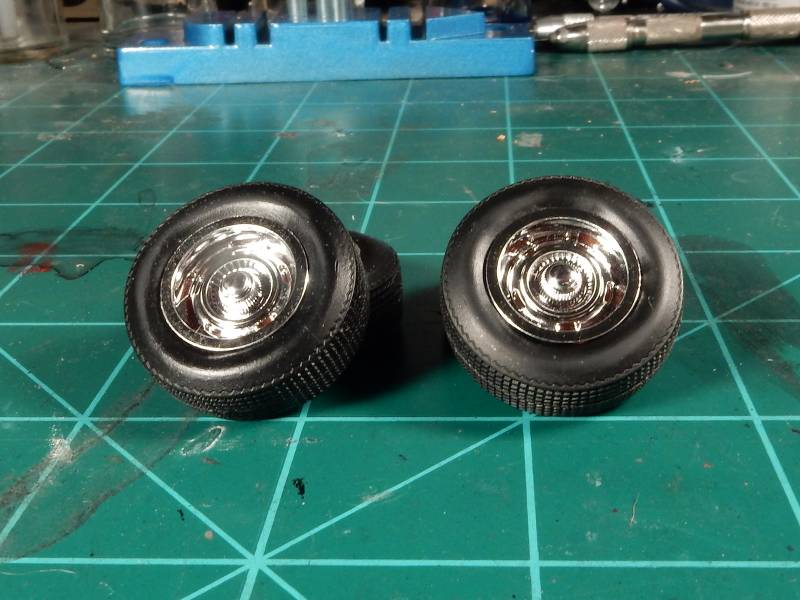 Let's not forget that car body now. This is JUST with the gloss coat applied. This still has to be wet sanded and polished to bring the shine out even more. Yeah......I'm good with this.....  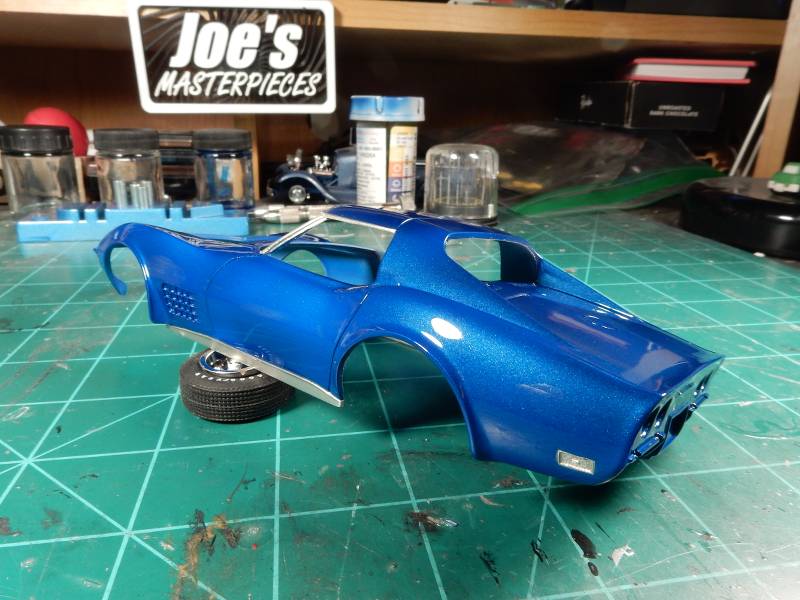 |
|
|
|
Post by Deano on Aug 22, 2024 1:10:41 GMT -7
It's a shame that kits come out with fit issues like this but, I guess better than no kit at all. Awesome stuff Joe!
|
|