|
|
Post by DeeCee on Dec 4, 2016 2:34:16 GMT -7
Not necessarily "WORKING", but it is movable . These are a bugger to lower and still look like it should. So this was an experiment, a bit more work than usual, but will look correct. With what you've done already a couple of springs from a pen, a q-tip stick and some thin rod to fit inside and it should work since your half way there already. I thought about that too Les, but how far do you go on parts so small i can't see them to fabricate... cant-believe-my-eyes-smiley-emoticon Instead, i got the fuel cell fitted, and the chassis chromed..  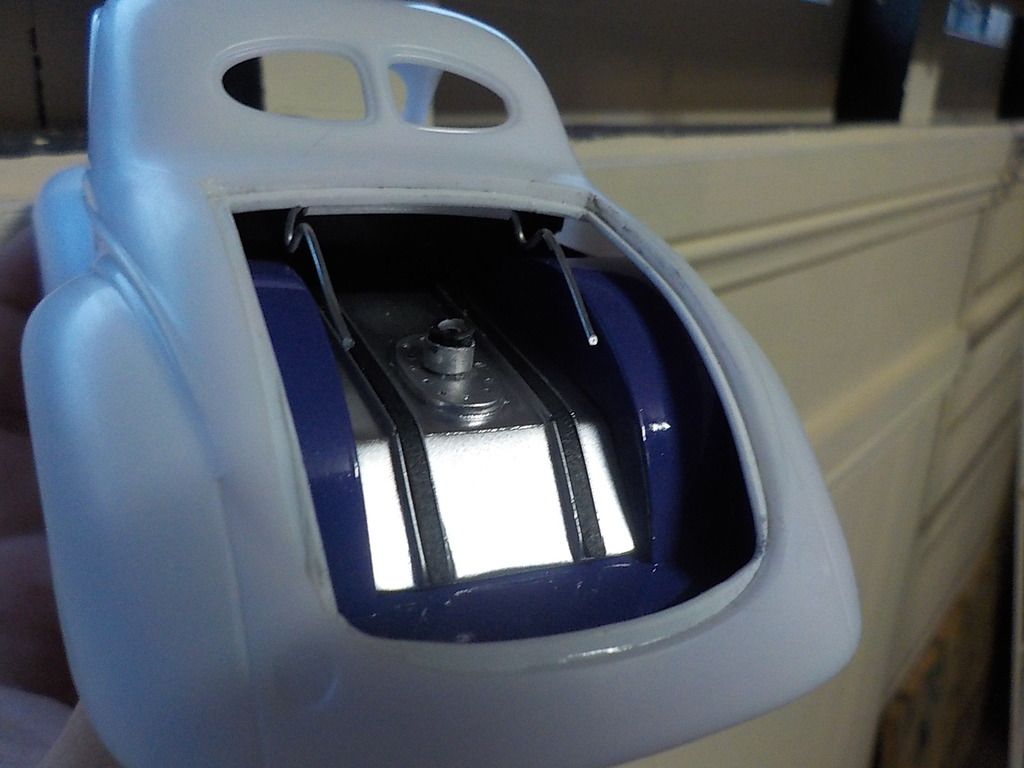 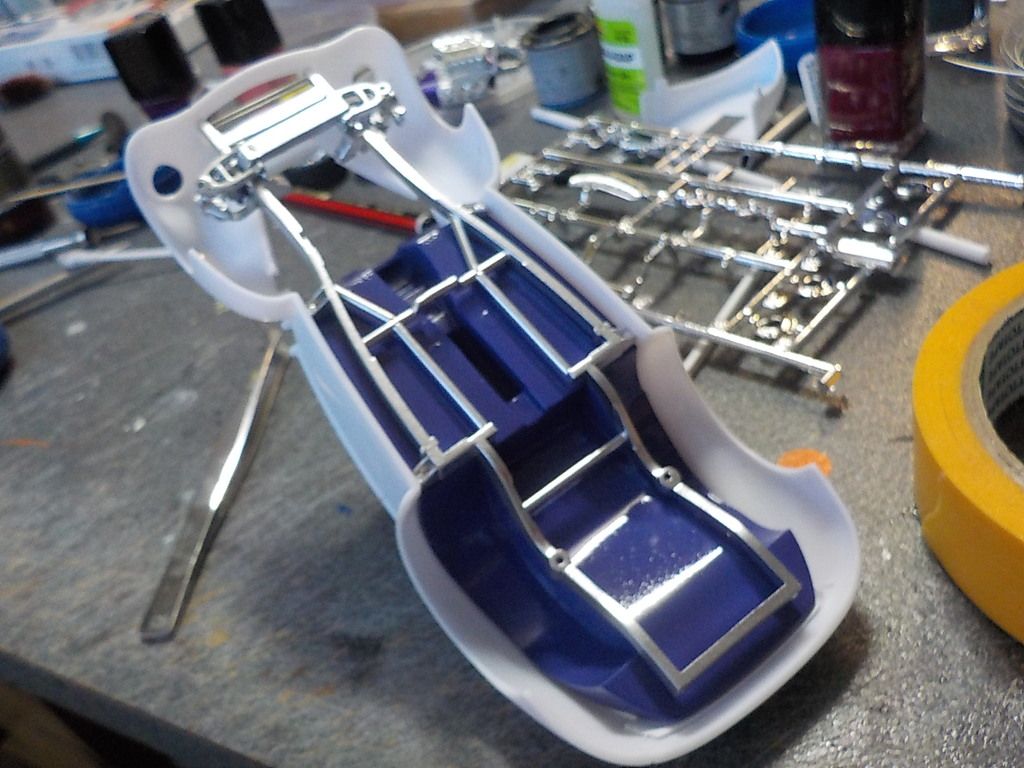 |
|
|
|
Post by mustang1989 on Dec 4, 2016 3:31:29 GMT -7
That fuel cell looks as snug as a bug in a rug in there Dale. Chassis looks sharp as well. Taking notes for my 41 for when I finally get that on the bench. icon_writing_zps7tebrblw
|
|
|
|
Post by coyotecrunch on Dec 4, 2016 7:49:40 GMT -7
Neato Bandito!
|
|
|
|
Post by vcv8273 on Dec 6, 2016 6:21:01 GMT -7
That's looking sweet Dale and all the scratch building is spot on. Have the same problem on the willys I'm building at the moment trying to replace the original springs and shocks. The originals are bad enough to try and detail they're so small never mind trying to scratch up a set so I have settled on using the originals. Also dont mind those rims you have on it at the moment gives it its own look. Cheers Steve
|
|
|
|
Post by 406 Silverado on Dec 6, 2016 7:20:31 GMT -7
Very nice! Super cozy back there.
|
|
|
|
Post by ak on Dec 6, 2016 7:23:06 GMT -7
This is looking fantastic! excellent work on the suspension and opening the truck to show off that excellent cuel cell! two-thumbs-up-smiley-emoticon
|
|
|
|
Post by DeeCee on Dec 7, 2016 1:05:45 GMT -7
Cheers men,  well, started the motor, there is something very different going on top of the blower though. 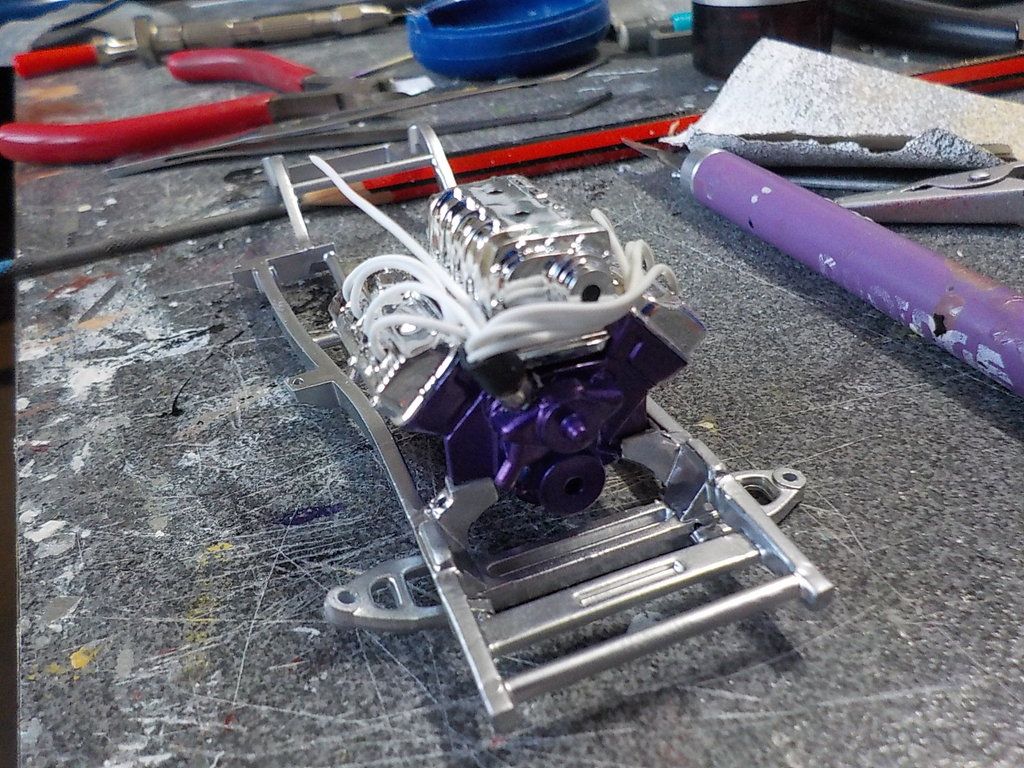 And had to widen the rear end for a change, so cut it, and......... got to work that out yet..  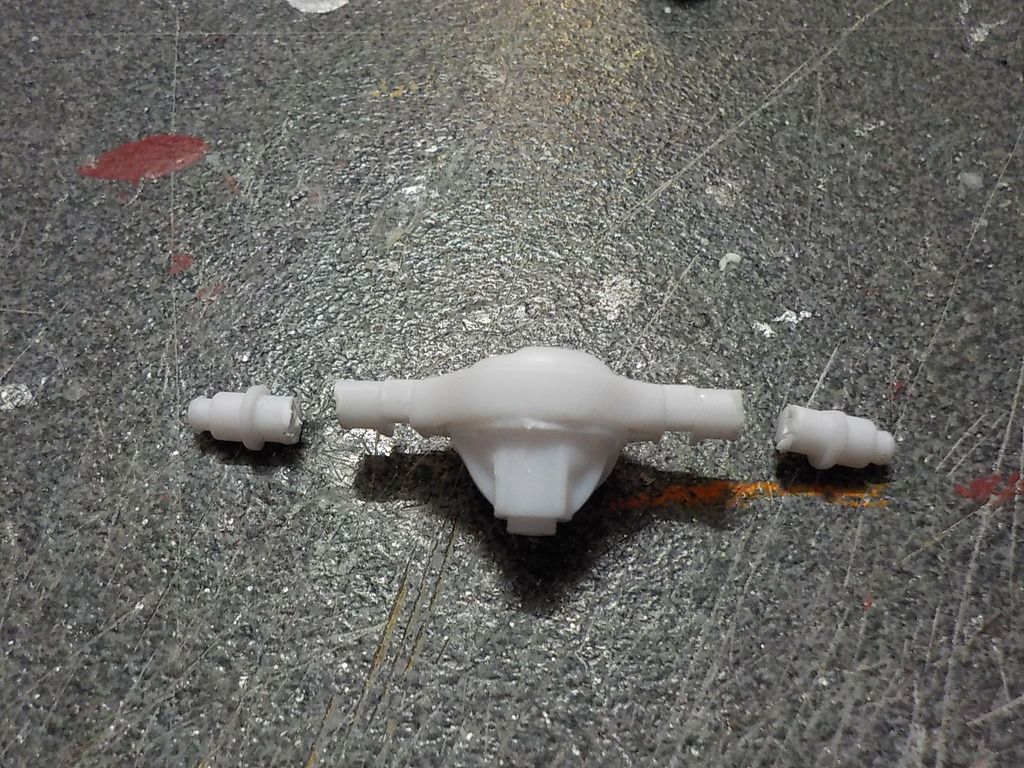 |
|
|
|
Post by stitchdup on Dec 7, 2016 3:51:24 GMT -7
I never thought I would see you tupe the words, widen the rear end, lol. If you have any of those souveneir flags, the poles are just about the right size to slip over the axle ends and not too thick.
|
|
|
|
Post by DeeCee on Dec 7, 2016 4:04:34 GMT -7
I never thought I would see you tupe the words, widen the rear end, lol. If you have any of those souveneir flags, the poles are just about the right size to slip over the axle ends and not too thick. There are always firsts in modeling mate...  I have found some tubing to go over both parts, after paint, it should not look that bad i hope... |
|
tubbs
Full Member
  
Posts: 189
|
Post by tubbs on Dec 7, 2016 6:34:27 GMT -7
Cheers men,  well, started the motor, there is something very different going on top of the blower though. And had to widen the rear end for a change, so cut it, and......... got to work that out yet..   boy, that is like slitting my wrists right there.... it's blasphemy, I tell ya!! WIDENING a rear... that would be the day......
am curious of whats going atop that blower though.... looking good so far.
|
|
|
|
Post by coyotecrunch on Dec 7, 2016 7:46:06 GMT -7
I bet I know what is going a top that blower...... A LITTLE WILLY!!!!  Sorry Dale, could not resist that one |
|
|
|
Post by DeeCee on Dec 7, 2016 13:12:12 GMT -7
I bet I know what is going a top that blower...... A LITTLE WILLY!!!!  Sorry Dale, could not resist that one Trying to eat breakfast here mate, and coffee does not clean up real well.....   |
|
|
|
Post by poet on Dec 7, 2016 14:50:15 GMT -7
I'm anxious to see how this one turns out!
|
|
|
|
Post by DeeCee on Dec 9, 2016 2:54:46 GMT -7
Smacked out the interior last night guys, pretty basic white with some stitching on the door trims, and added a screen to the console too. 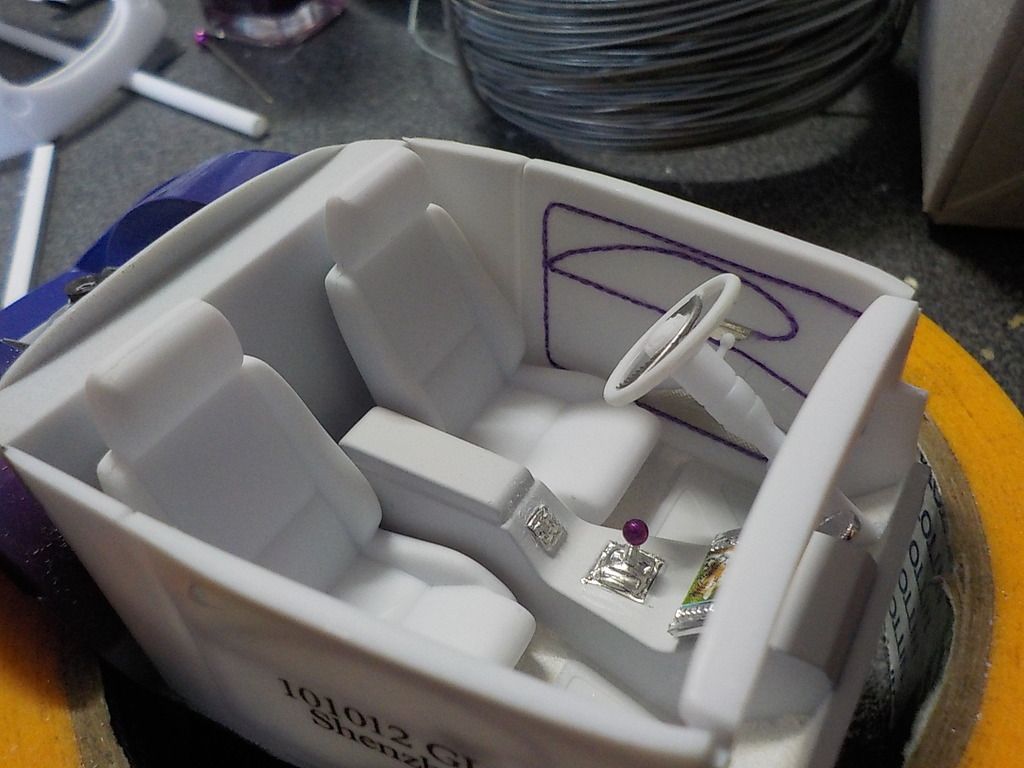 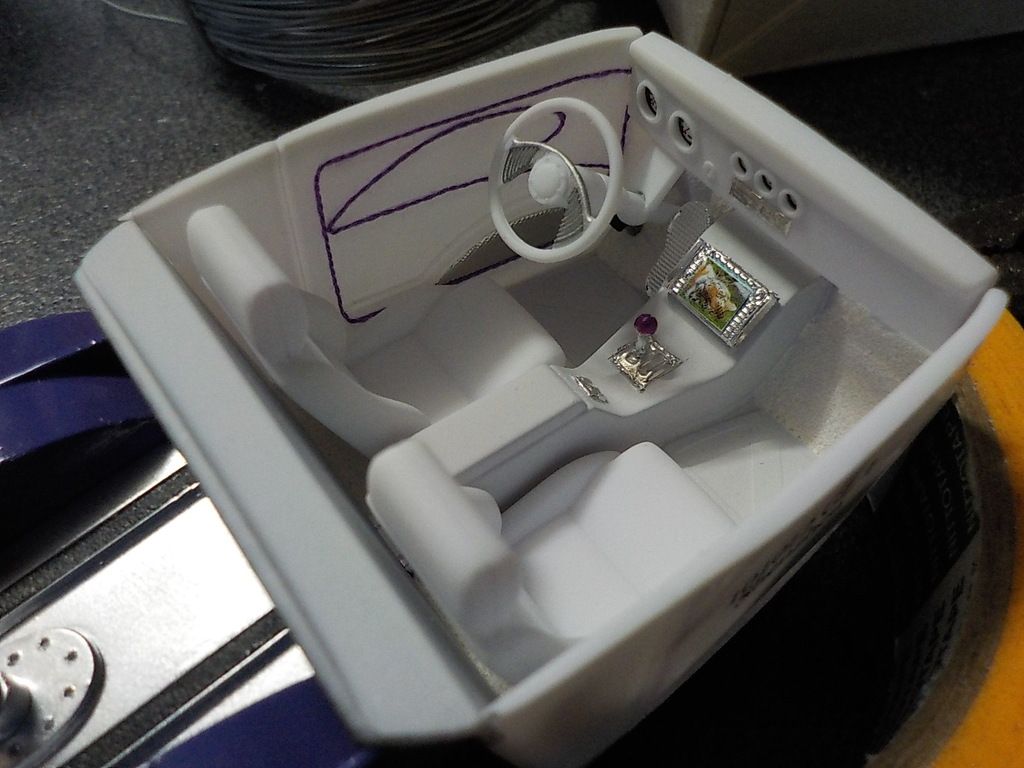 |
|
|
|
Post by Big D on Dec 9, 2016 3:11:56 GMT -7
I've been following this close. Seriously good work.
|
|
|
|
Post by stitchdup on Dec 9, 2016 3:19:57 GMT -7
Neat, very subtle looking too
|
|
|
|
Post by mustang1989 on Dec 9, 2016 4:12:56 GMT -7
What is this widening you speak of???  I believe that'll be a first in the subjects I've seen you build. Engine build up is coming along nicely and I'm really liking the touches you're adding to the interior Dale. I'm kind of like everybody else though........what's goin' on top of that blower.... icon_hmm_zps07rcoppf |
|
|
|
Post by DeeCee on Dec 9, 2016 4:39:57 GMT -7
What is this widening you speak of???  I believe that'll be a first in the subjects I've seen you build. Engine build up is coming along nicely and I'm really liking the touches you're adding to the interior Dale. I'm kind of like everybody else though........what's goin' on top of that blower.... icon_hmm_zps07rcoppf Cheers Dennis, Les, and Joe, you will now have to wait until the finished pics mate, i will keep you all in suspense  |
|
|
|
Post by mustang1989 on Dec 9, 2016 5:05:24 GMT -7
icon_bored_zpscodtnzo5
|
|
|
|
Post by coyotecrunch on Dec 9, 2016 7:18:22 GMT -7
Nice - a very clean and tidy interior no doubt - LOOKS GREAT!!!
|
|
|
|
Post by 406 Silverado on Dec 9, 2016 7:24:03 GMT -7
Clean interior! I think you got that stitching down. I don't k ow if I caught your response last time. What type of glue do you use to avoid it from getting hard before you put it in place?
|
|
|
|
Post by coyotecrunch on Dec 9, 2016 7:26:36 GMT -7
What do you use to avoid it from getting hard before you put it in place? Now THAT definitely sounded Naughty right there!!!!  |
|
|
|
Post by DeeCee on Dec 9, 2016 15:27:59 GMT -7
Clean interior! I think you got that stitching down. I don't k ow if I caught your response last time. What type of glue do you use to avoid it from getting hard before you put it in place? I use FORMULA 560 CANOPY GLUE, which i put down on the tip of a tooth pic, about 1" at a time, then lay the thread down, then progress on like that, just keeping it lined up with a fresh tooth pic, so it dries in the correct position. Thanks men, now on to the fun part.... PAINT smileys-painting-009432_zps0b513ffb |
|
|
|
Post by mustang1989 on Dec 9, 2016 16:30:15 GMT -7
This I'll be watching closely. I just shot a test shot of my Mystic Teal Metallic on spare VW roof I had laying around and that stuff is gonna ROCK!!! Layed down smooth as an eggshell.
|
|
|
|
Post by Big D on Dec 9, 2016 17:44:40 GMT -7
Clean interior! I think you got that stitching down. I don't k ow if I caught your response last time. What type of glue do you use to avoid it from getting hard before you put it in place? I use FORMULA 560 CANOPY GLUE, which i put down on the tip of a tooth pic, about 1" at a time, then lay the thread down, then progress on like that, just keeping it lined up with a fresh tooth pic, so it dries in the correct position. Thanks men, now on to the fun part.... PAINT smileys-painting-009432_zps0b513ffb |
|
|
|
Post by ak on Dec 9, 2016 17:51:38 GMT -7
EXCELLENT work Dale!
|
|
|
|
Post by DeeCee on Dec 11, 2016 2:03:09 GMT -7
Cheers guys, well , i got that rear end widened, just for something different..  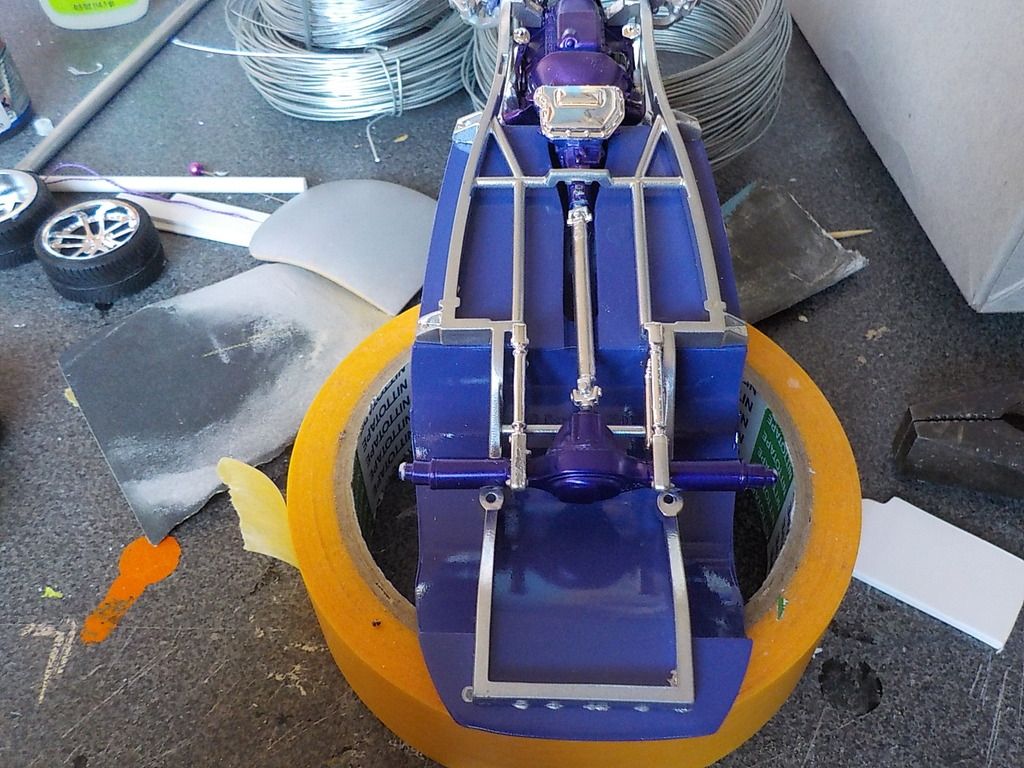 |
|
|
|
Post by mustang1989 on Dec 11, 2016 6:13:30 GMT -7
Looks great so far Dale. "Shinin' like a brand new dollar!".
|
|
|
|
Post by coyotecrunch on Dec 11, 2016 6:36:20 GMT -7
YAY!!! Tires past the fenders - that for me is how they were growing up, Old school and bad A$$!!!!
|
|
|
|
Post by DeeCee on Dec 15, 2016 0:46:13 GMT -7
YAY!!! Tires past the fenders - that for me is how they were growing up, Old school and bad A$$!!!! Thanks Joe, sorry to disappoint Tom, but no wheels hanging out of these fenders mate. Here is the set final stance at the rear. 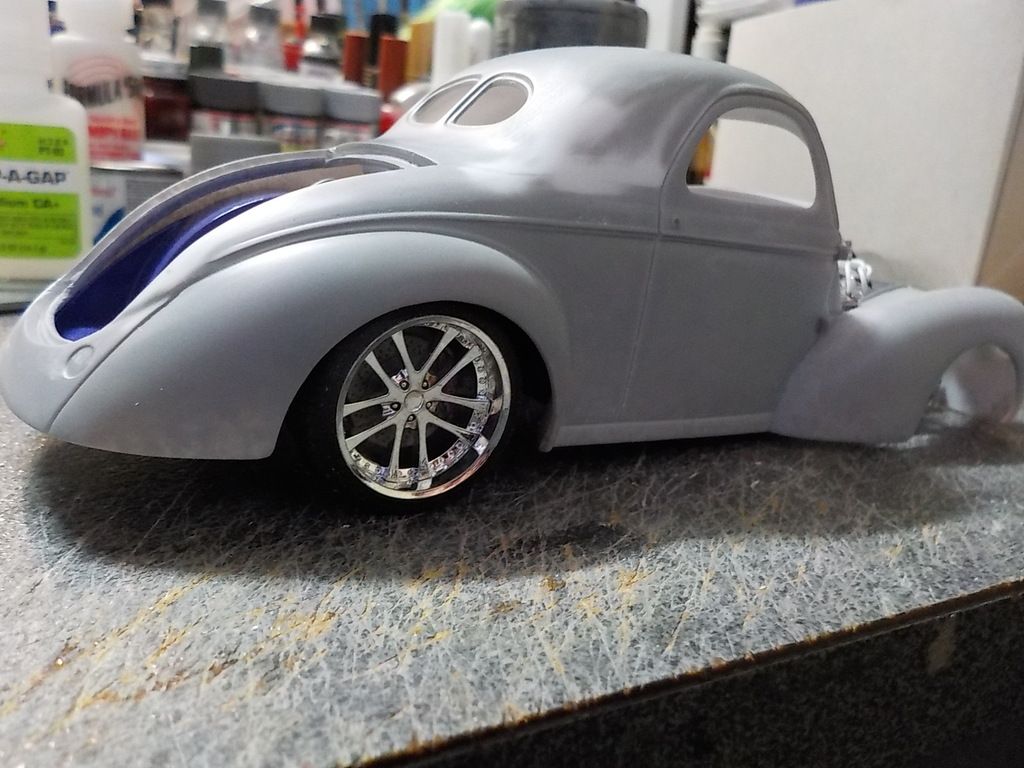 |
|