Post by mustang1989 on Jan 30, 2017 13:13:15 GMT -7
Les suggested that I should stick this here in the tutorial section so here goes. Thanks for the vote of confidence Les.
How many of us have built plastic auto models that turned out just drop dead gorgeous all the way around only to be marred by those nasty headlights that's in so many kits out there? You guys know the ones. Those with those "dots" in the middle of the lens where the locator pins are on the backs of the lenses. I don't know about everybody else but I've noticed that shortcoming even as a kid and have always wanted to do something about it but never possessed the skills in which to do so. I'll put together a small tutorial on how I've approached the problem for the past two years.
Here's what I did:
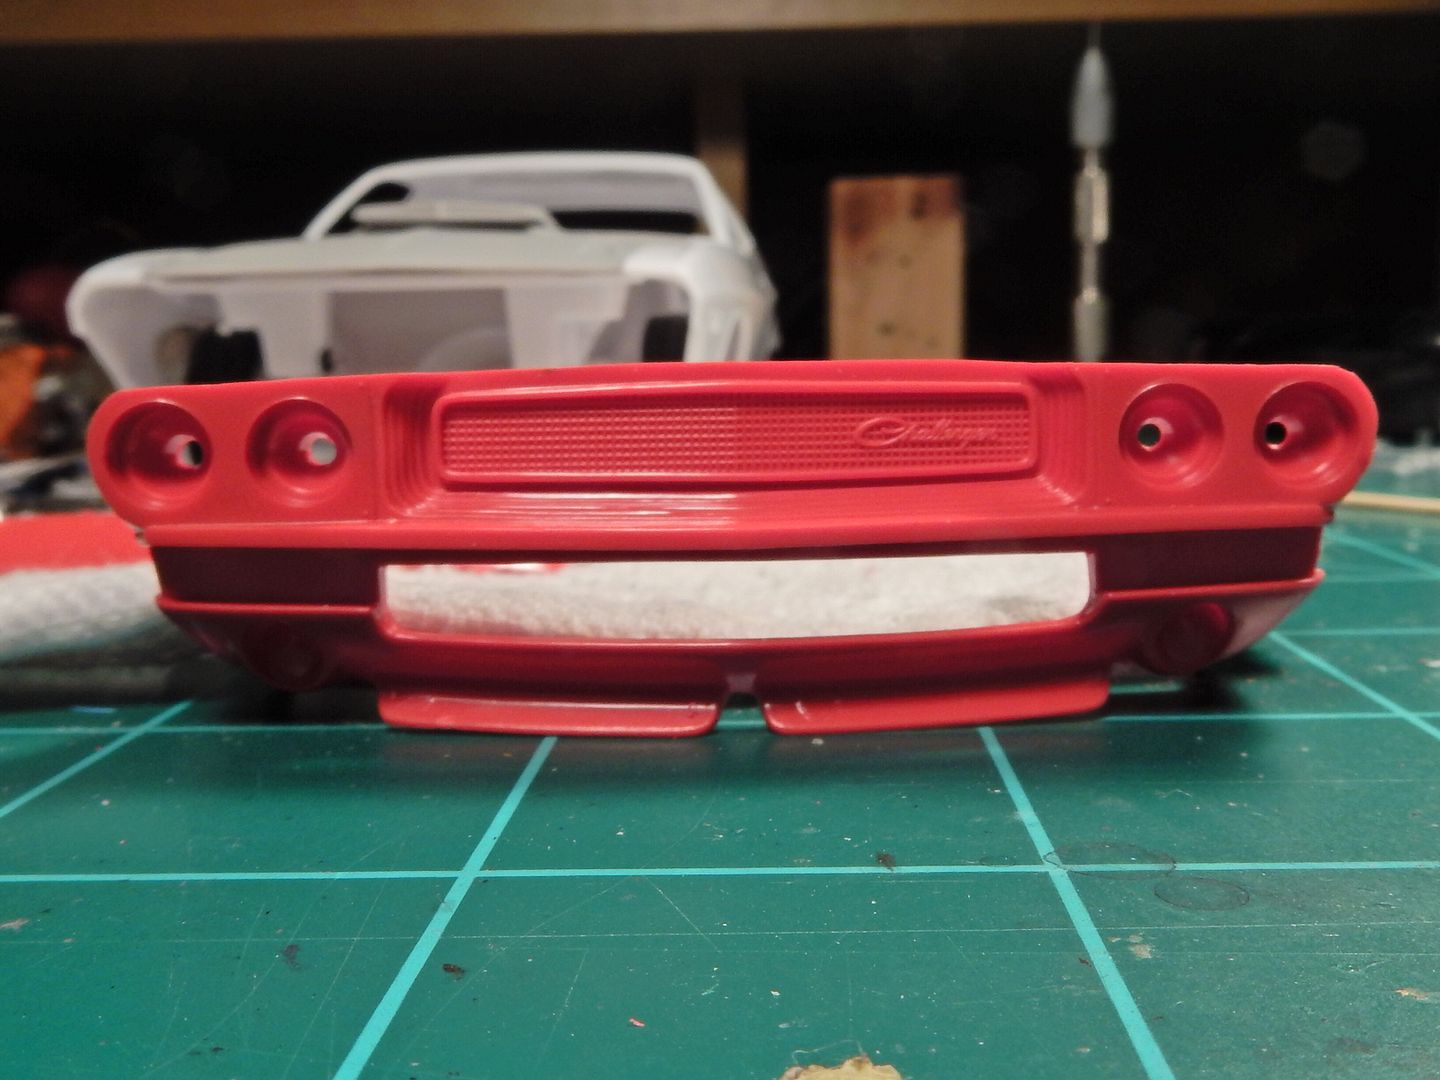
We start here with a stock front clip from a Monogram 1970 Dodge Challenger T/A with the mount holes already there for the headlamp lenses:
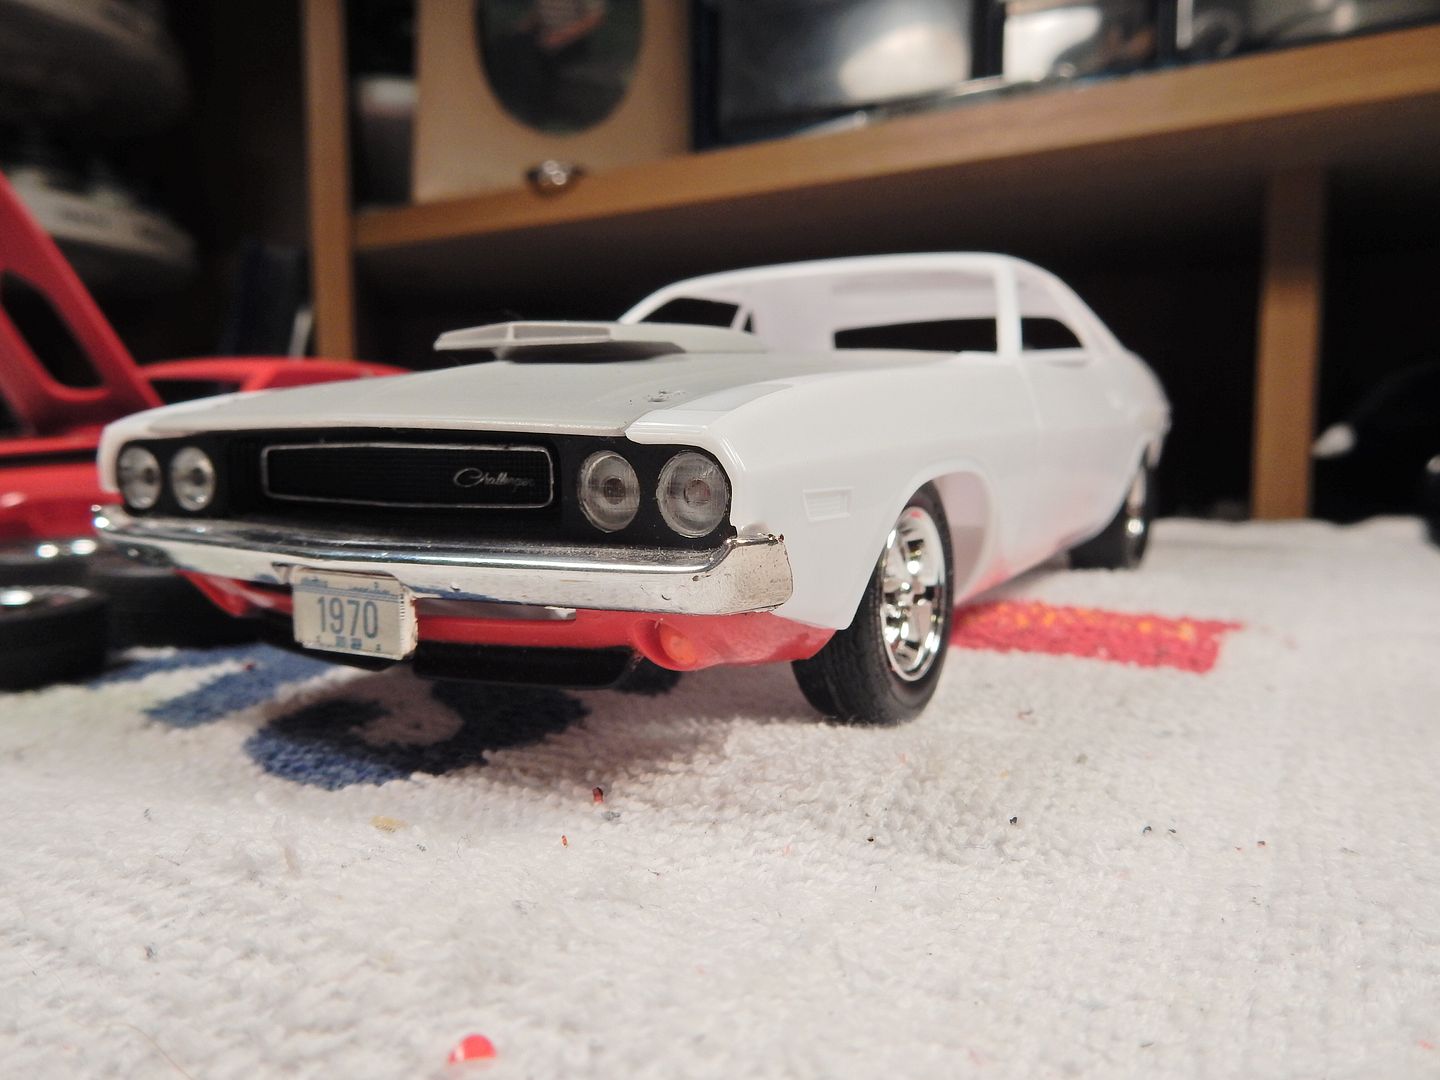
This is a shot of the original grille fitted into the "mock up" car. Of particular note are the headlights. See the "dots" in the center of each headlight for the mounting posts on the back? Yeah those! When I build the new front clip up , these "dots" will be gone!
For starters, I cut those stupid posts off of the back of the headlight lenses: NOTE: Save the cut off posts!!! I come back to those later 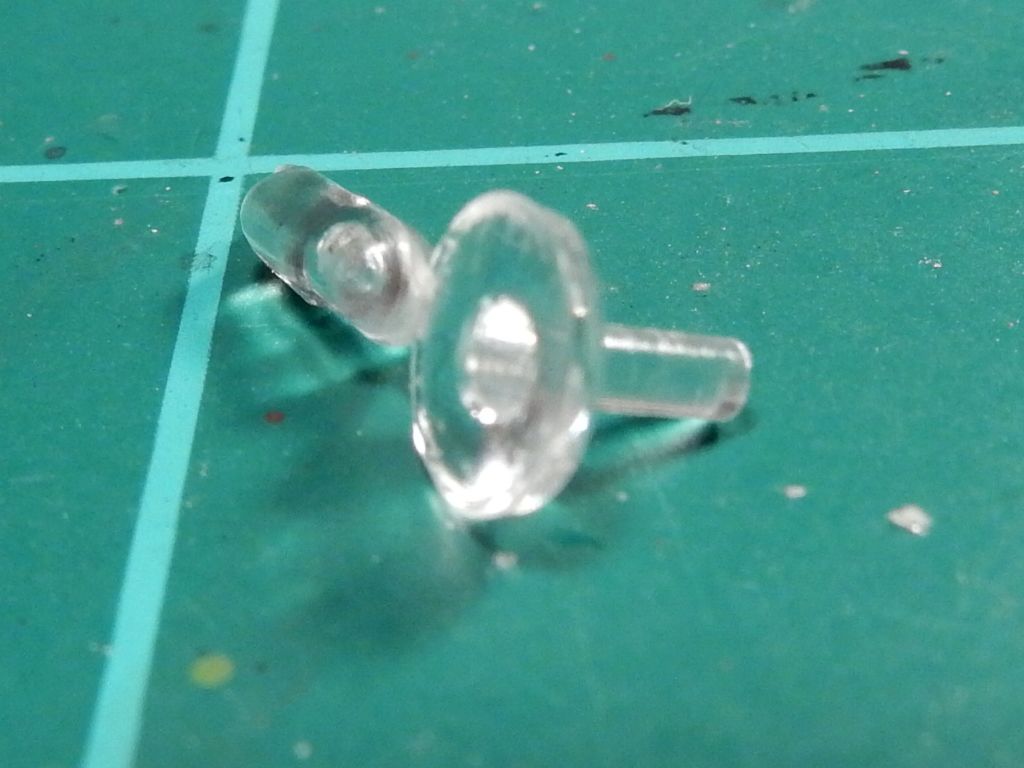
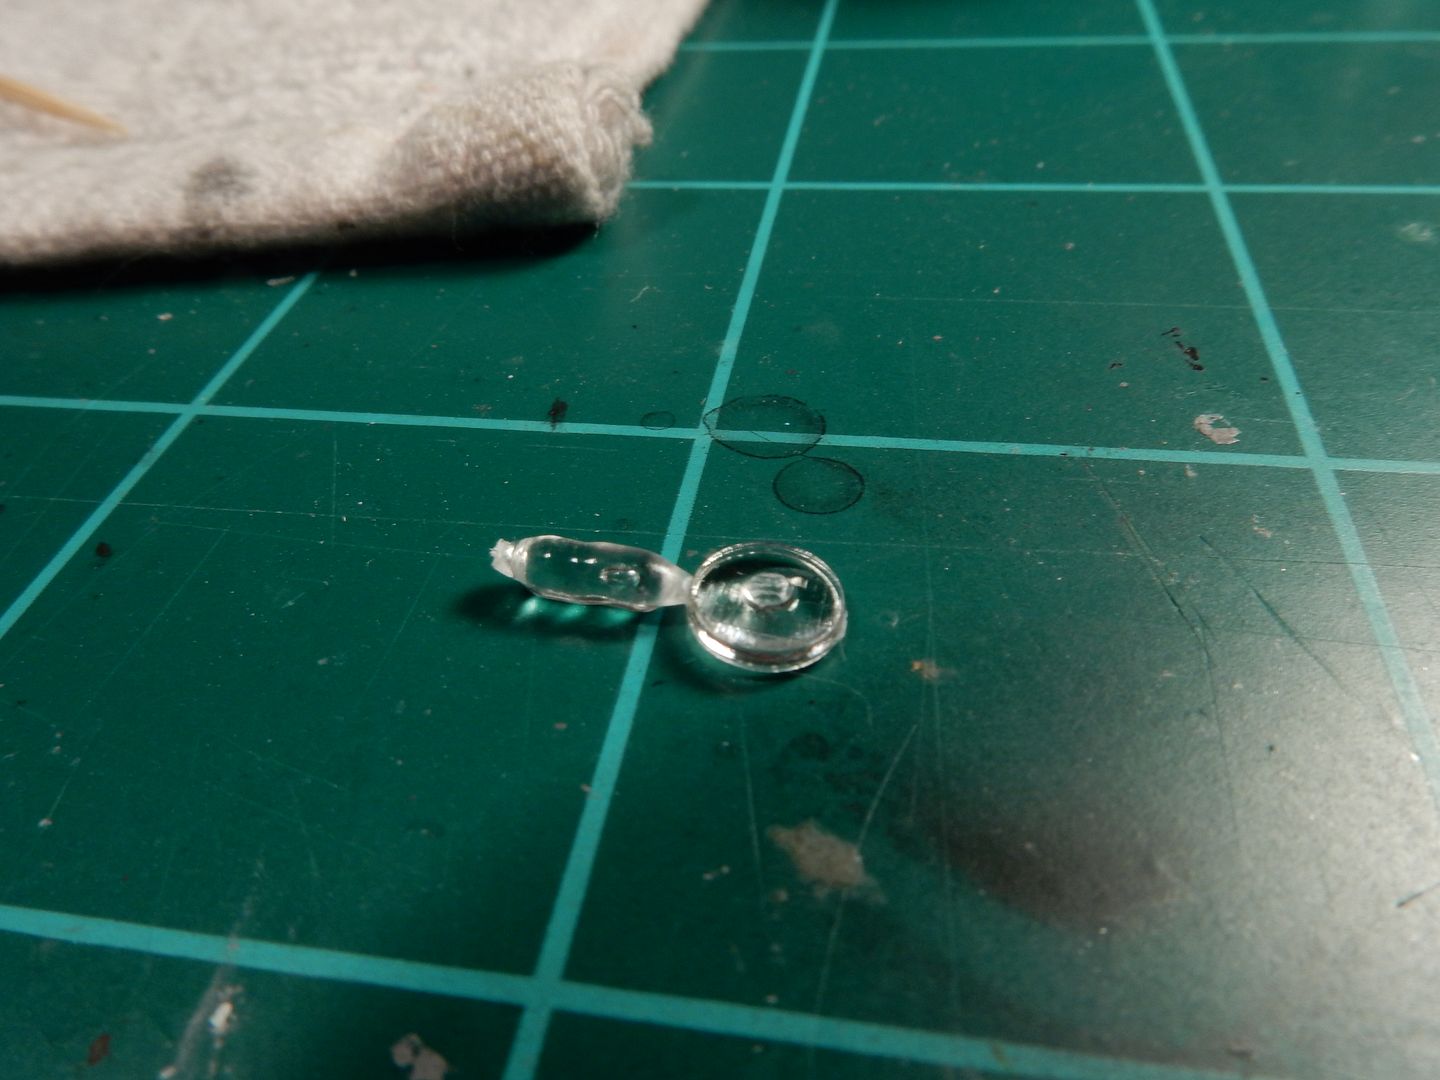
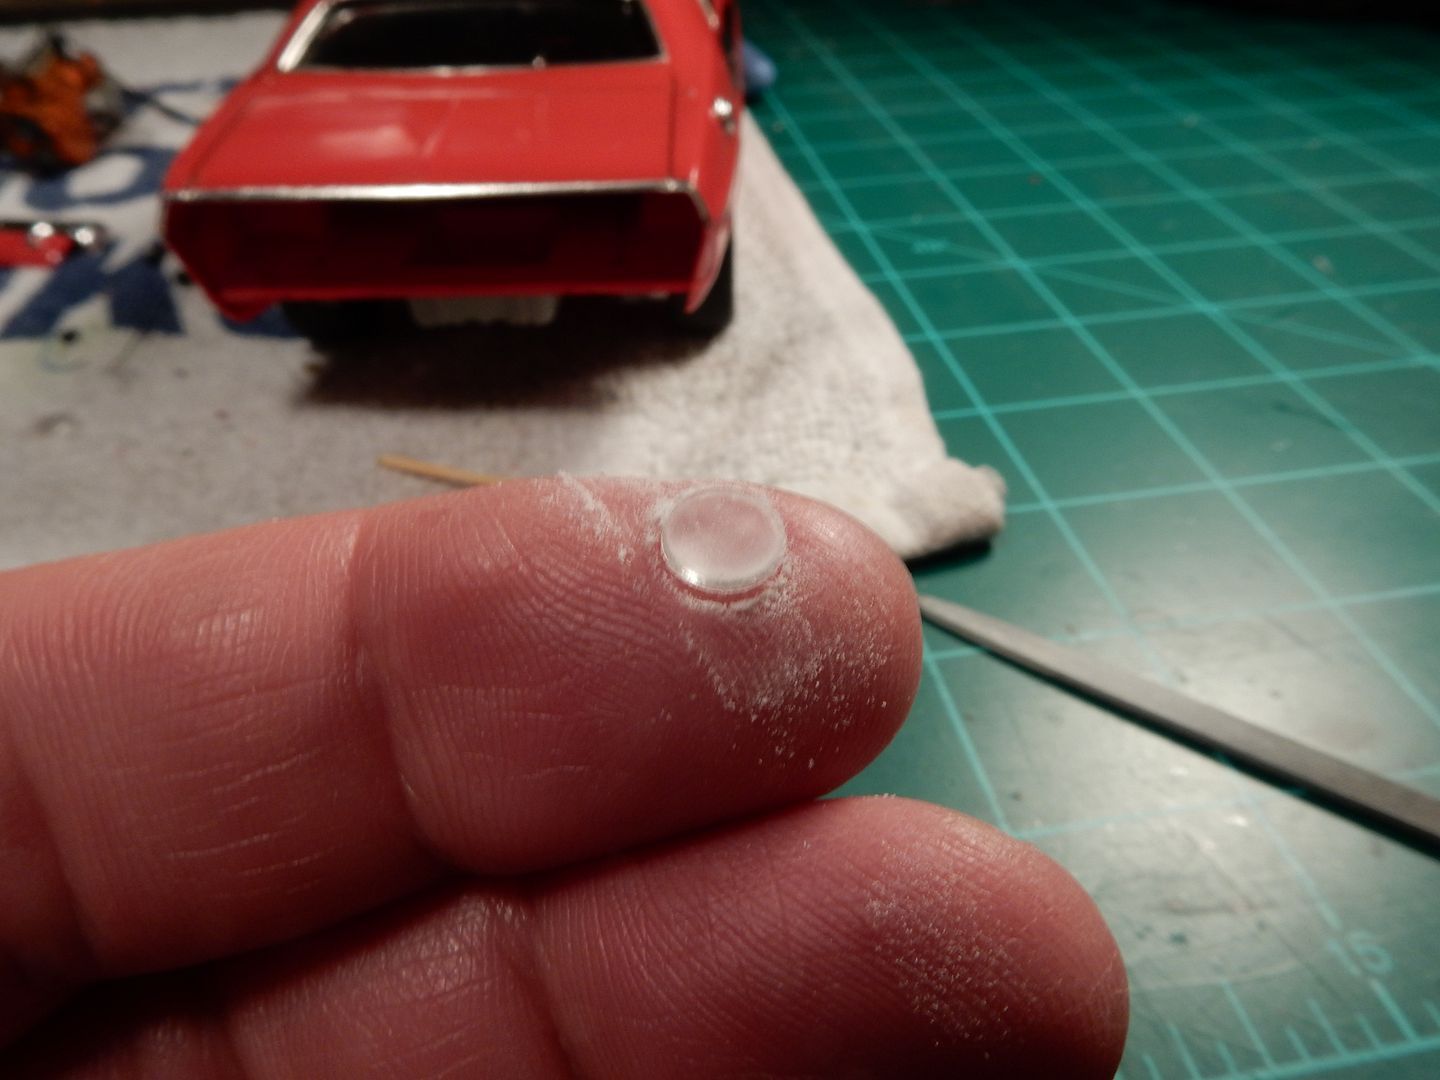
I grabbed a small file and filed down the post until it was gone:
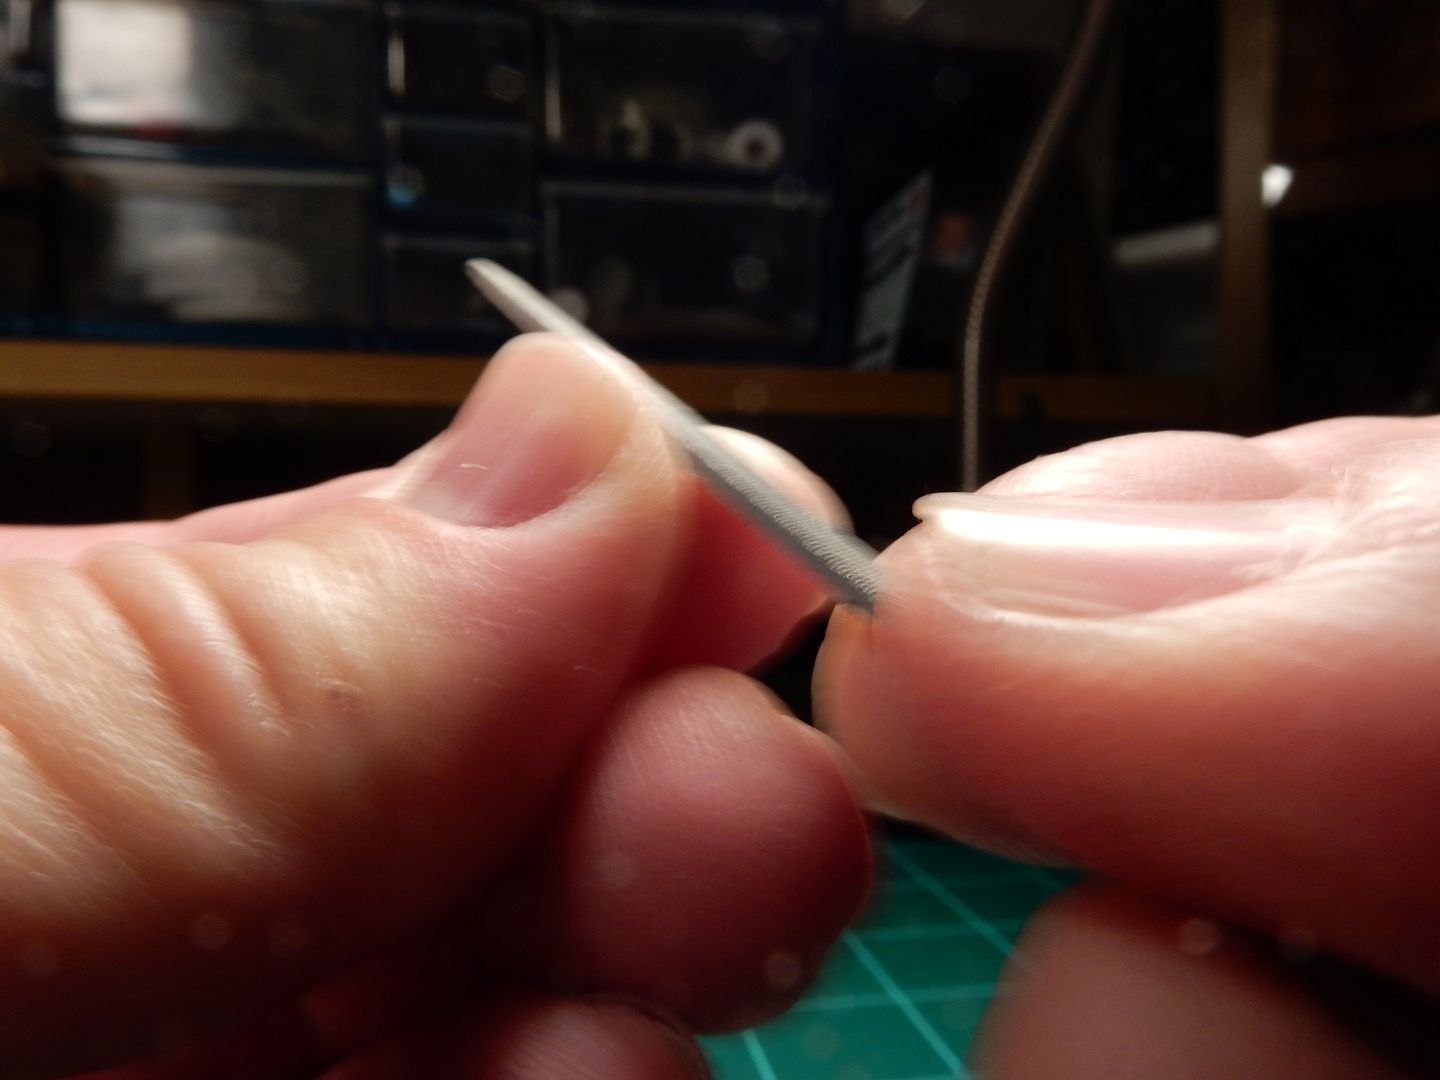
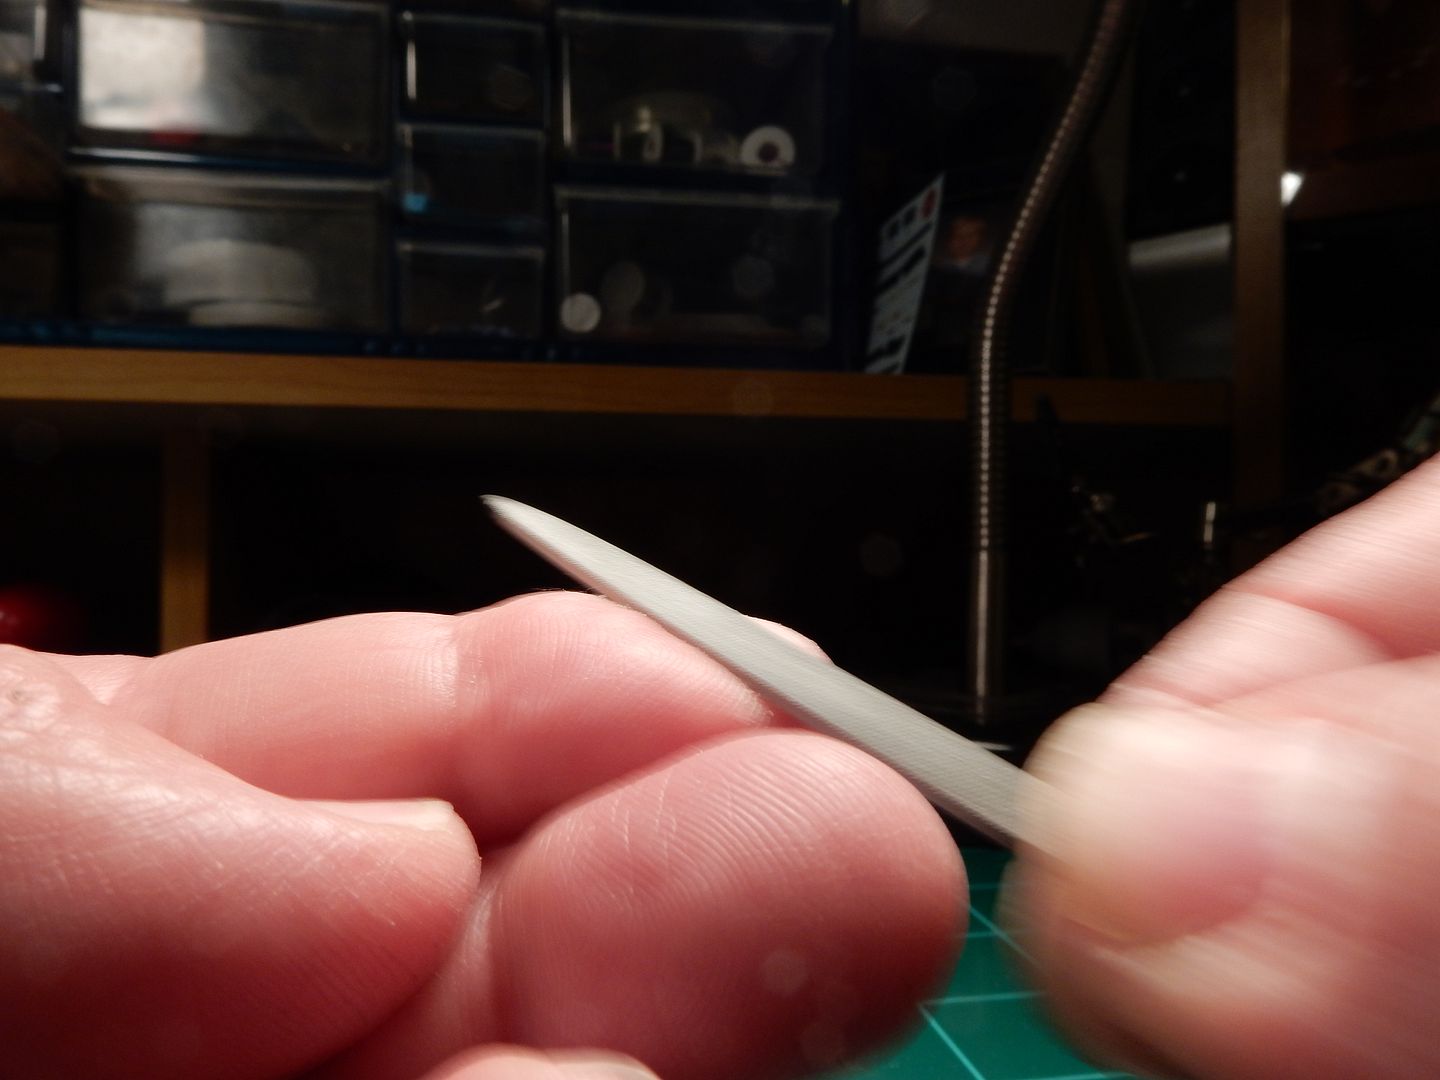
Which left the back of the lens looking like this:
I took my assortment of sanding sticks:
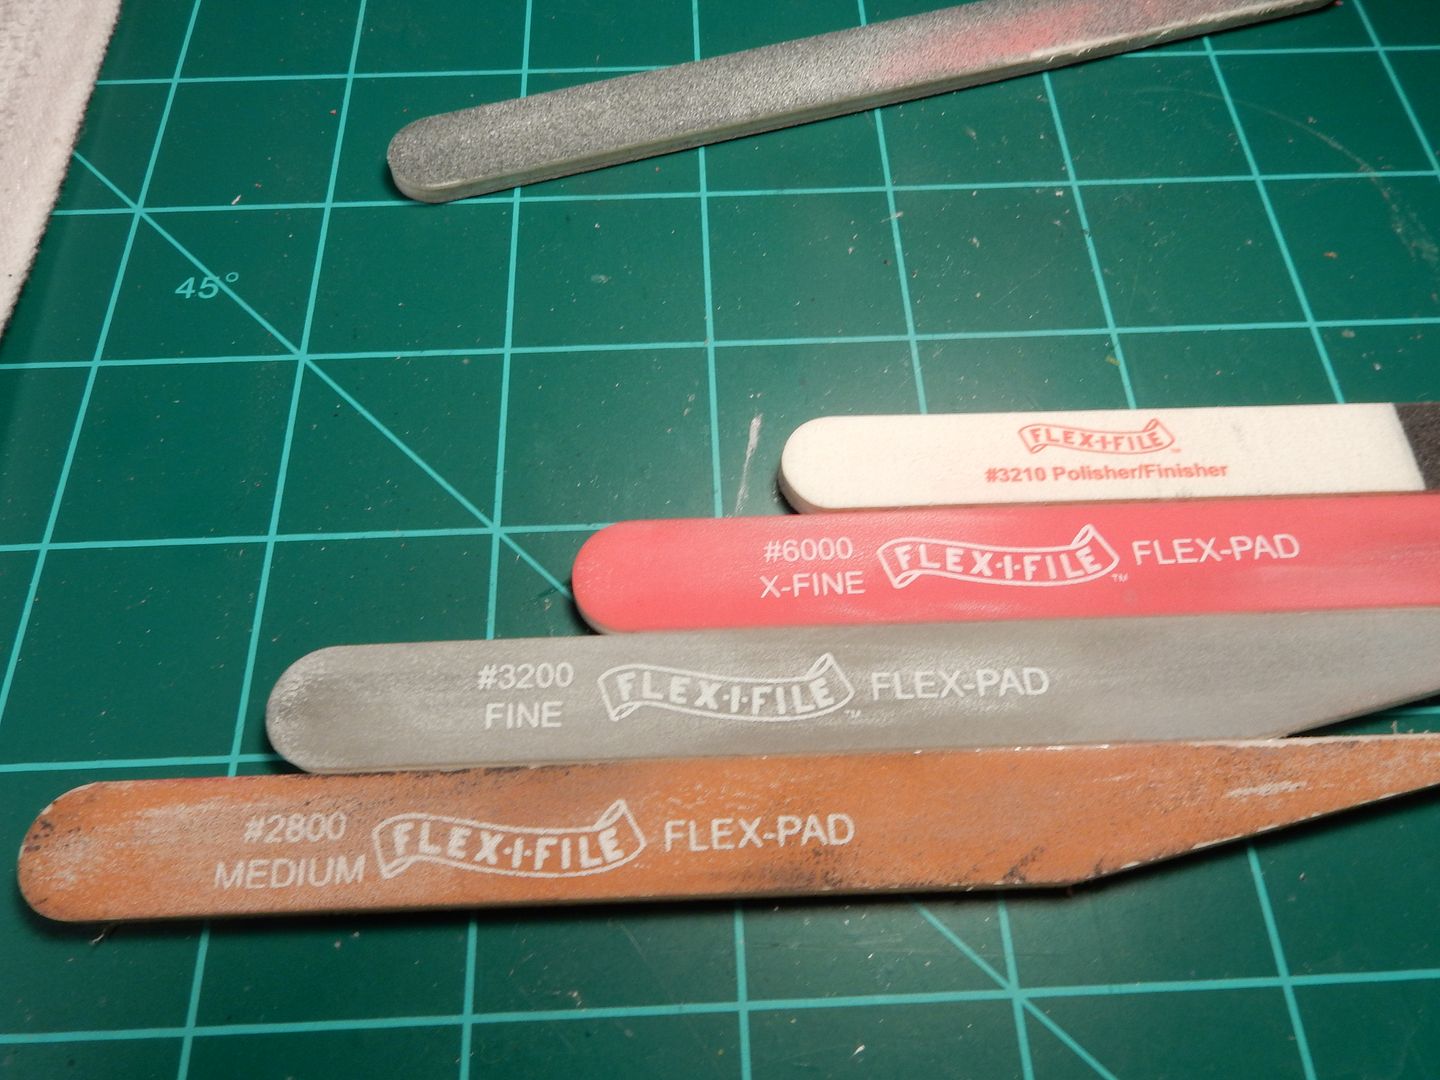
And started with a medium grit (about 2800 grit) and worked it up to the polishing stick (about 12000 grit) until they looked like this:

I then added a drop of Future to the outside of each headlight lens: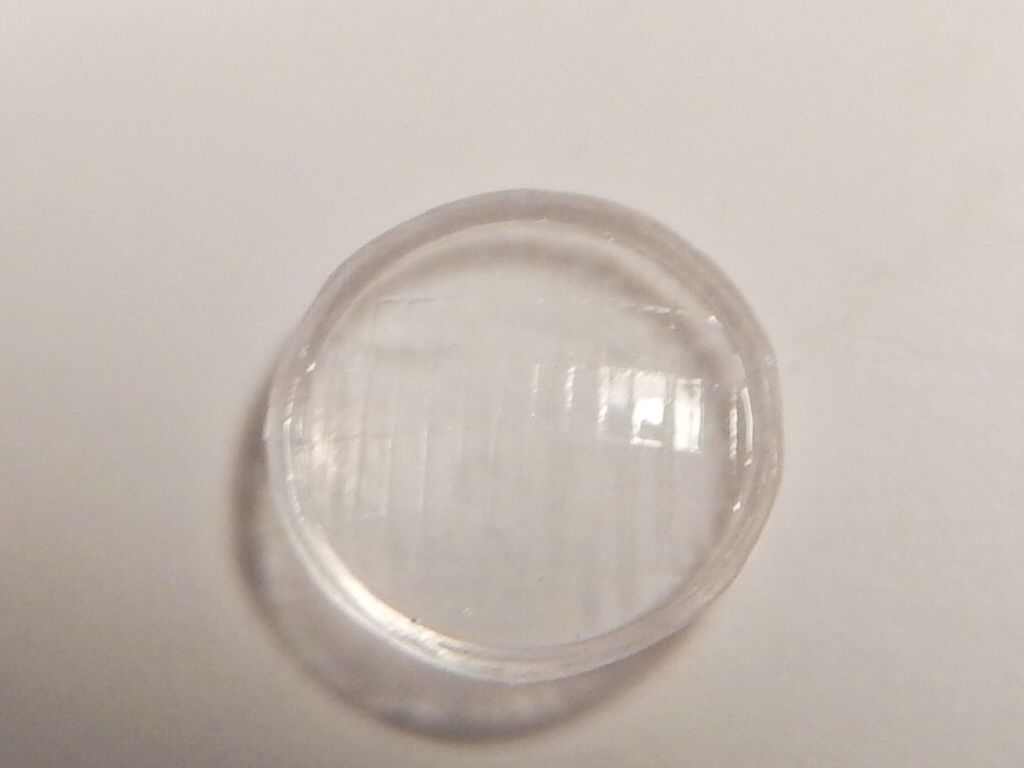
Now we turn back to those posts that you cut off and move on to preparing the headlight buckets.
I continued on by taking the posts that I cut off of the back of the headlight lenses and glued them in to the holes in the headlight buckets and cut the excess off of the back. I filled the cavities in with Chrome Silver (which can now be filled with those chrome pens that are out now) and allowed to dry. There was some excess silver along the edge of the headlight bucket areas but I touched this up by the time the next few photos were taken.
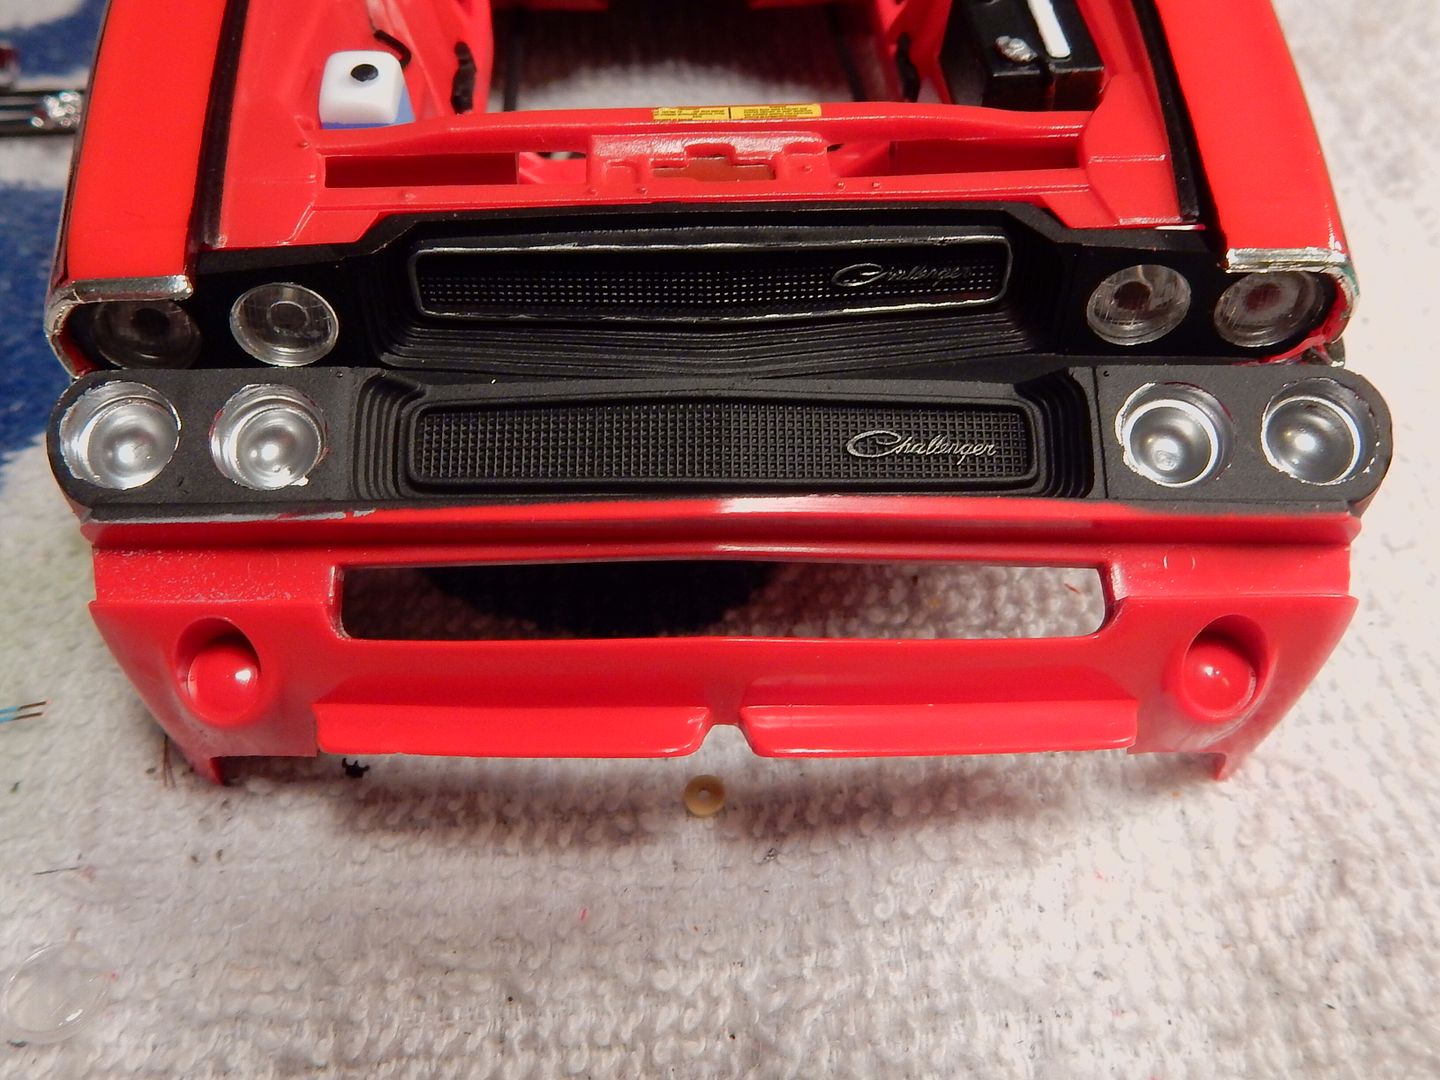
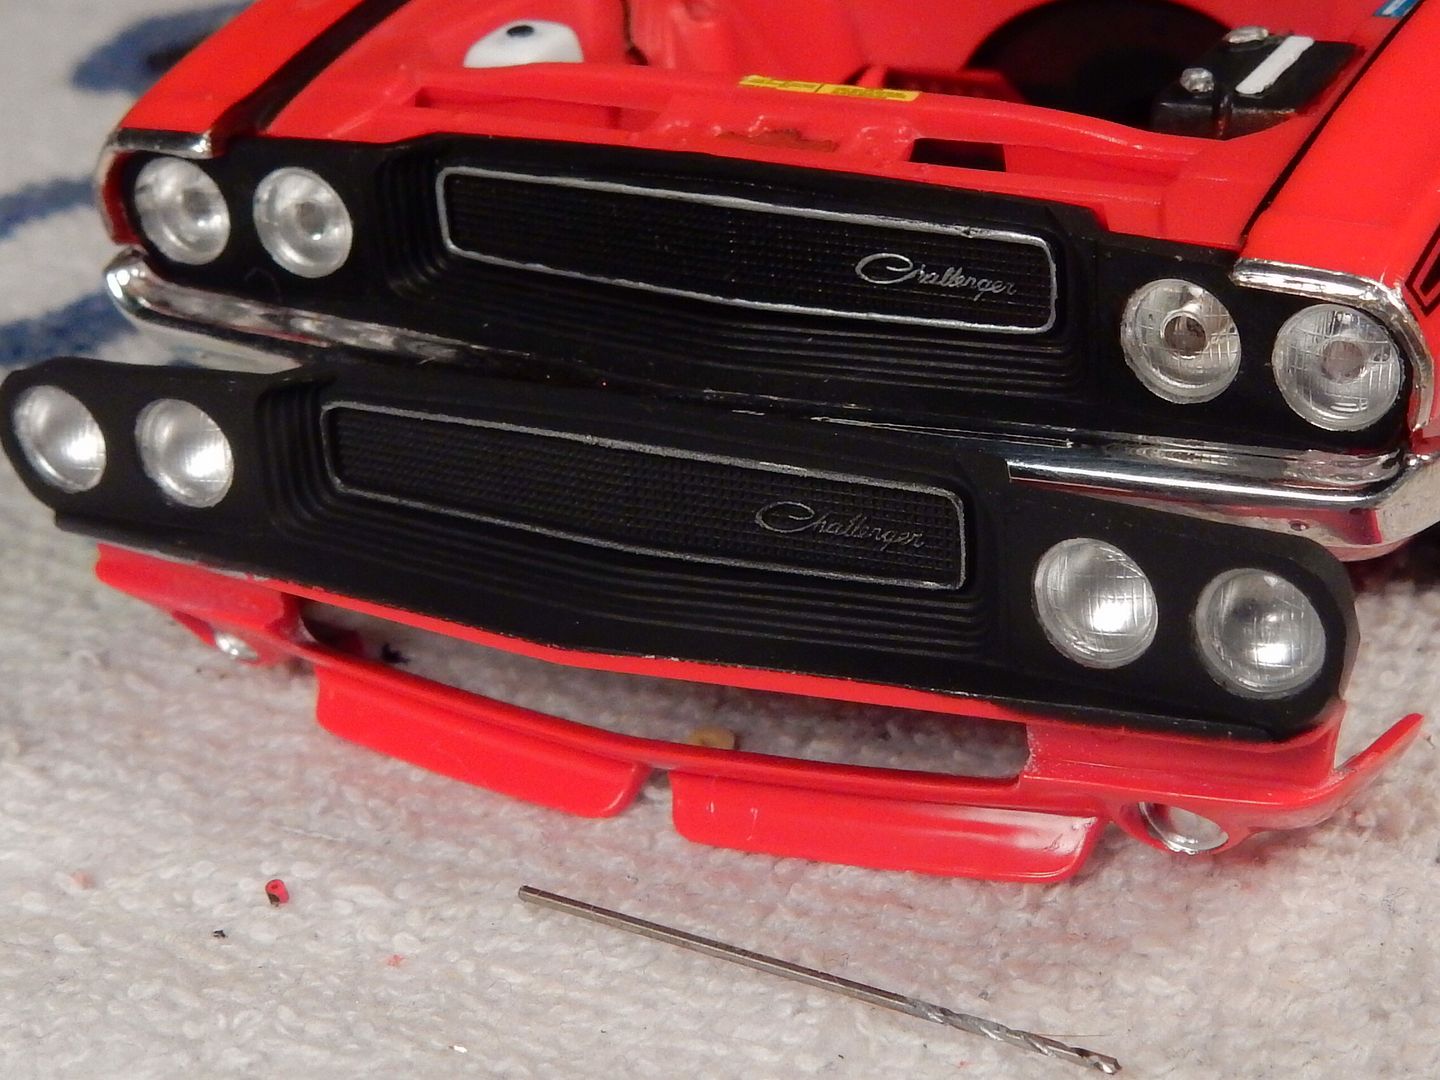
Here I had touched things up and installed the headlights. Here you can clearly see the difference between the old and the new
another angle which is less noticeable but there: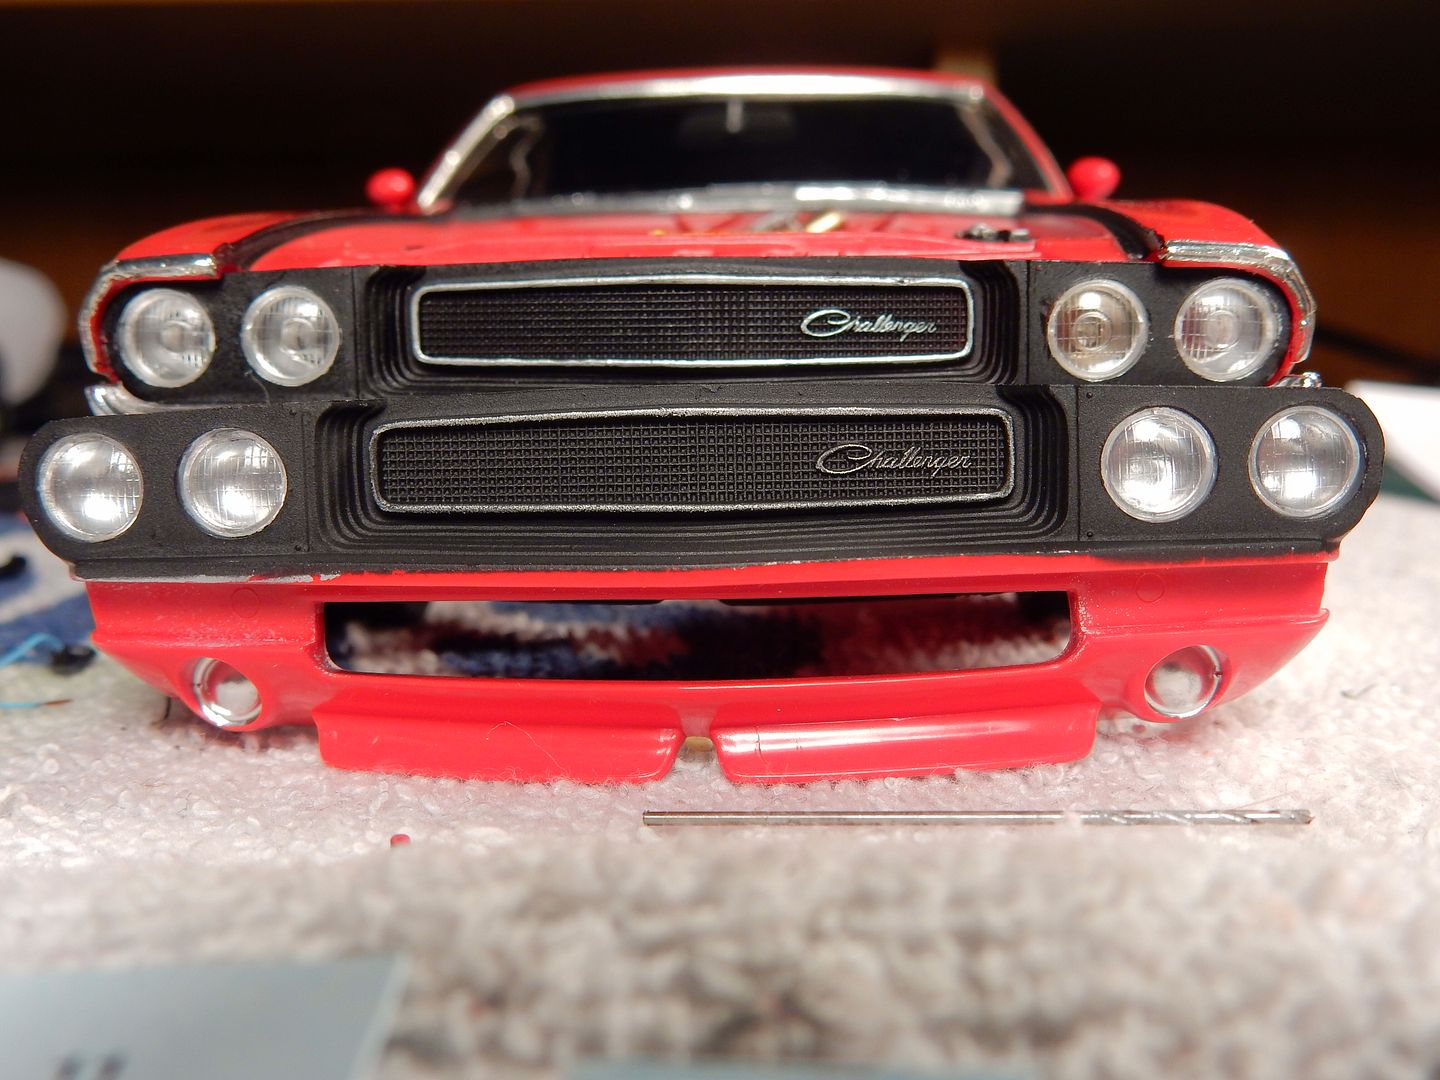
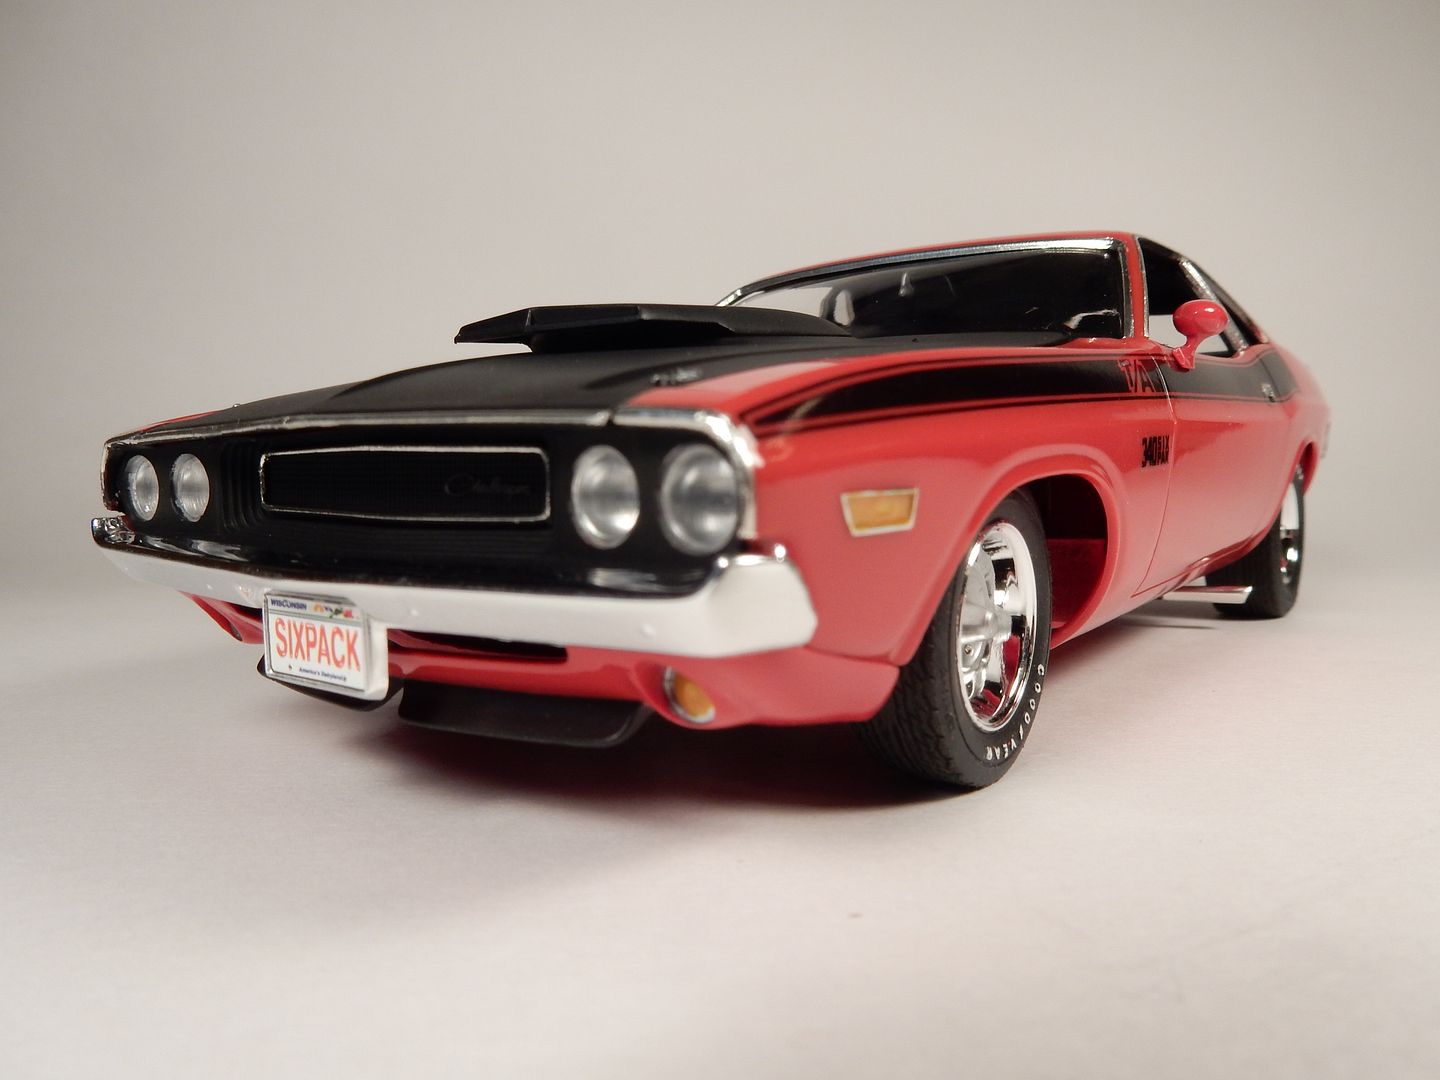
The completed grille with headlights and all the trim looks like this: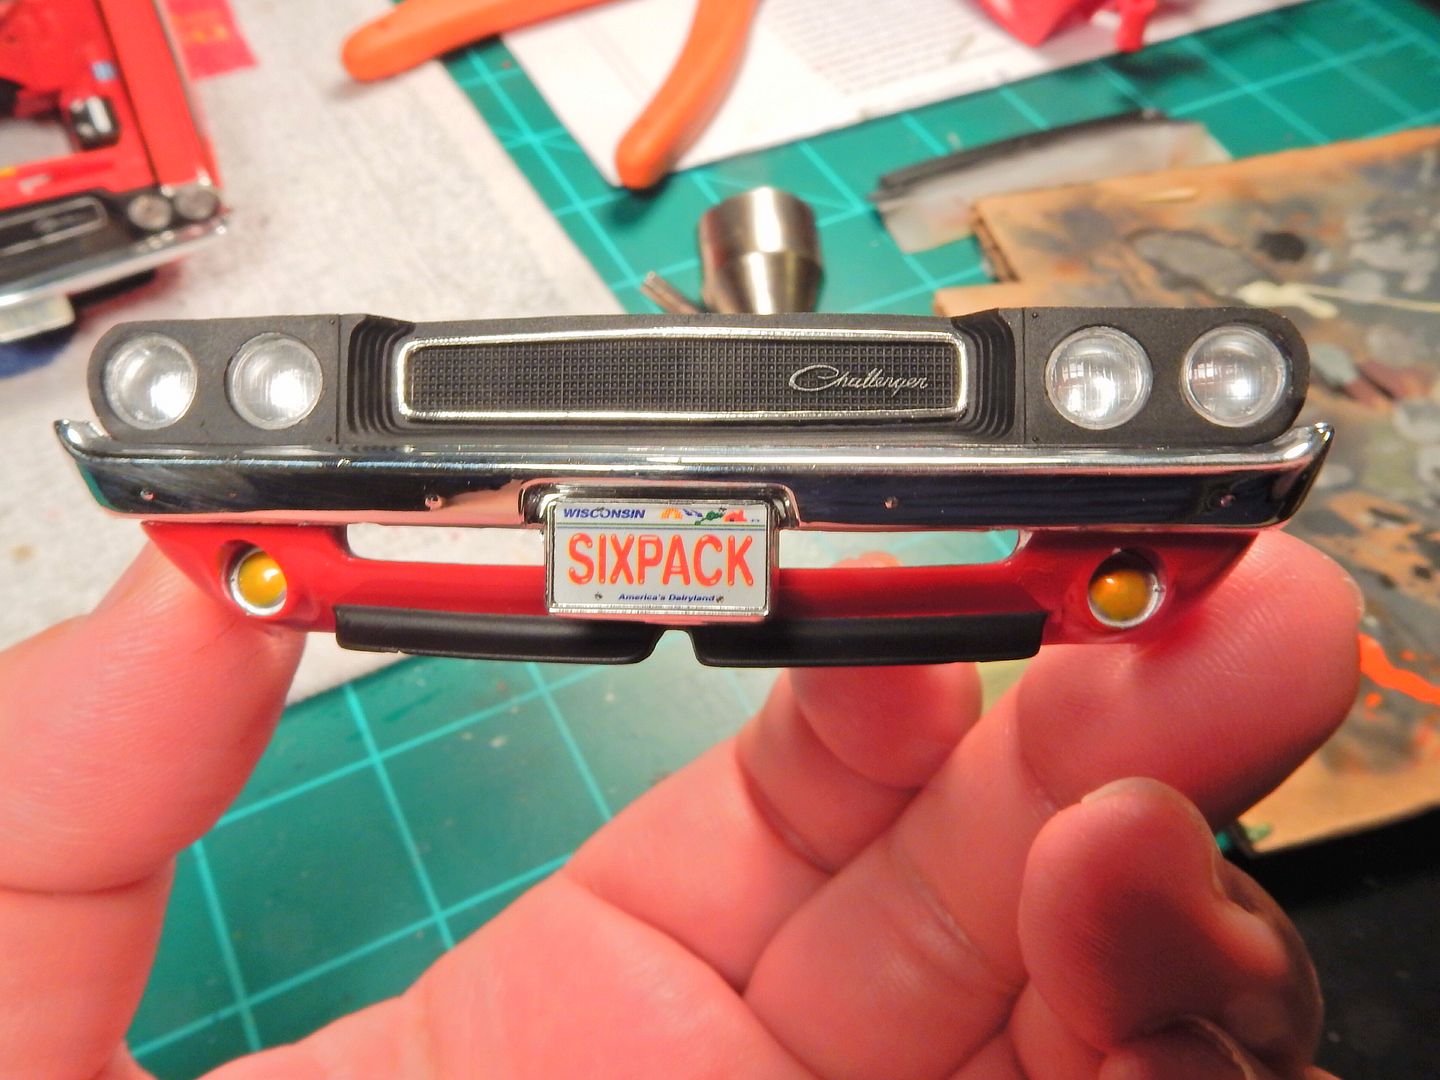
As you can see..................there's no fake headlight "dots" in the center of each lens. I hope this helps whoever is reading this out, Joe

