|
|
Post by mustang1989 on Jan 29, 2017 8:45:56 GMT -7
Thanks Les and Tom! Hopefully the good fortune continues...... wiping%20brow_zpsgqh5sg63
|
|
|
|
Post by mustang1989 on Feb 3, 2017 6:59:20 GMT -7
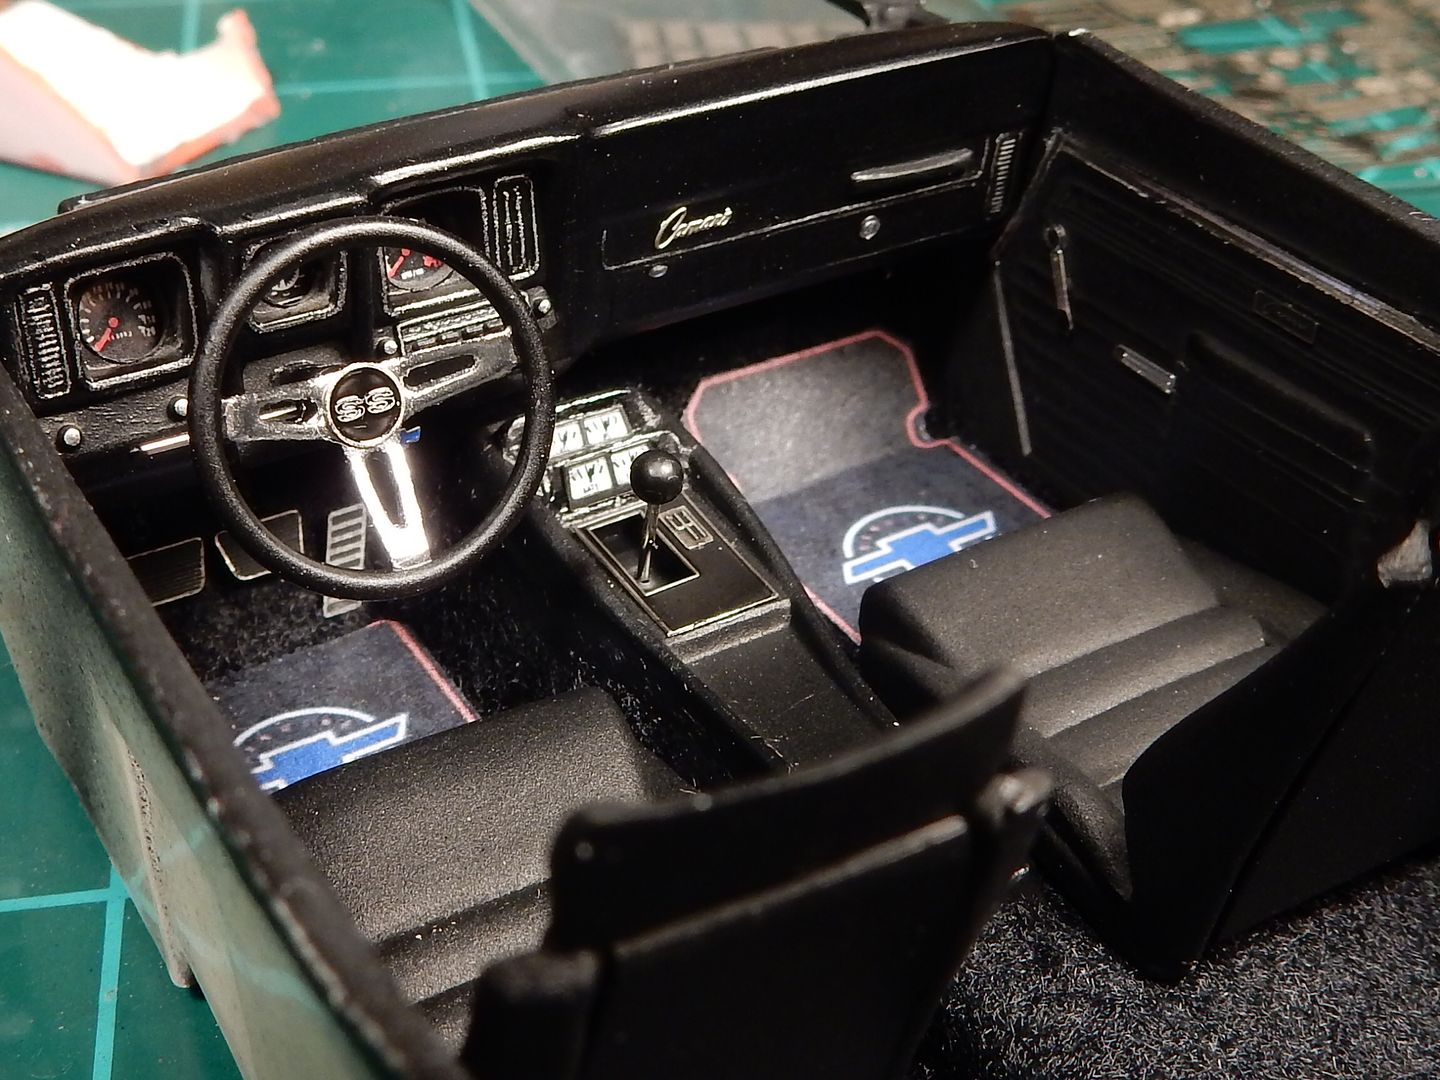
This interior just keeps getting better with each addition. I've got the door handles and window cranks as well as the Camaro badges on the door panels and the console is finished. The shifter is a bobby pin that I bent and sanded the shifter ball to get rid of a seam it had. Center gauges are from the PE set I bought. I'm going to buy another set of floor mats so I can fix that drivers side floor area. I'm not happy with that but I'll fix it. Here we are so far guys:
|
|
|
|
Post by coyotecrunch on Feb 3, 2017 7:26:56 GMT -7
Wow - that interior is Da Bomb!!!!!
|
|
tubbs
Full Member
  
Posts: 189
|
Post by tubbs on Feb 3, 2017 8:05:09 GMT -7
looking really good Joe. I must say, you are doing what I have stopped and that is going that extra mile. not necessarily with all the hi-end detail, just making sure everything is clean and straight. taking your time. a lot to be said for a little patience.
great job.
|
|
|
|
Post by Big D on Feb 3, 2017 8:52:31 GMT -7
Interior details look great Joe. Some fine work there.
|
|
|
|
Post by stitchdup on Feb 3, 2017 10:31:54 GMT -7
Nice work mate, you might be able to scan your mats and print them yourself on some heavy paper (cant remember the type but there's one that close to the texture in your pic) and save some cash.
|
|
|
|
Post by mustang1989 on Feb 3, 2017 10:43:11 GMT -7
Thanks fellas! I didn't think of that Les!! Lemme look into that!!
|
|
|
|
Post by hurtz on Feb 3, 2017 11:15:37 GMT -7
wow well cool
|
|
|
|
Post by sidschwartz on Feb 3, 2017 14:48:12 GMT -7
All dash trim was brought out with a silver lead pencil. Another clever idea I'd never thought of. Just a regular colored pencil, or something special? Interior looks uber-awesome. I've printed my own floor mats a bunch of times. It's easy once you get the size right. two-thumbs-up-smiley-emoticon |
|
|
|
Post by coyotecrunch on Feb 3, 2017 20:20:10 GMT -7
I think I am gonna start working up floor mats myself, they are a real nice touch!
|
|
|
|
Post by sidschwartz on Feb 4, 2017 0:11:50 GMT -7
What I did was to look on web sites of outfits that sell floor mats, take screen shots, and then modify them as needed.
|
|
|
|
Post by DeeCee on Feb 4, 2017 0:23:31 GMT -7
HOLY SNAP BATMAN!!!!!!!!!!
That interior is just out of this park mate, magnificent detail Joe.. icon_shoutout_zpsg7nrfmdc
|
|
|
|
Post by mustang1989 on Feb 4, 2017 8:03:00 GMT -7
|
|
|
|
Post by mustang1989 on Feb 4, 2017 8:08:07 GMT -7
I think I am gonna start working up floor mats myself, they are a real nice touch! They are definitely worth the time and/ or money to add to any interior. Gives it a little more character and it's one more step towards realism. |
|
|
|
Post by mustang1989 on Feb 4, 2017 8:08:53 GMT -7
HOLY SNAP BATMAN!!!!!!!!!! That interior is just out of this park mate, magnificent detail Joe.. icon_shoutout_zpsg7nrfmdc Thanks Dale! Still got a ways to go though in here. |
|
|
|
Post by sidschwartz on Feb 4, 2017 12:19:50 GMT -7
Thanks, mustang. I know I have some colored pencils in the house somewhere. If I can't find them, or if there's no silver one, I'll order some from Amazon.
|
|
|
|
Post by mustang1989 on Feb 5, 2017 5:23:45 GMT -7
No problem Sid. You'll like it that's for sure. When this all started the interior didn't have a back seat. I think it was in the kit but for some reason I chose to omit it on the original build. When I got the spare kit it had one in it but it was notched out on the sides for the dang roll bar braces. This is after stripping the white paint from it: 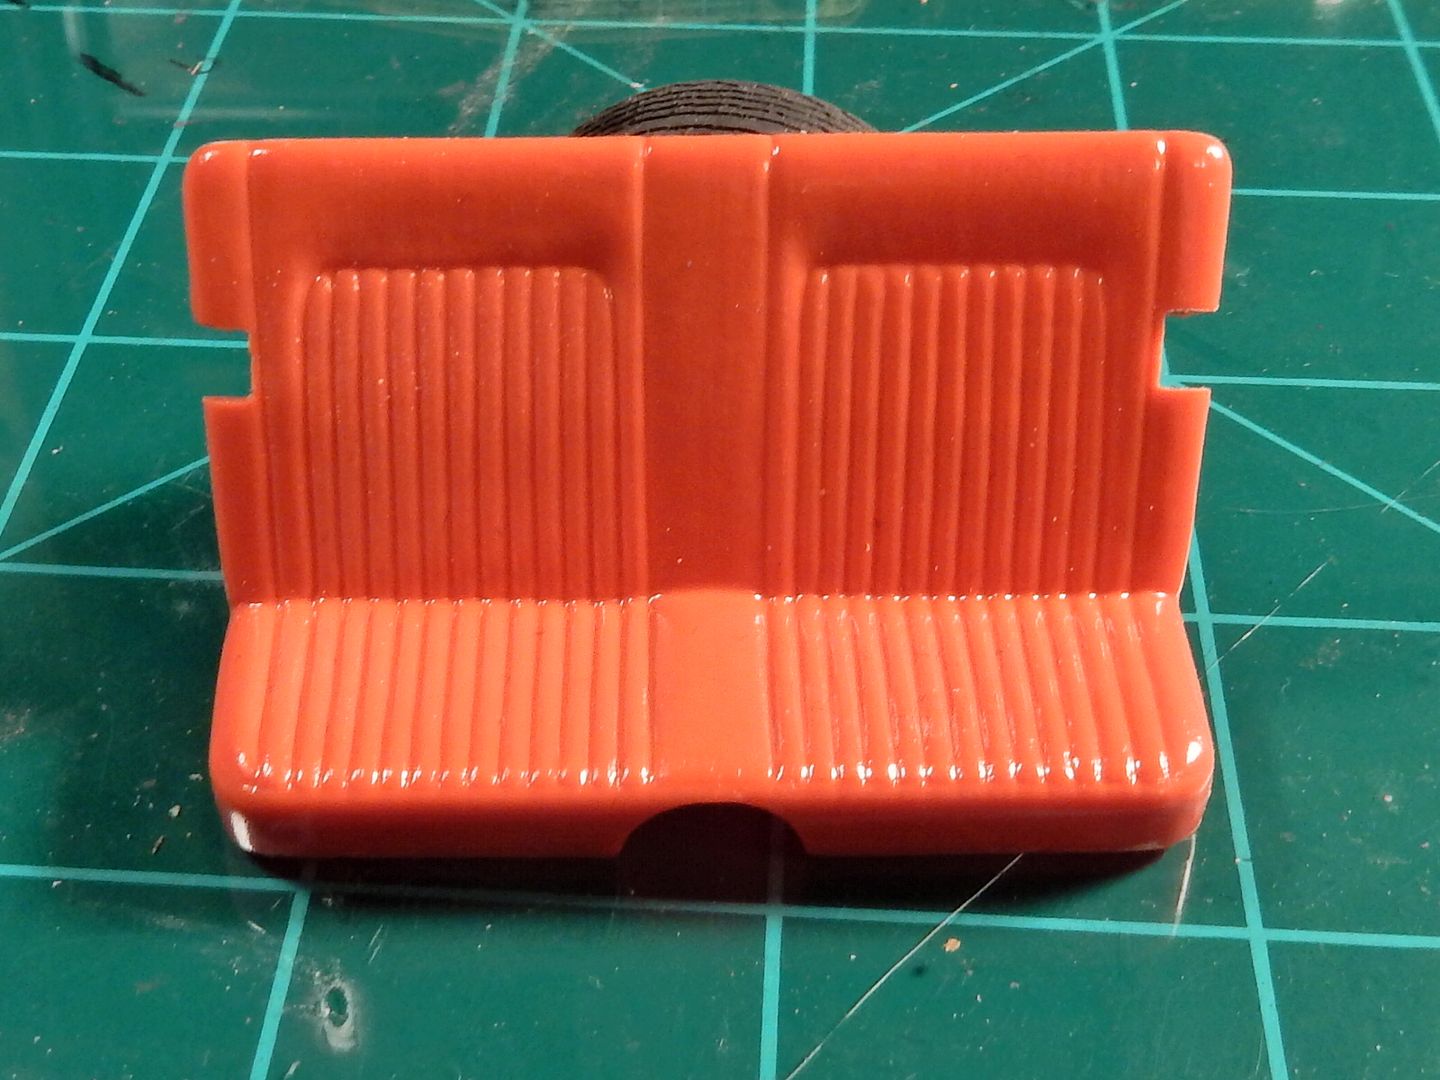 Here it is after filling in the cut outs with some Evergreen sheet styrene and filling and sanding everything smooth. Additionally, I made some small cut outs where the seat back and seat bottom meet for seat belts which are now installed with the PE seat buckles. Man I guess I need to fill the center "dot" in on those buckles. I'll also be working on the front seat finishes to match the rear seat. No biggie on that though. 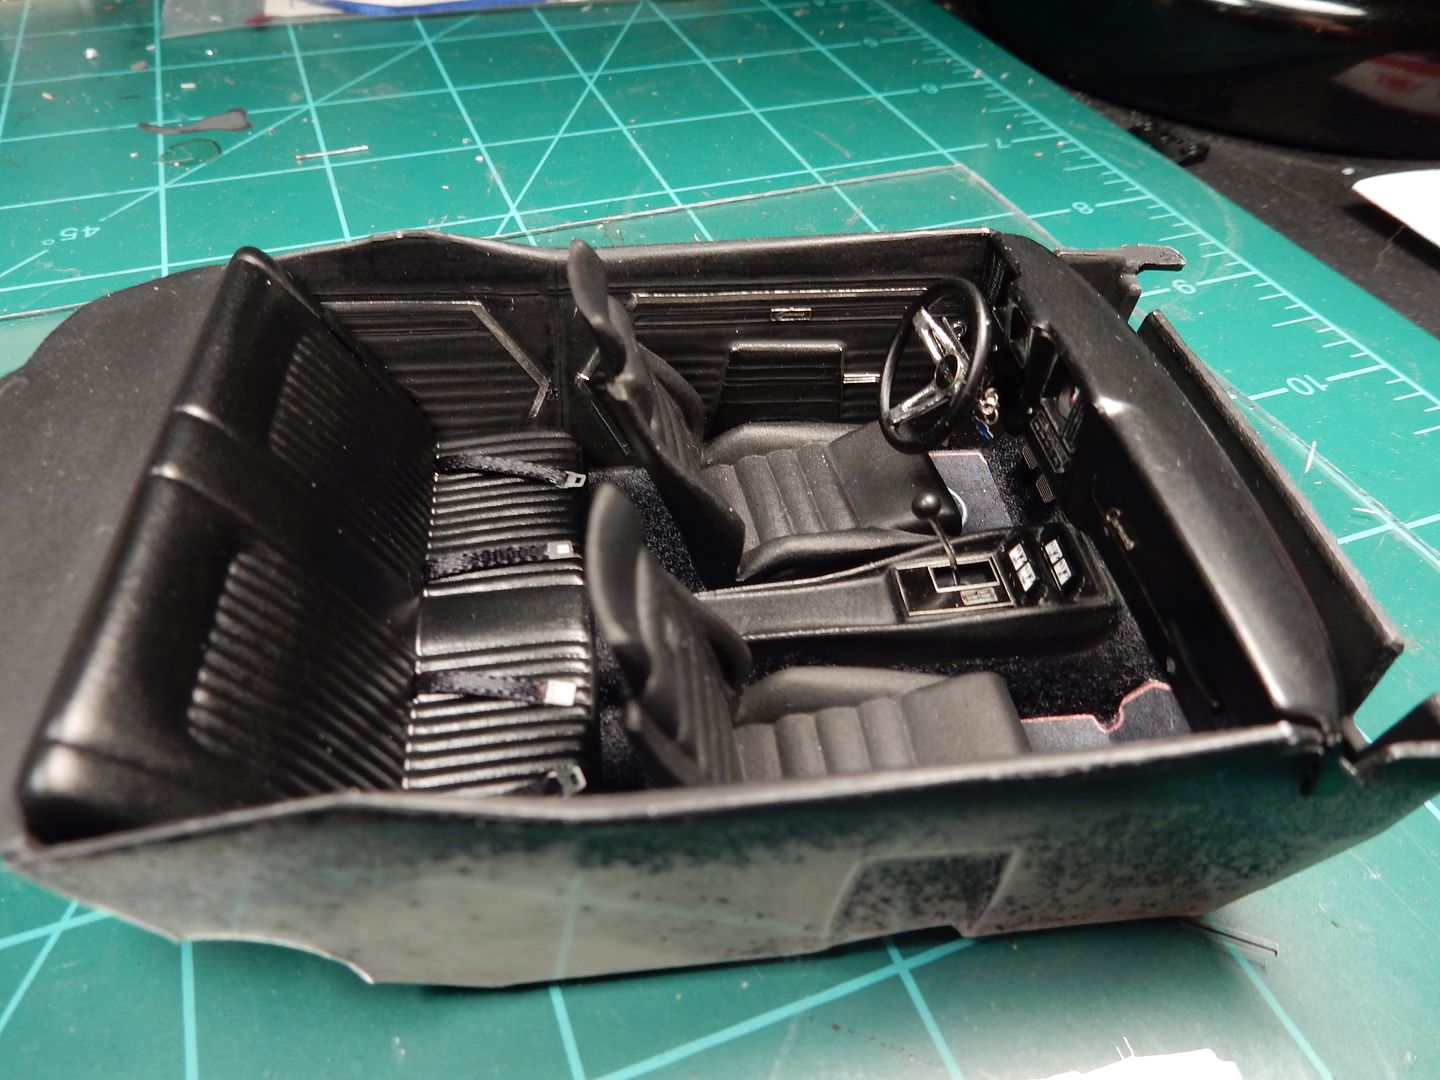 |
|
|
|
Post by Big D on Feb 5, 2017 12:15:48 GMT -7
Lookin' good Joe.
|
|
|
|
Post by mustang1989 on Feb 6, 2017 10:05:06 GMT -7
Thanks Dennis !  |
|
|
|
Post by DeeCee on Feb 6, 2017 13:06:15 GMT -7
That is a VERY IMPRESSIVE interior Joe.. cant-believe-my-eyes-smiley-emoticon
|
|
|
|
Post by mustang1989 on Feb 6, 2017 14:07:35 GMT -7
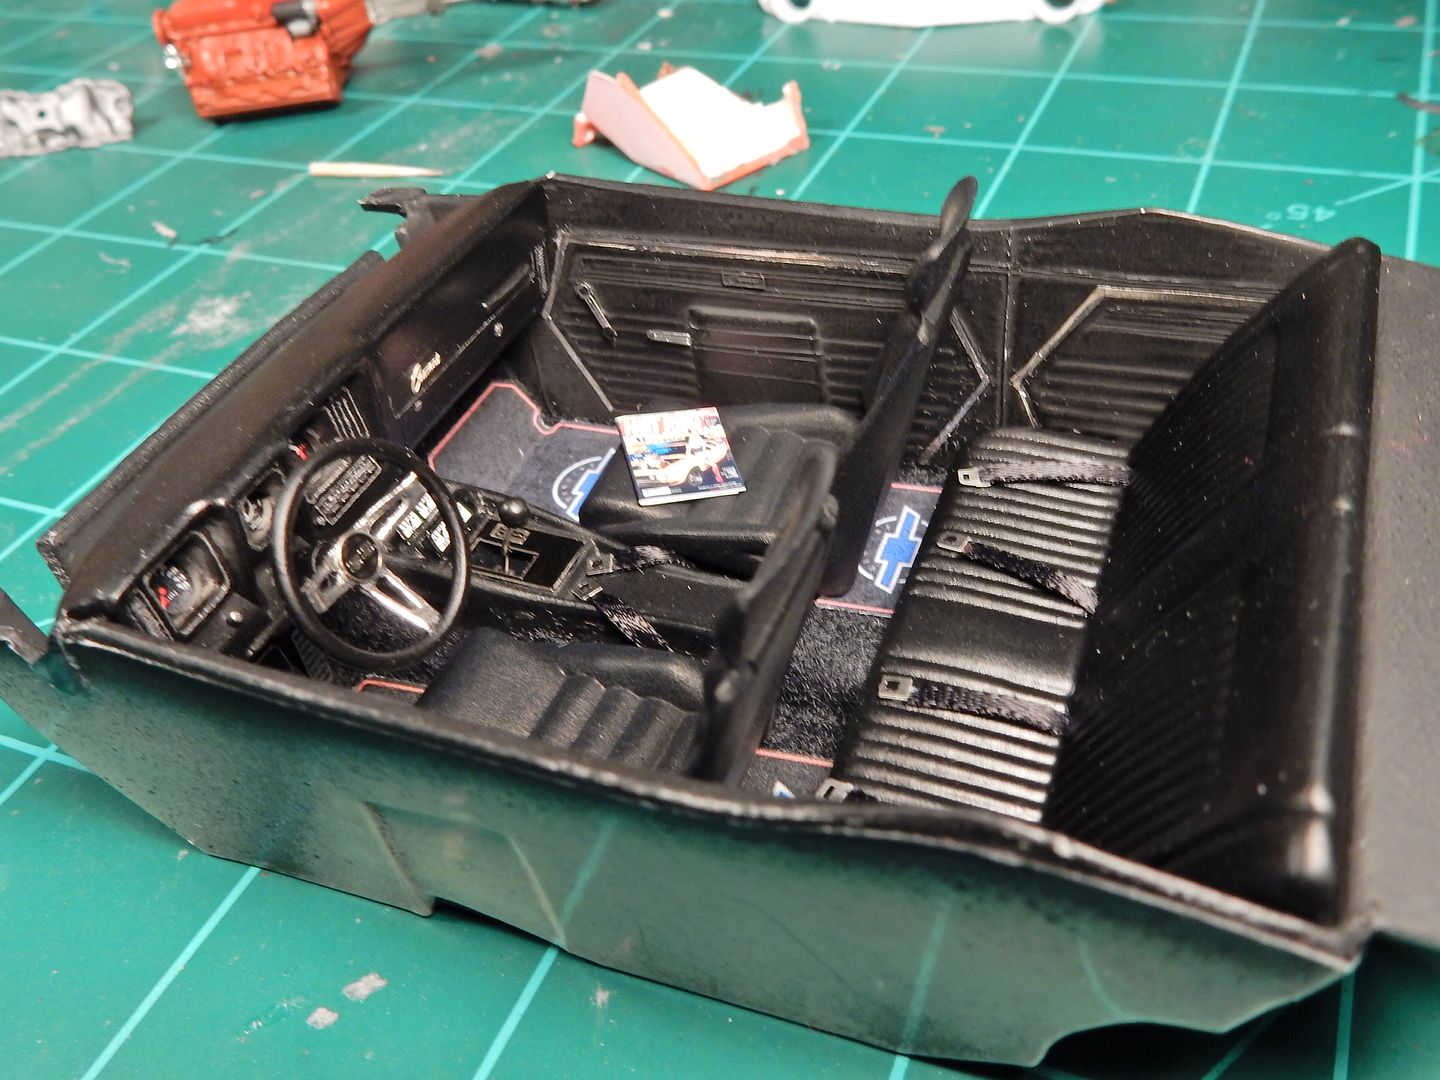
That is a VERY IMPRESSIVE interior Joe.. cant-believe-my-eyes-smiley-emoticon Thanks Dale! I've still gotta replace the drivers side floormat, install floor mats in the rear floor, install the seat belts for the front seats and place a Hot Rod Magazine on the passengers front seat. |
|
stevet
Junior Member
 
Posts: 93 
|
Post by stevet on Feb 6, 2017 18:33:41 GMT -7
looking good.... praising-the-lord-smiley-emoticon
|
|
|
|
Post by mustang1989 on Feb 6, 2017 20:25:43 GMT -7
Thanks there Steve.
|
|
|
|
Post by Jay's Mini Scale on Feb 9, 2017 5:23:18 GMT -7
Very nice bub let me think ya I still have this kit from many years ago I night rebuild it now
|
|
|
|
Post by mustang1989 on Feb 9, 2017 13:28:34 GMT -7
Thanks Jason!! Go for it man!!
|
|
|
|
Post by Jay's Mini Scale on Feb 10, 2017 20:20:30 GMT -7
Thanks Jason!! Go for it man!! I might do it soon |
|
|
|
Post by stitchdup on Feb 11, 2017 3:01:11 GMT -7
Not sure how I missed the interior pics, but it looks great mate
|
|
|
|
Post by mustang1989 on Feb 11, 2017 8:23:11 GMT -7
Not sure how I missed the interior pics, but it looks great mate Thanks Les!
Well guys, I finished the interior up this morning. The only other thing that I need to add are the door lock rods at the tops of the doors but that won't come till later.
Then I started on the engine. I really don't like the way Revell puts most of their engines together in two halves to include the oil pan.
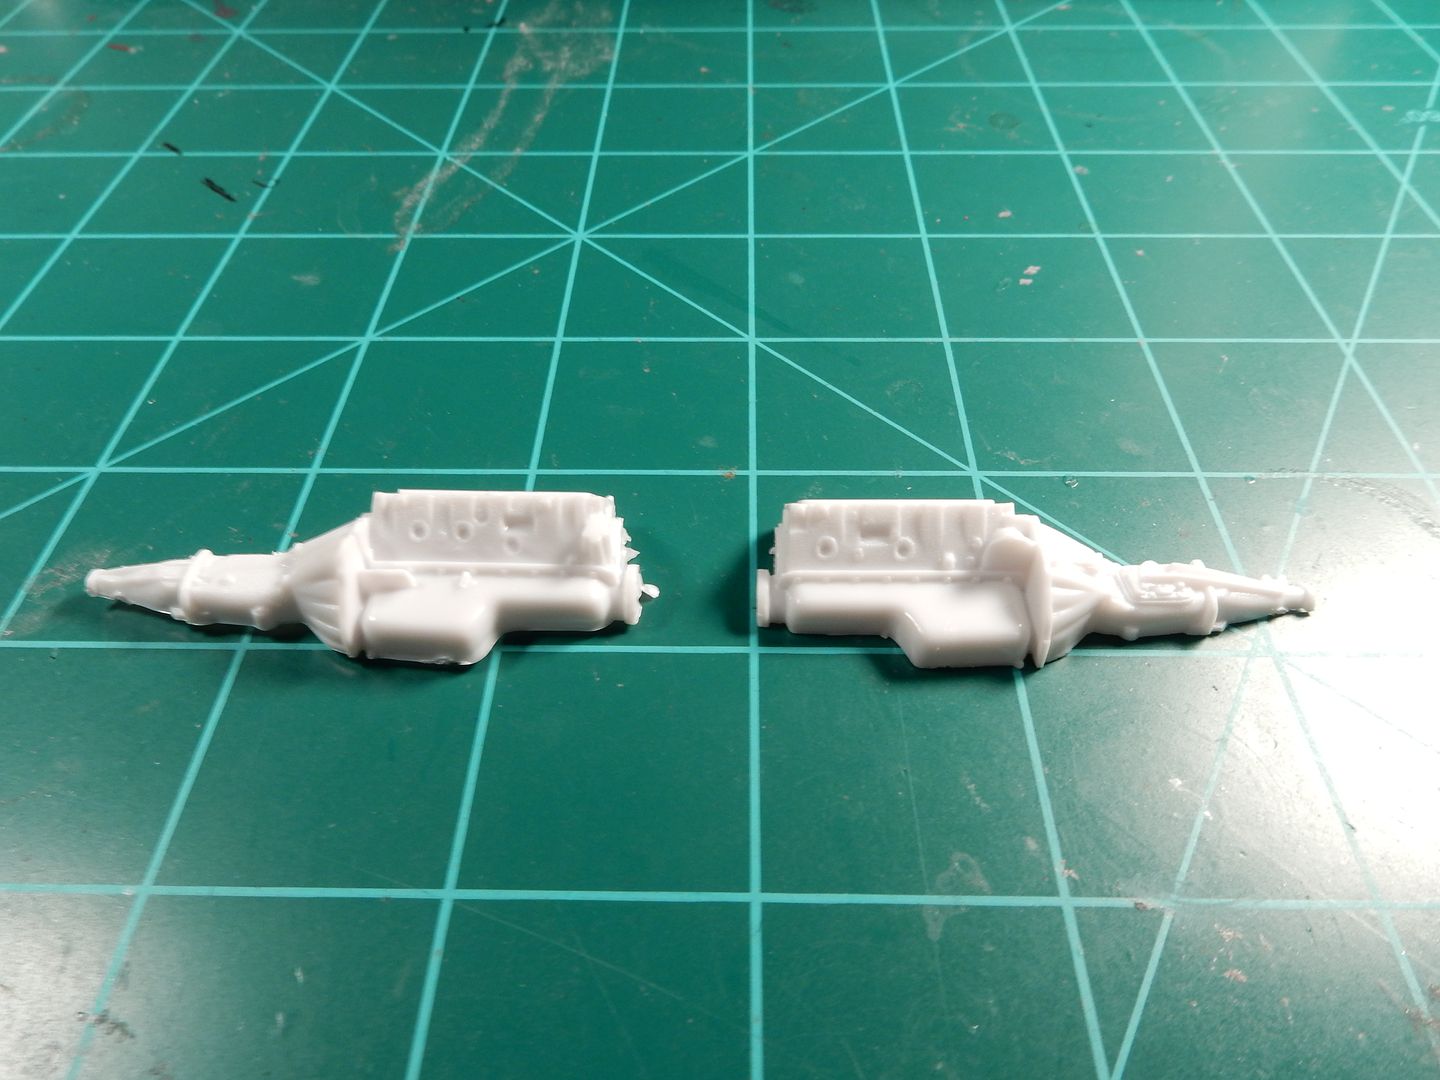
Because it creates a nasty seam down the middle of the oil pan.
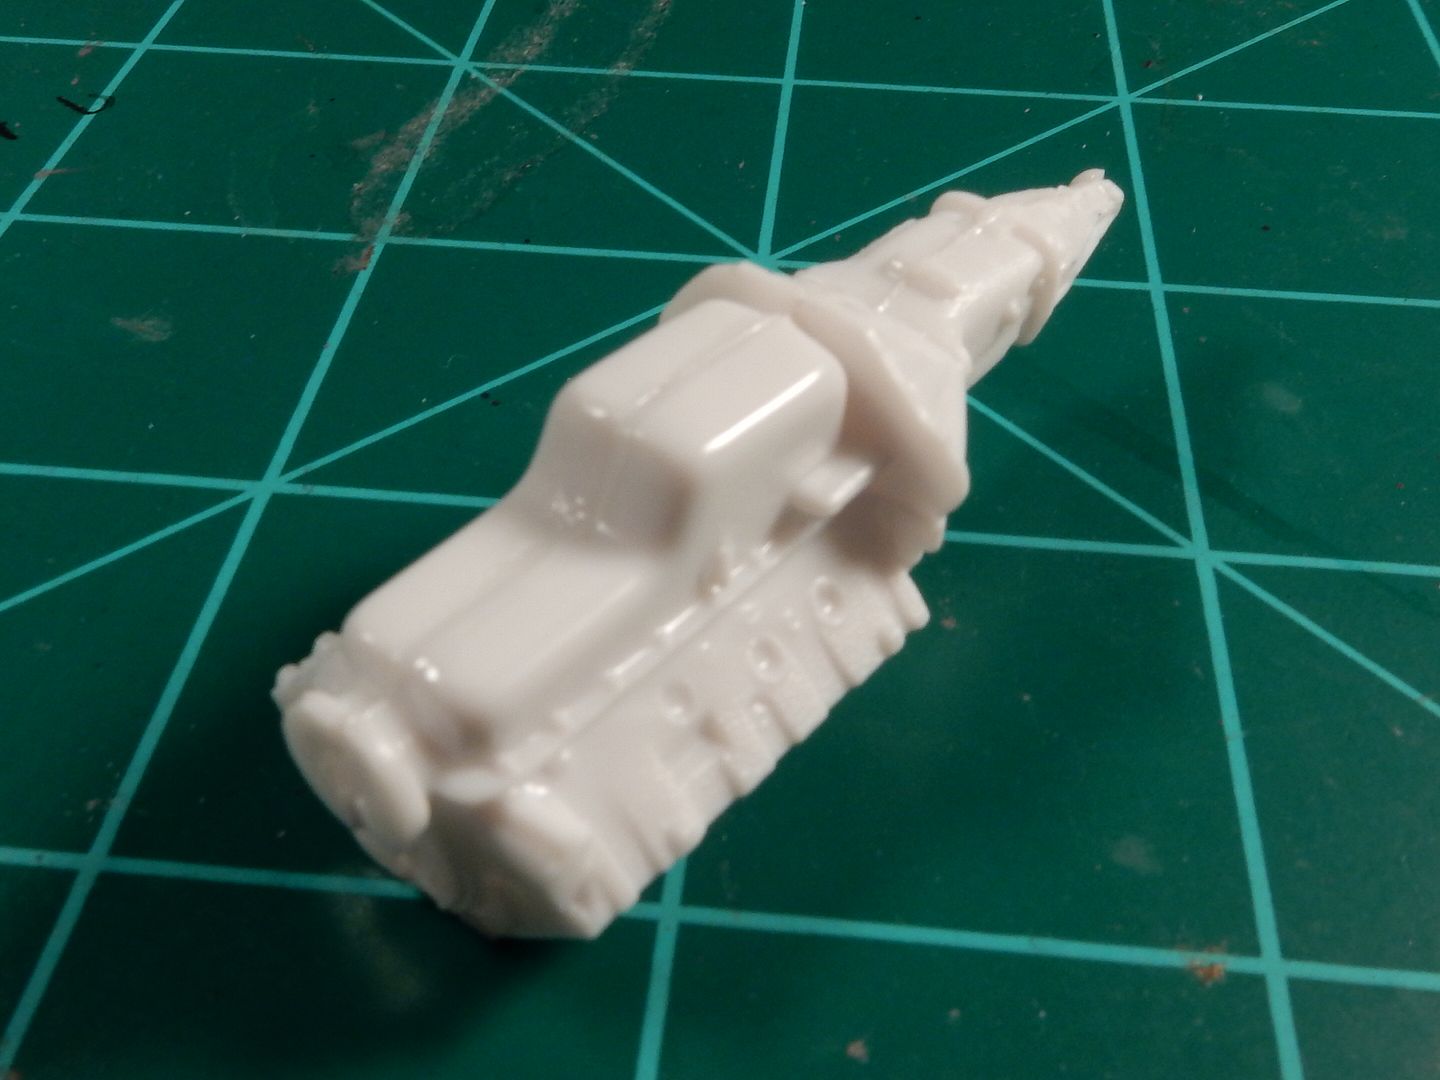
and timing cover:
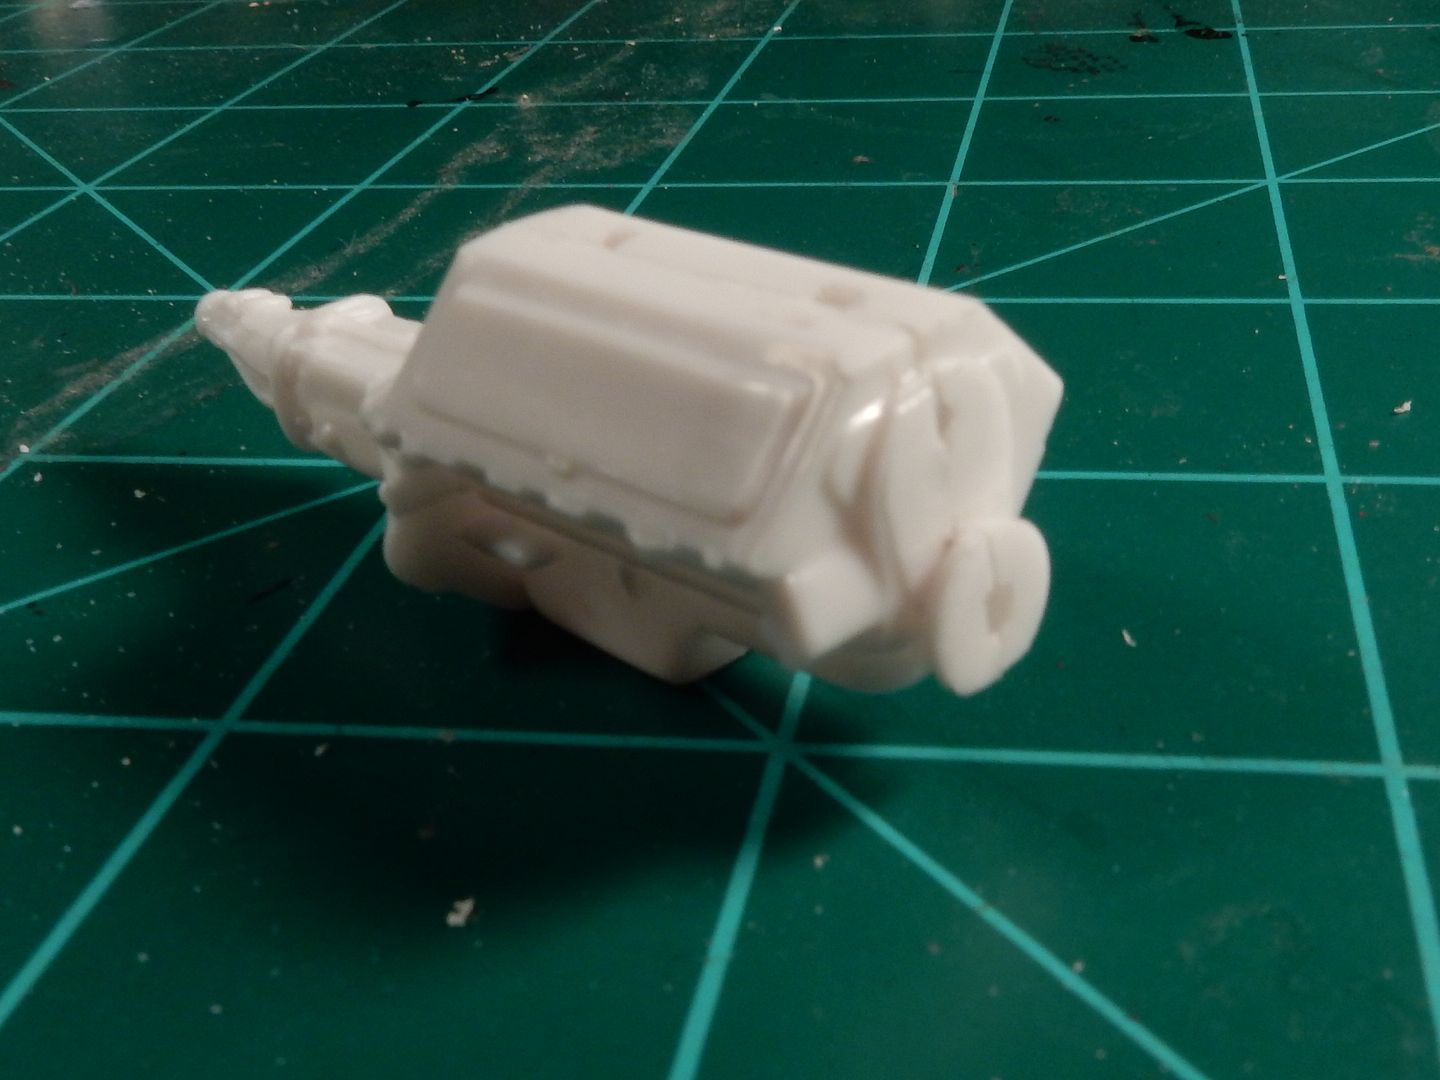
Filling the seams:
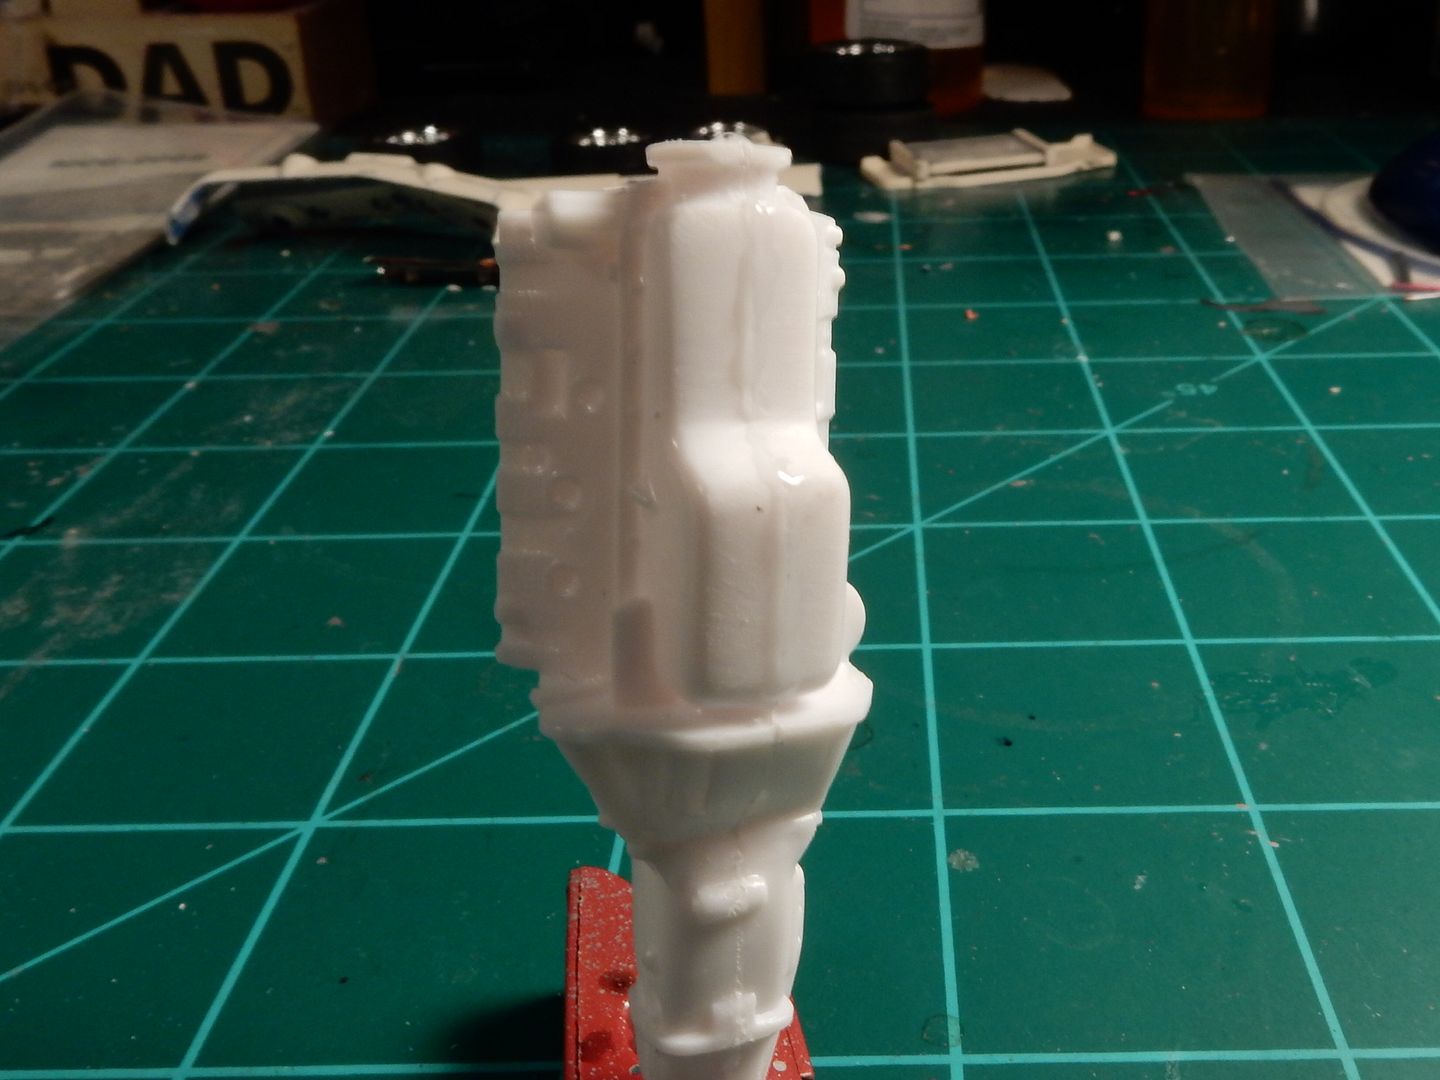
Here we are with the seams filled and all primed up in gray:
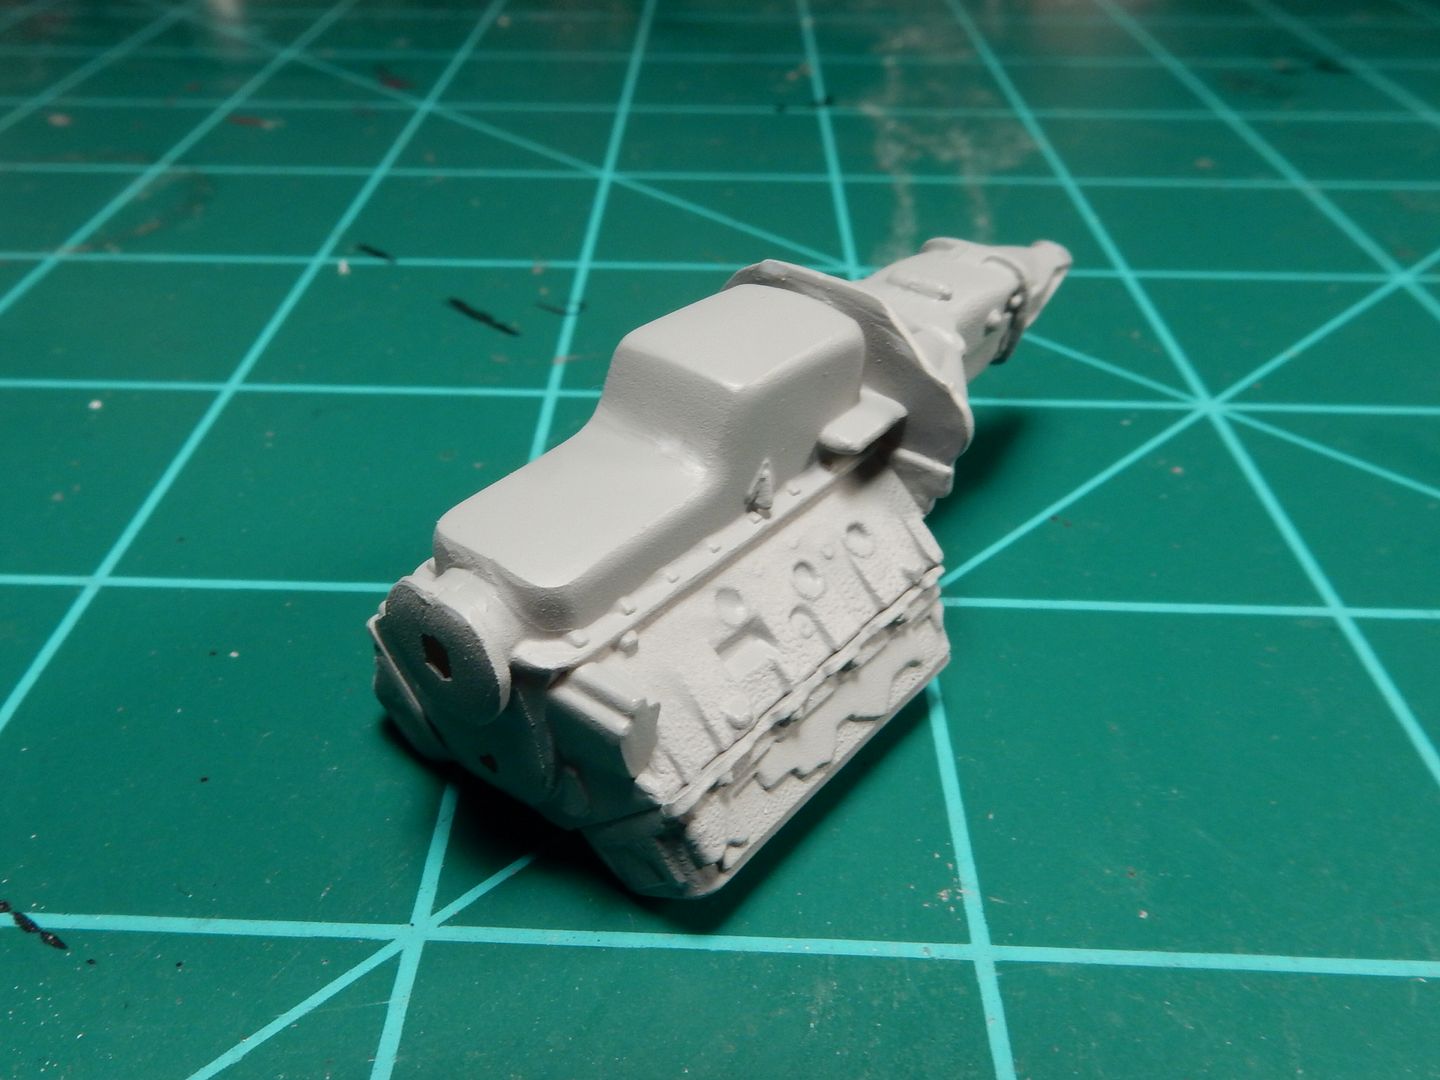
This is where I depart from the norm. I don't know if anybody else does this but I like to black base the engine prior to painting it. I kind of stumbled onto it during my 340 V-8 build for my Challenger. I saw folks using it in aircraft interiors prior to base coats to help deepen the look and bring the shadows to the forefront to bring out a more realistic paint job and subsequently a more realistic looking engine.
We start here:
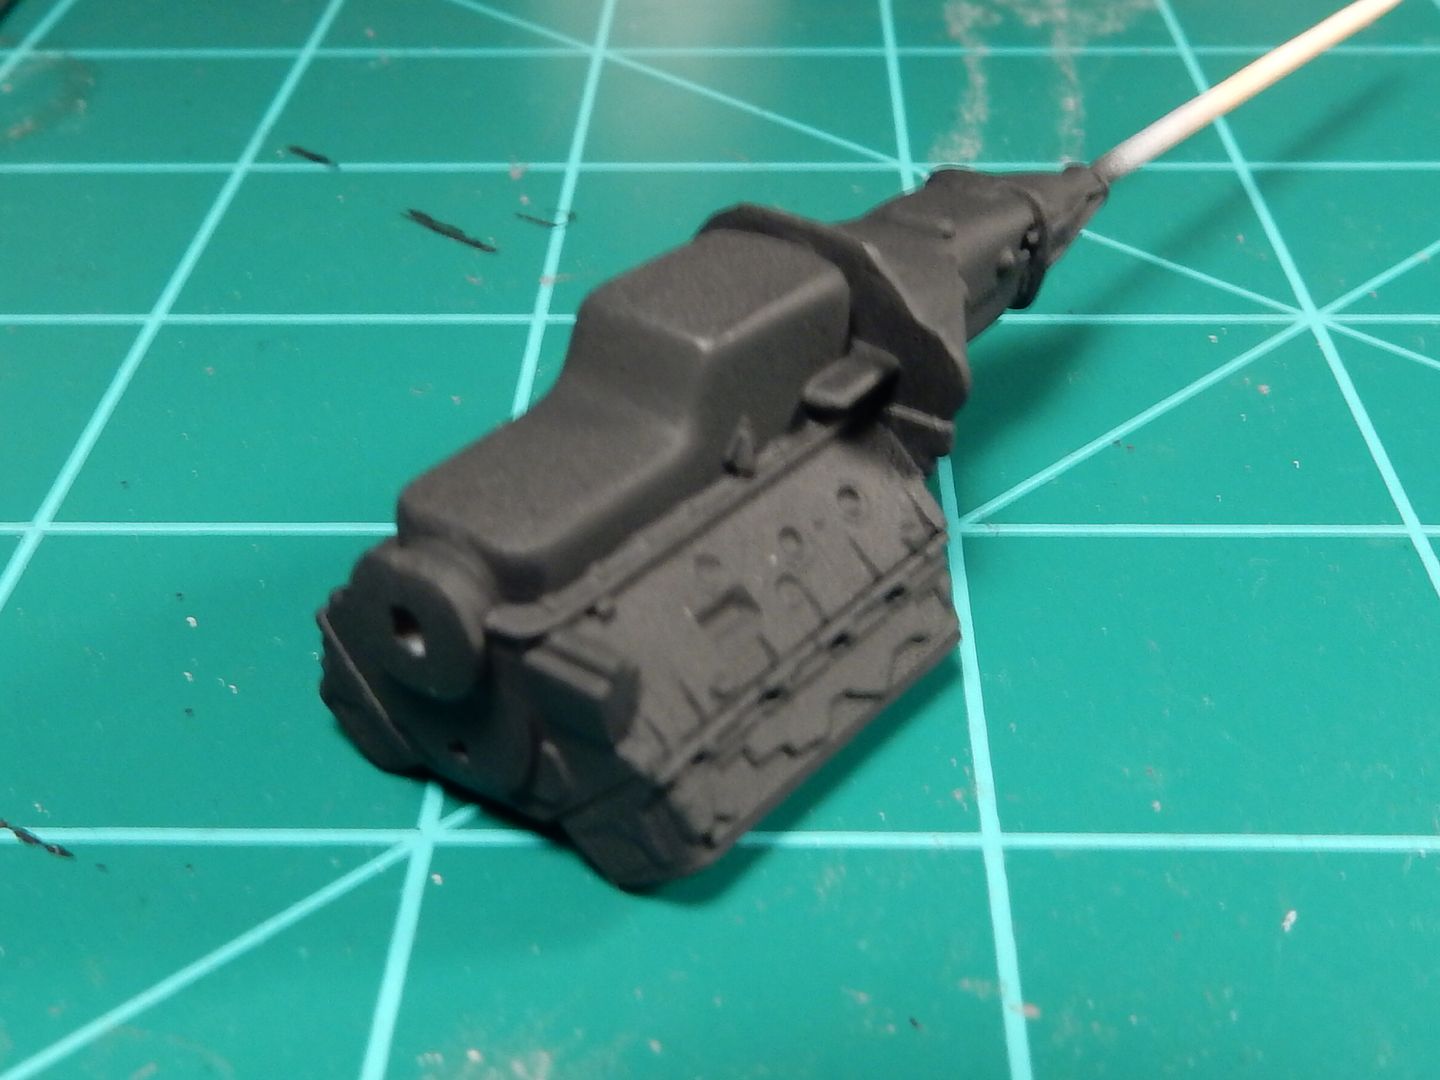
This way we bring up the color from dark to bright instead of the other way around. Here in this pic we're building the color:
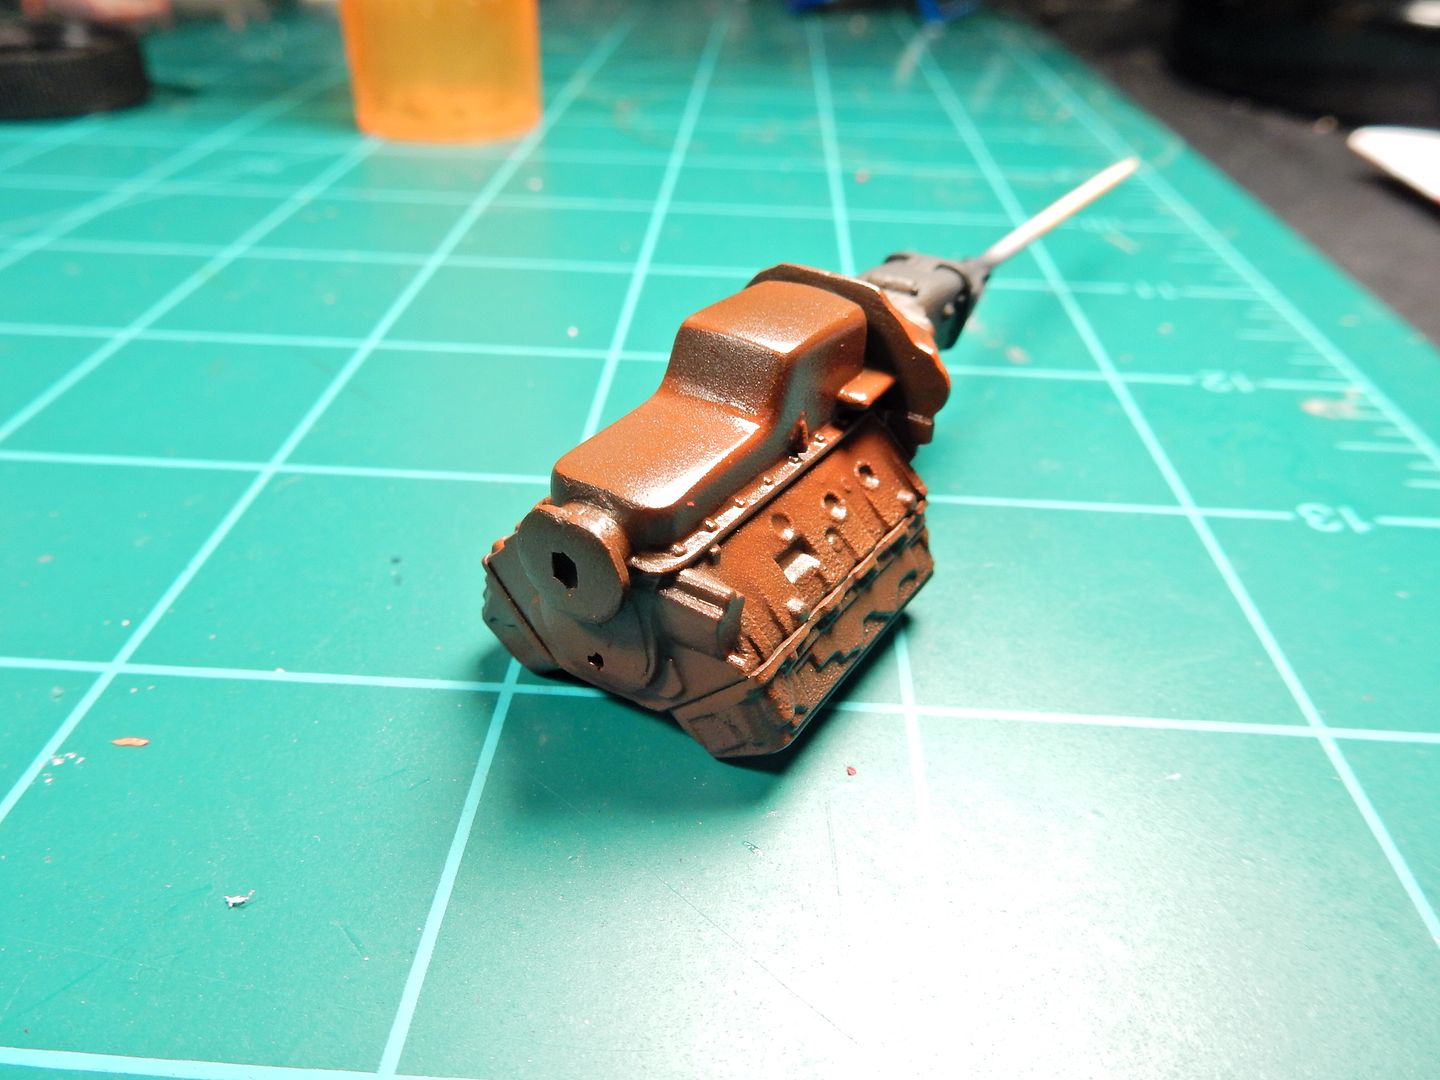
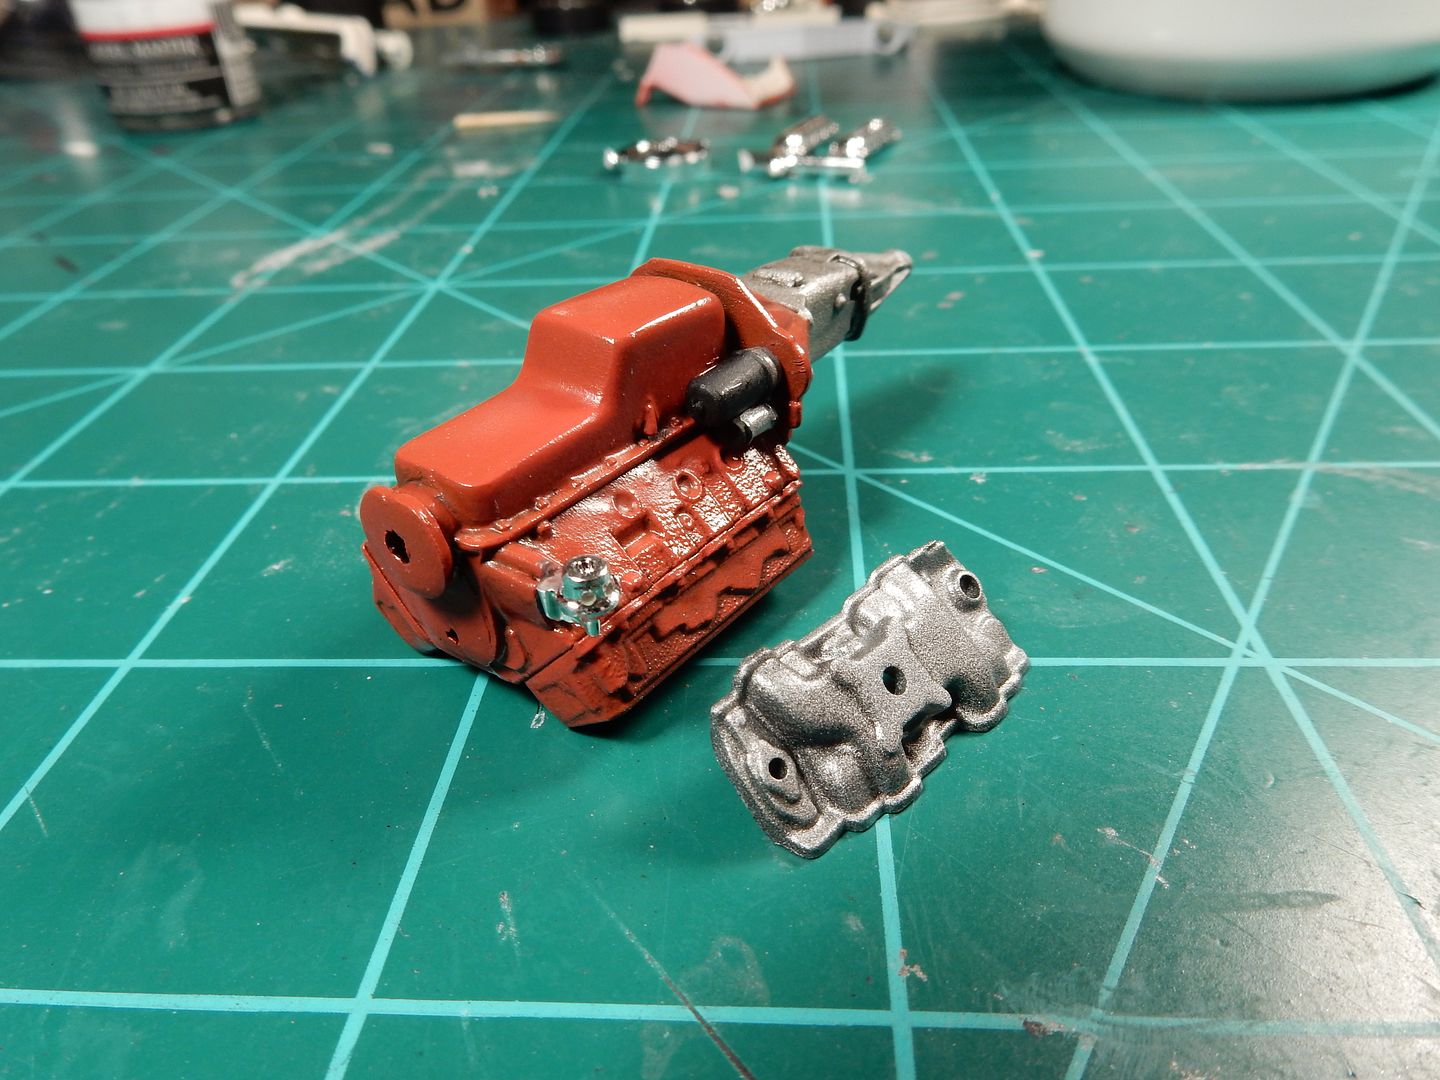
I black based the intake as well. Here we are after final coats and an ever so subtle black wash applied to the intake as well as the block.
NOTE: If there's anybody out here who has never used a wash before I'll let you in on this tip. If you used an acrylic paint as a base coat like I did for the engine block then you'll want to use a enamel based wash. If you use an enamel based paint like I did on my intake manifold, then you'll have to use an acrylic based wash. Remember, it's gotta be a subtle wash. The goal for me here was only to bring out the highlights of the engine and transmission detail and not make it dirty.
Here's the results so far:
|
|
|
|
Post by Big D on Feb 11, 2017 12:18:04 GMT -7
Looks real good Joe.
|
|
|
|
Post by mustang1989 on Feb 11, 2017 17:37:46 GMT -7
Thanks Dennis. I'm looking forward to the engine build now. My favorite part. |
|