|
|
Post by pete on Jun 5, 2020 19:13:52 GMT -7
Um...Wow That's coming along really nicely Joe. Makes me want to dig out one of my JoHan Mav kits and go to town. Yeah that liberty shifter could make a grown man cry...
|
|
|
|
Post by mustang1989 on Jul 5, 2020 6:28:22 GMT -7
Um...Wow That's coming along really nicely Joe. Makes me want to dig out one of my JoHan Mav kits and go to town. Yeah that liberty shifter could make a grown man cry... Thanks Pete! Yes sir.....it did! Well gang....I made some progress on this thing this weekend. Managed to get the seat drilled and slotted to make way for the seat belt harness. The harness wasn't too awful bad outside of me not paying attention to what I was doing at times and having to go back and make corrections. lol  |
|
|
|
Post by leon on Jul 5, 2020 6:36:52 GMT -7
Those seat belts look great Joe.
|
|
|
|
Post by mustang1989 on Jul 5, 2020 7:40:14 GMT -7
Those seat belts look great Joe. Thanks Leon! They're not period correct....even for the restored car but......they're gonna have to do. lol |
|
|
|
Post by pete on Jul 5, 2020 8:12:44 GMT -7
Looks good Joe...Now lets see that liberty shifter sitting on the hump!!
|
|
|
|
Post by leon on Jul 5, 2020 8:13:49 GMT -7
Have to make the best of what you have.
|
|
|
|
Post by mustang1989 on Jul 5, 2020 8:16:50 GMT -7
Looks good Joe...Now lets see that liberty shifter sitting on the hump!! Thanks Pete!! I've got a few rods to put into place on that bad boy and then I'll drop 'er down in there. |
|
|
|
Post by mustang1989 on Jul 5, 2020 8:18:04 GMT -7
Have to make the best of what you have. Right?!! I have the set that has the correct "Simpson" logos on it but those belts are harder to put together than that Liberty shifter that I just got through with.  |
|
|
|
Post by lowlife on Jul 5, 2020 16:42:44 GMT -7
Hey Joe that shifter is designed for a right hand drive car , not left !!  jus kidding bud, this things coming along great, superb detailing ! ! |
|
|
|
Post by DeeCee on Jul 5, 2020 20:00:31 GMT -7
Those belts are impressive mate.
|
|
|
|
Post by Deano on Jul 6, 2020 2:40:43 GMT -7
Awesome work here Joe.
|
|
|
|
Post by mustang1989 on Jul 6, 2020 6:25:29 GMT -7
Today saw the installation of the shifter. I cut the rods to length as well and will be installing those tomorrow morning. Really adds a lot to the interior.... 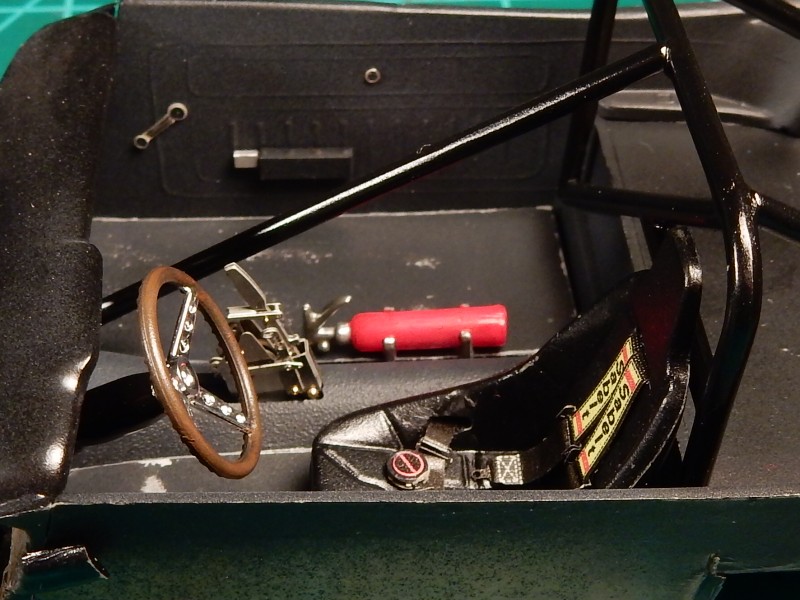 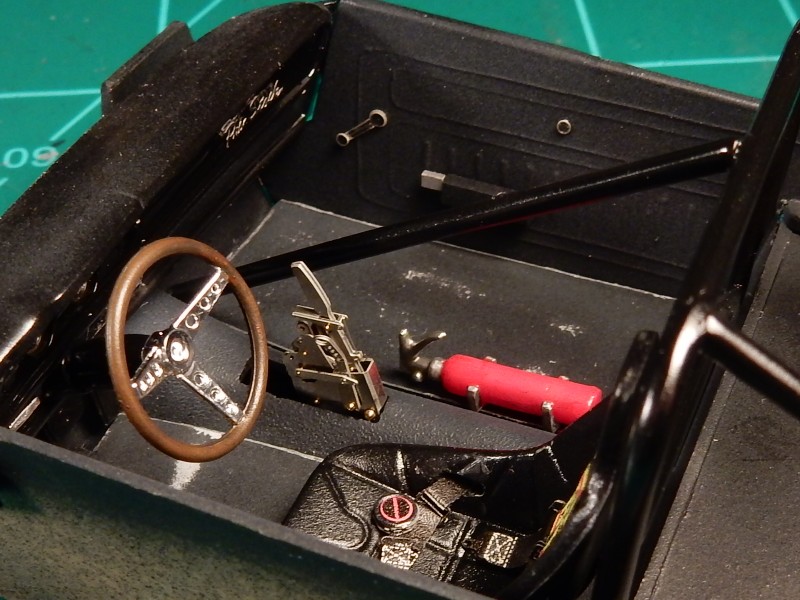 |
|
|
|
Post by leon on Jul 6, 2020 13:45:27 GMT -7
That is looking really great Joe!
|
|
|
|
Post by pete on Jul 6, 2020 16:54:18 GMT -7
Love it!! Joe, that's a great looking interior man! That shifter just tops it off...Nicely done.
|
|
|
|
Post by RetroSpectKustoms on Jul 6, 2020 17:56:32 GMT -7
Looks amazing in that interior mate, fantastic work.
|
|
|
|
Post by mustang1989 on Jul 7, 2020 3:20:06 GMT -7
Thanks guys! Ok folks....got the shift linkage/ rods in place. Now for that tachometer....  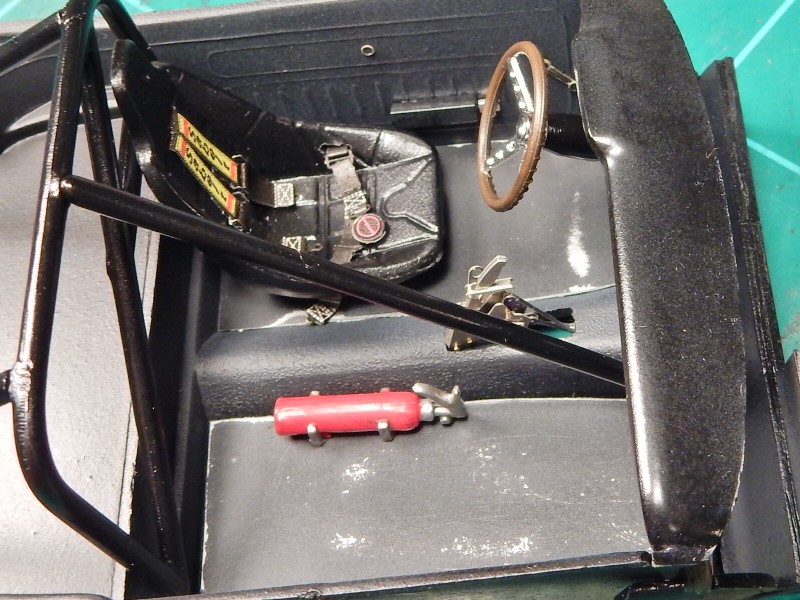 |
|
|
|
Post by DeeCee on Jul 7, 2020 4:05:19 GMT -7
A work of art on its own there mate.  |
|
|
|
Post by mustang1989 on Jul 7, 2020 19:24:29 GMT -7
A work of art on its own there mate.  Thanks Dale. Looks like this thing may be taking on some shape now. |
|
|
|
Post by pete on Jul 8, 2020 10:55:19 GMT -7
OOH...  Lovin it!!! |
|
|
|
Post by mustang1989 on Jul 9, 2020 3:22:02 GMT -7
OOH...  Lovin it!!! Thanks Pete!! Test fitted the AMT Mustang shock towers this morning. I think this is going to work fine but I still have the radiator core support and firewall to go.    |
|
|
|
Post by poet on Jul 9, 2020 7:29:33 GMT -7
Killer interior detail!
|
|
|
|
Post by pete on Jul 9, 2020 8:22:30 GMT -7
Cut that battery box out Joe...You wont need it.
|
|
|
|
Post by stitchdup on Jul 9, 2020 16:15:38 GMT -7
That shifter is stunning
|
|
|
|
Post by mustang1989 on Jul 10, 2020 3:32:55 GMT -7
Thanks for the input Pete. I was already thinking the same thing. Not only is the battery in the back on this car but I'm gonna need all the room I can get under the hood for that big (Word Censored By Forum Administrator) 427!! lol I also appreciate the encouragement along the way Les.This morning I got her standing on her own. Rear tires will be going in a smidgen to give her the proper look but this is going to be the ride height. All this time I had to find a way to lock the front suspension ride height in and I finally was able to do this by drilling small holes in the front of the frame and installing locating pins. Worked like a charm: 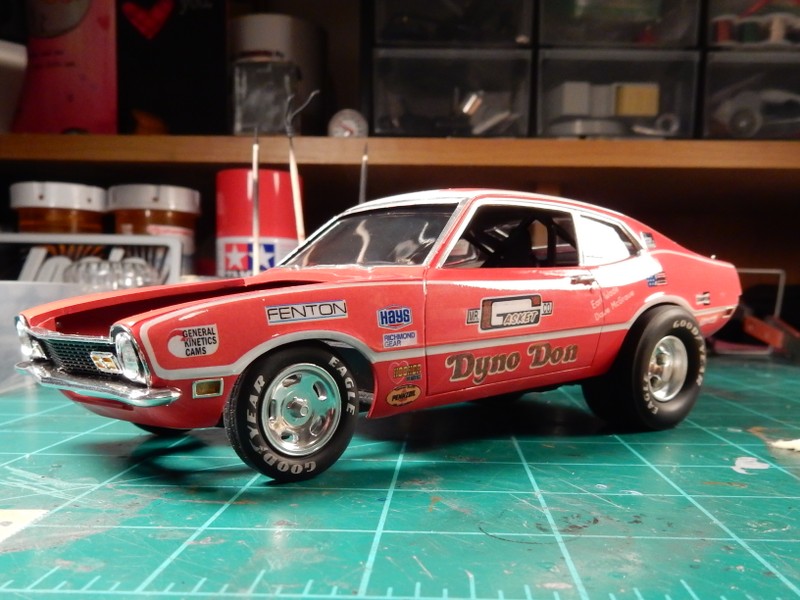 I worked a lot on the firewall this morning by modifying to work with the Mustang shock towers. I'll post progress of this on the next update. Meanwhile I also cut out the battery box/ pedestal on the R/H shock tower panel. 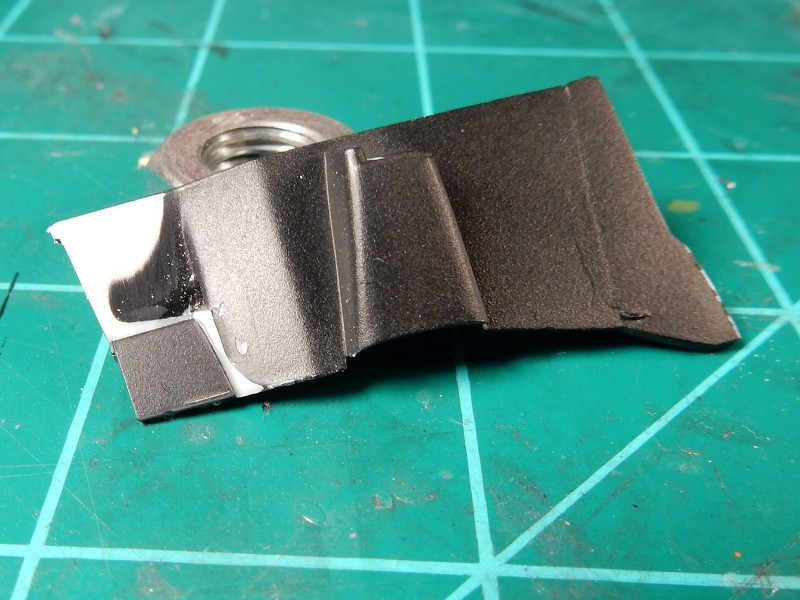 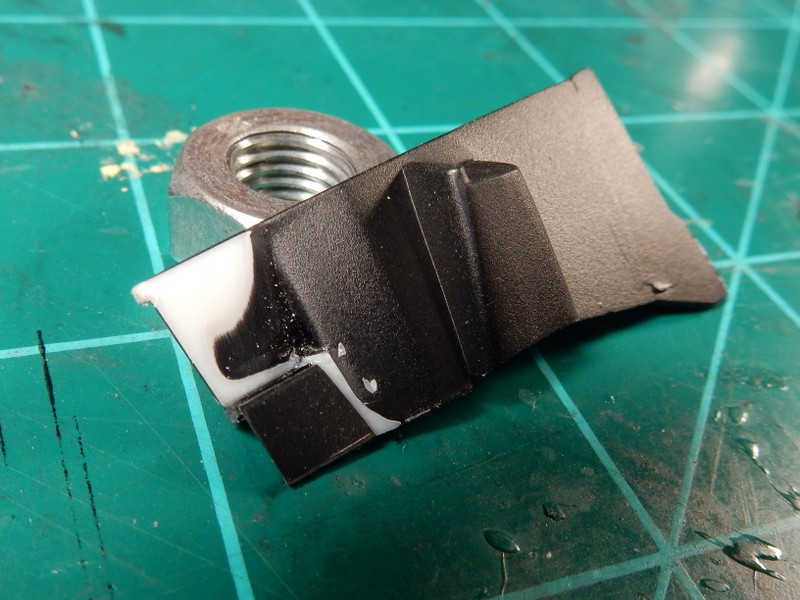 |
|
|
|
Post by sharp on Jul 11, 2020 17:30:39 GMT -7
The interior looks awesome Joe! Love that shifter!
|
|
|
|
Post by pete on Jul 13, 2020 21:37:33 GMT -7
Stance is spot on Joe! Thats one killer lookin' Mav...
|
|
|
|
Post by lowlife on Jul 14, 2020 2:05:40 GMT -7
Really nice work on this Joe, shifter looks awesome !
Looks like you nailed the stance on this too, it's coming along perfectly bud !
|
|
|
|
Post by leon on Jul 14, 2020 2:55:26 GMT -7
Coming along nicely Joe! That shifter looks great.
|
|
|
|
Post by mustang1989 on Jul 18, 2020 8:35:27 GMT -7
Thanks alot you guys.
This week has been slow and it usually seems to be that way towards the end of alot of my builds. All the planning that I've been doing for the last 4 months all comes together at the last part it seems. Sometimes I'm hesitant to move too fast as a screw up at this point would mean alot of re-work.
I've been working on the firewall area, removing the already installed transmission mount and moving it to the rear a little more so that the engine and transmission will set into place properly. That meant popping the mount loose, sanding and repainting the chassis (which I had to separate the front subframe from the main part of the chassis to gain access to the areas for sanding and the repaint) and reassembly of the whole chassis again. I also worked on the rear part of the chassis so that I could get the proper rear tire alignment with the body (in other words...suck those big fat rear tires inwards a little bit towards the center of the car to keep 'em from sticking out too far from the wheel openings).
I received my tachometer from Ted's Modeling Marketplace and while it is the perfect size and diameter, the tachometer decals that came with it were NOT. Really frustrating why a manufacturer (Detail Master) would put a smaller tach in a package and then throw decals for a MUCH larger tach in the same bag. Really pissed about that but I'll make something work.
Most of the efforts moving forward will center around the engine bay and all the parts fit as well as the engine detailing. I was really surprised when I actually thought about it that I'm around 80% complete with this bad boy. I've been on it since late December/ January so it's been a long road but I'm well pleased with how it's turning out so far.
Thanks go out to all who continue to follow this build, give input and encourage me along the way. She's been a tough kit to work with.
|
|
|
|
Post by stitchdup on Jul 18, 2020 9:19:58 GMT -7
Thanks alot you guys. This week has been slow and it usually seems to be that way towards the end of alot of my builds. All the planning that I've been doing for the last 4 months all comes together at the last part it seems. Sometimes I'm hesitant to move too fast as a screw up at this point would mean alot of re-work. I've been working on the firewall area, removing the already installed transmission mount and moving it to the rear a little more so that the engine and transmission will set into place properly. That meant popping the mount loose, sanding and repainting the chassis (which I had to separate the front subframe from the main part of the chassis to gain access to the areas for sanding and the repaint) and reassembly of the whole chassis again. I also worked on the rear part of the chassis so that I could get the proper rear tire alignment with the body (in other words...suck those big fat rear tires inwards a little bit towards the center of the car to keep 'em from sticking out too far from the wheel openings). I received my tachometer from Ted's Modeling Marketplace and while it is the perfect size and diameter, the tachometer decals that came with it were NOT. Really frustrating why a manufacturer (Detail Master) would put a smaller tach in a package and then throw decals for a MUCH larger tach in the same bag. Really pissed about that but I'll make something work. Most of the efforts moving forward will center around the engine bay and all the parts fit as well as the engine detailing. I was really surprised when I actually thought about it that I'm around 80% complete with this bad boy. I've been on it since late December/ January so it's been a long road but I'm well pleased with how it's turning out so far. Thanks go out to all who continue to follow this build, give input and encourage me along the way. She's been a tough kit to work with. I think bestmodelcarparts on ebay have tach faces in one of their sets mate, not decals though but printed on photo paper so it has the sheen a plastic cover would have. I'll be using some of their gague faces on my c10 but not where they should be... |
|