Post by mustang1989 on Nov 18, 2016 17:31:13 GMT -7
Thought I would post this jewel here. It was my first attempt at a model in 6 years and the one 6 years prior to this I didn't have half of the skills that I used in building this thing nor did I have my head in the right place. Alcohol played a huge part in my life back then and in 2012 I made my first true steps in my recovery and started building this model. It would be another year and a half before I would sober completely up in the summer of 2013 and I am a thankful man to not have that stuff in my life any longer. There are some things throughout the model here and there I know could be better and have been working on those in the last two builds but I'm fairly proud of my first time creation using weathering effects and more proper painting techniques. I have built this as a Bf109G-14 and have it displayed as it was in May of 1945 with JG5. The pilot was Helmut Nuemann and with this machine he managed to achieve 62 aerial victories. The addition of the 20mm wing mounted cannon is incorrect for this particular aircraft but I couldn't help myself but to build one of these "up-gunned" beauties! So without further delay I'll turn to the presentation:
Some of these pictures are either yellowed or too dark but they were taken at the start of my model photography career so please take that into consideration when viewing.
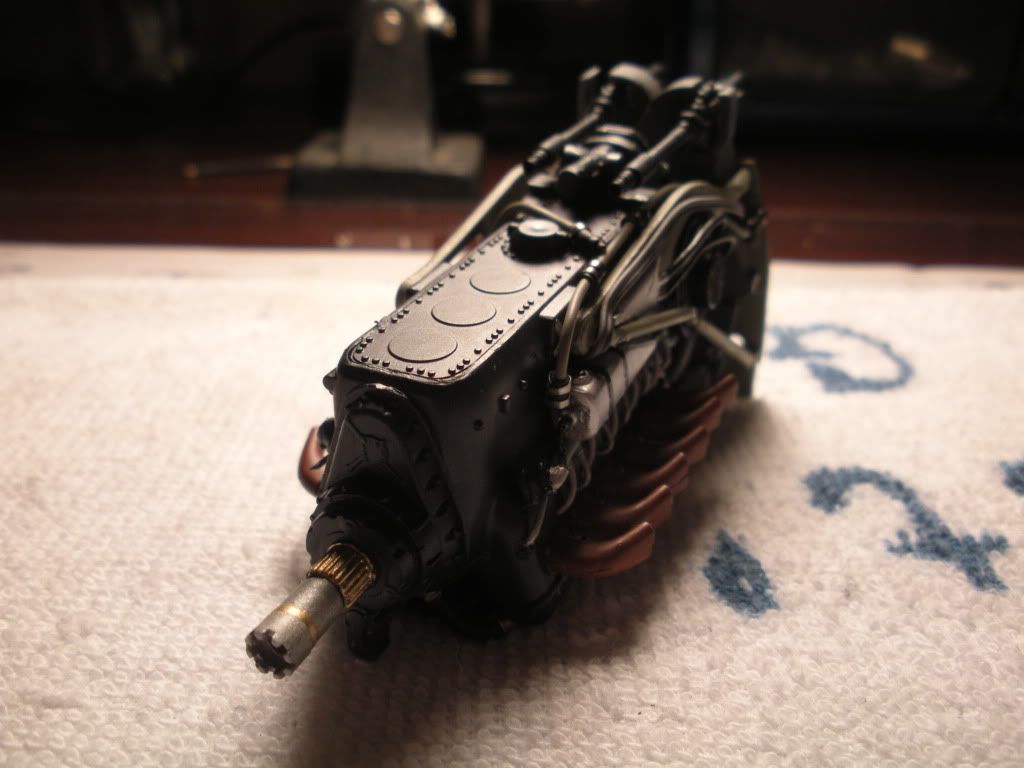
I built the engine first by painting and assembling all of the plastic kit parts. I used the Verlinden update set #2062 which has some engine updates and a few parts of the firewall and ammo boxes. It also has a bunch of stuff for the cockpit but we'll get to that later. The engine coolant pipe was a piece of copper wire that came in the update set. I used electrical wire heat shrink that I acquired from Radio Shack cut to the proper length to simulate the rubber hose sections and heated up to shrink and actually "look" like sections of rubber hose. The hose clamps were a combo of left over PE sprue and .015" solder that was flattened and formed in the shape of clamps. The supercharger inlet screen was taken from a Chevrolet 4.3 litre V-6 distributor that I removed as part of a GM service Recall at my dealership. (You just never know when youre gonna need stuff like that!! I weathered everything later when I started learning more about that.
On to the cockpit:
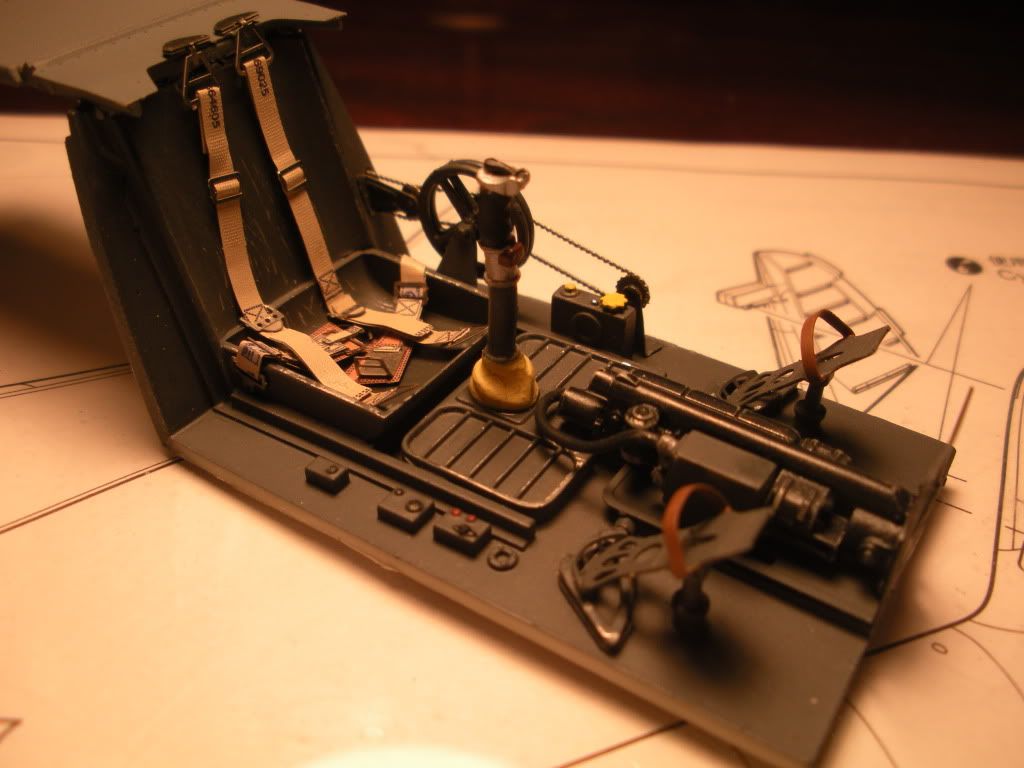
I then started on the cockpit floor. I painted it a coat of silver and then after that dried shot a coat of RLM 66. After that dried I chipped away the 66 from the high areas to allow the "aluminum" floor/skin to shine through. Then I started installing the aftermarket seat belts that I acquired (cant remember the brand but I bought em through Squadron). The rest of the goodies came from the Verlinden update. You know the stuff like rudder pedals, control stick, drive chains for the control pullies on the L/H side of the seat, cannon all that stuff! More completed shots of this coming up.
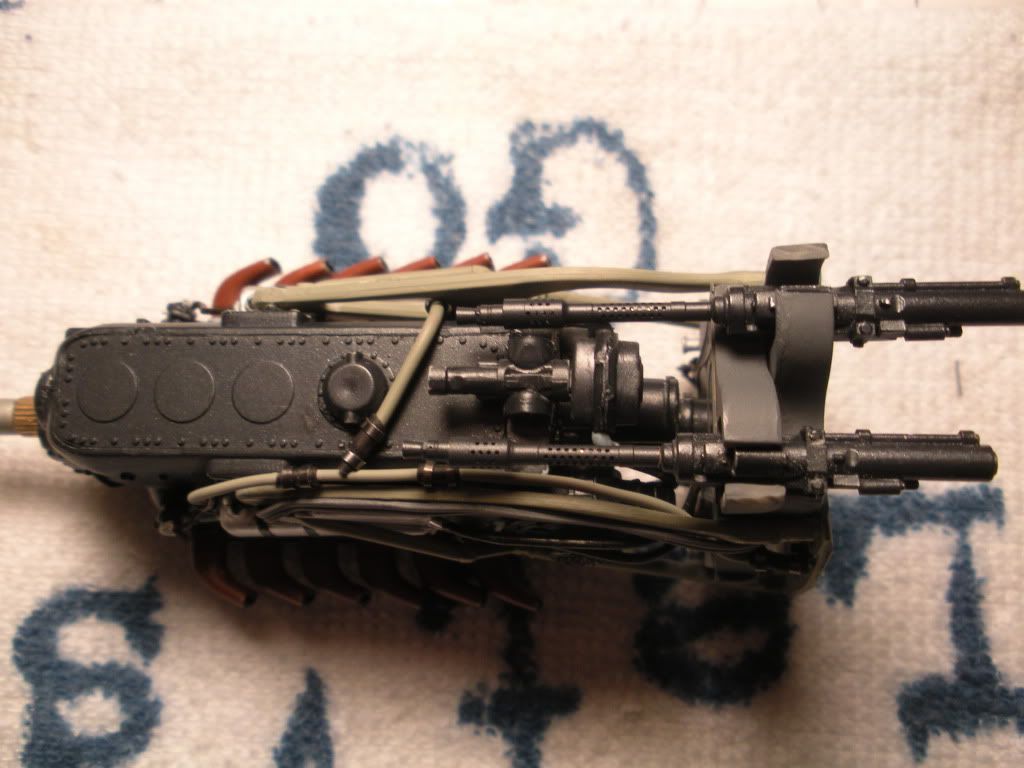
Almost forgot that top view of the engine with the guns and coolant crossover pipe /hoses installed.
So anyways back to the cockpit:
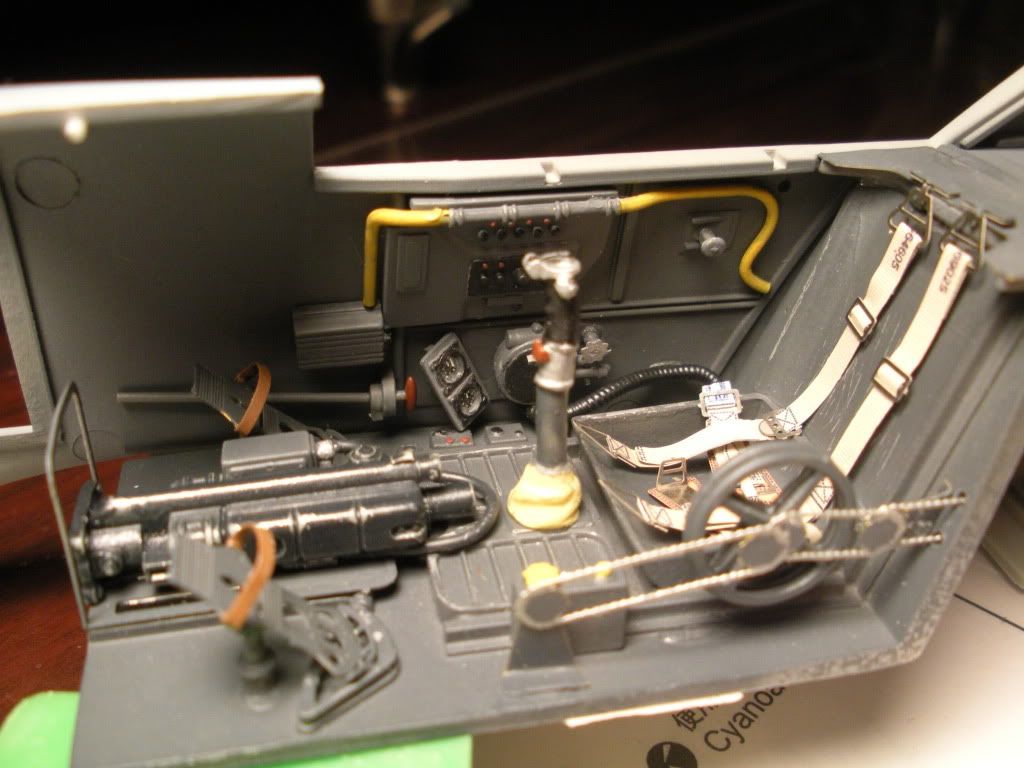
I built the R/H wall first concentrating my attention on the oxygen apparatus and all that stuff. The hose came from the update set as did the guages on the wall. I used instrument panel decals from another kit in the guage holes with a drop of clear on top of them. The knob is from an aftermarket nitrous oxide bottle I had from a 1/24 scale car upgrade set. The chain/ sprocket arrangement in the foreground was a little off center but it doesn't show when viewed from the other side. Also have the shoulder harness seat belts installed here.
Skipping to fuselage assembly
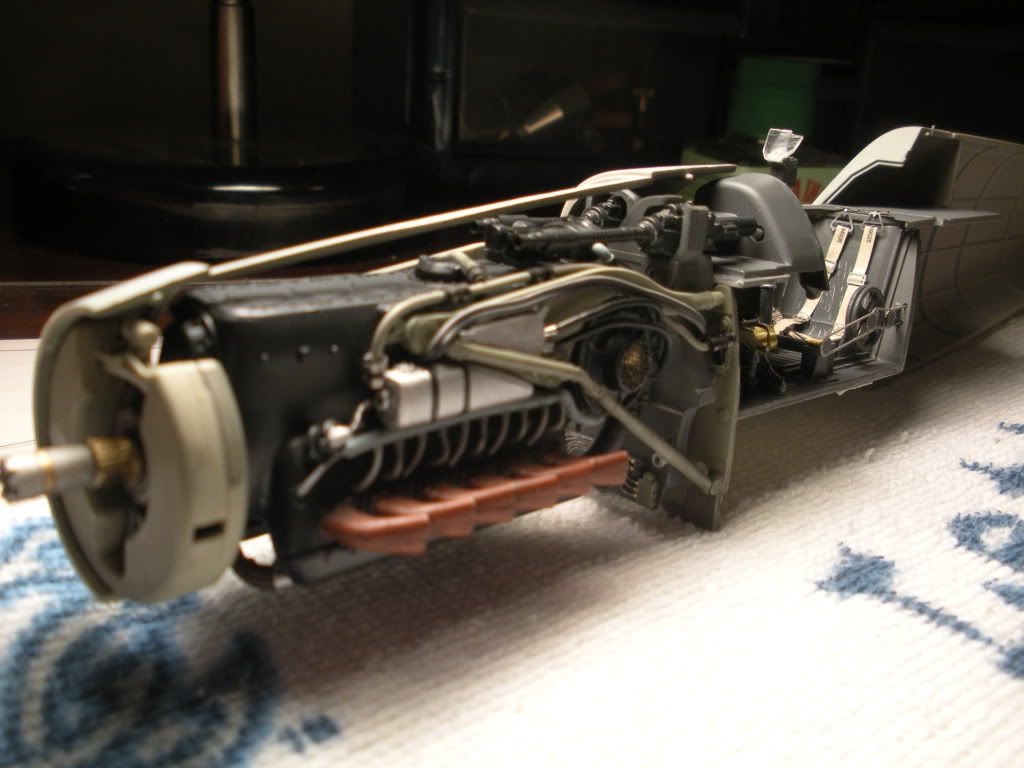
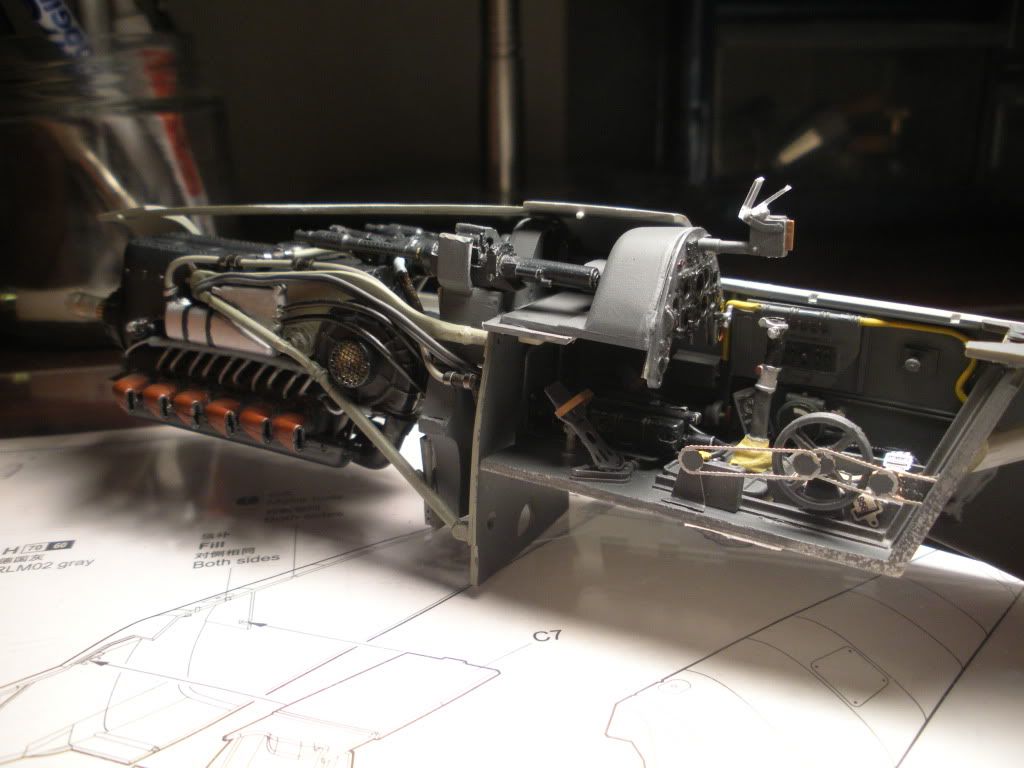
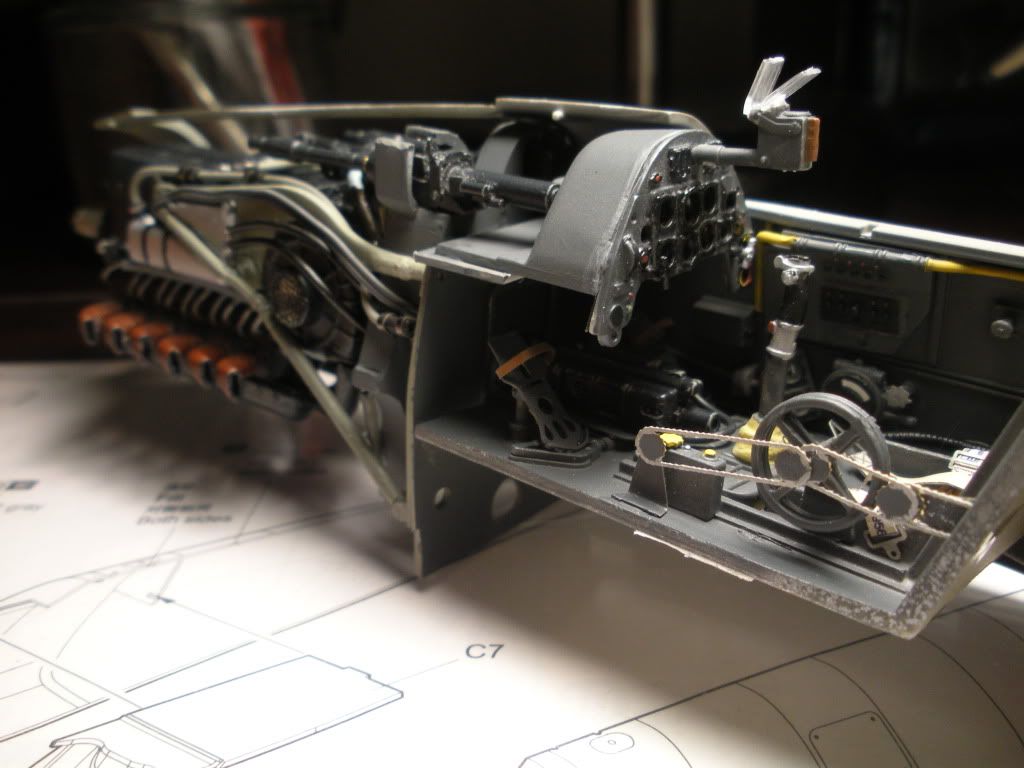
I really hated to have to "button this thing up" because I couldn't get over the amount of detail that was in this thing. This was quickly turning out to be a favorite build of mine even though I was still learning all of the tricks of the trade at this point( and still am really).
Next: The fuselage assembly and wing installation.
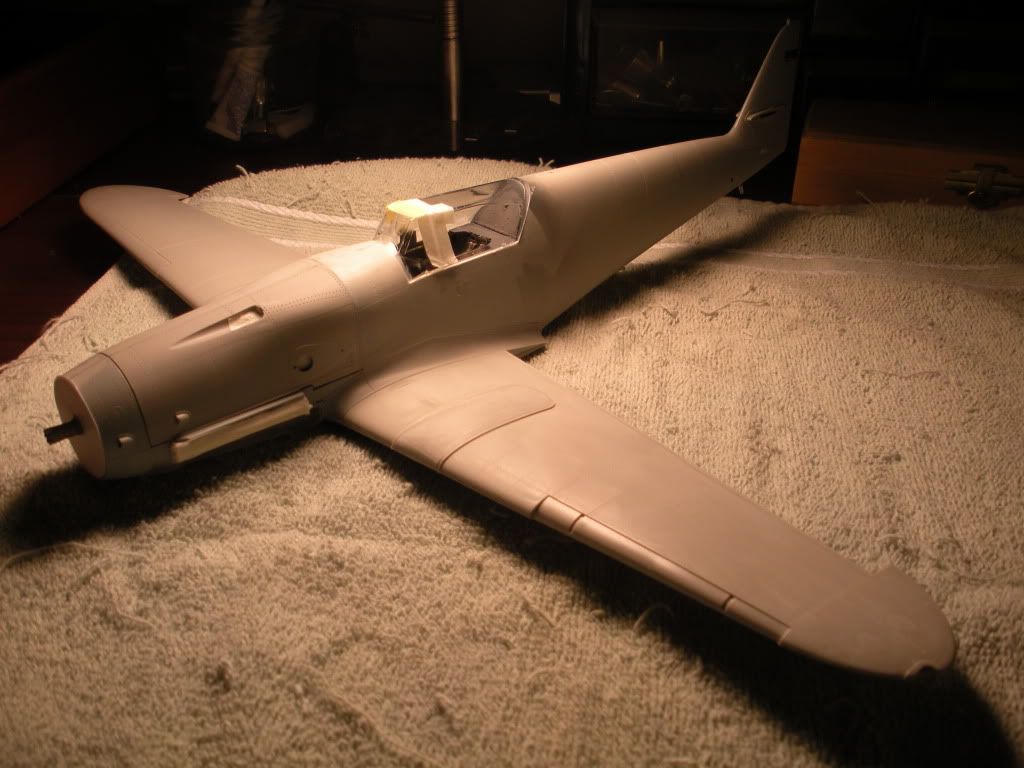
Here it is all buttoned up with the wings installed. No primer, no paint.....nothing. Had the gaps filled and all the panels buttoned down. As a first time for doing it this way I glued a spare canopy on and sealed it off. No paint inside you know......
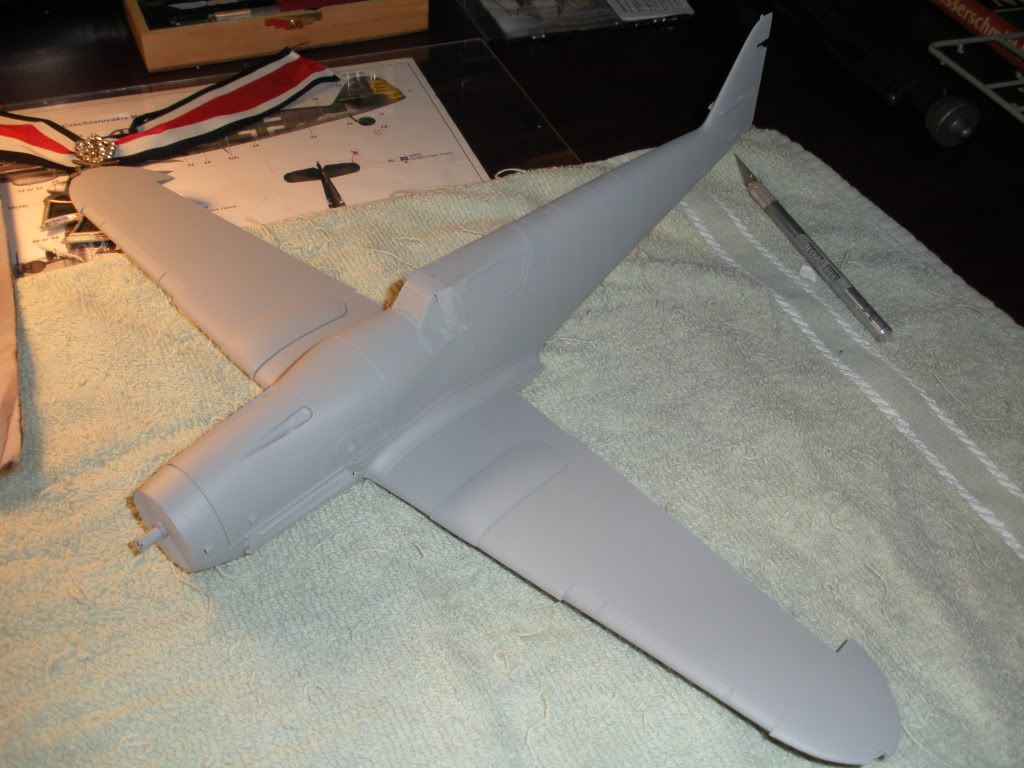
Here she is primed and ready to go........using Tamiya "rattle can" primer.
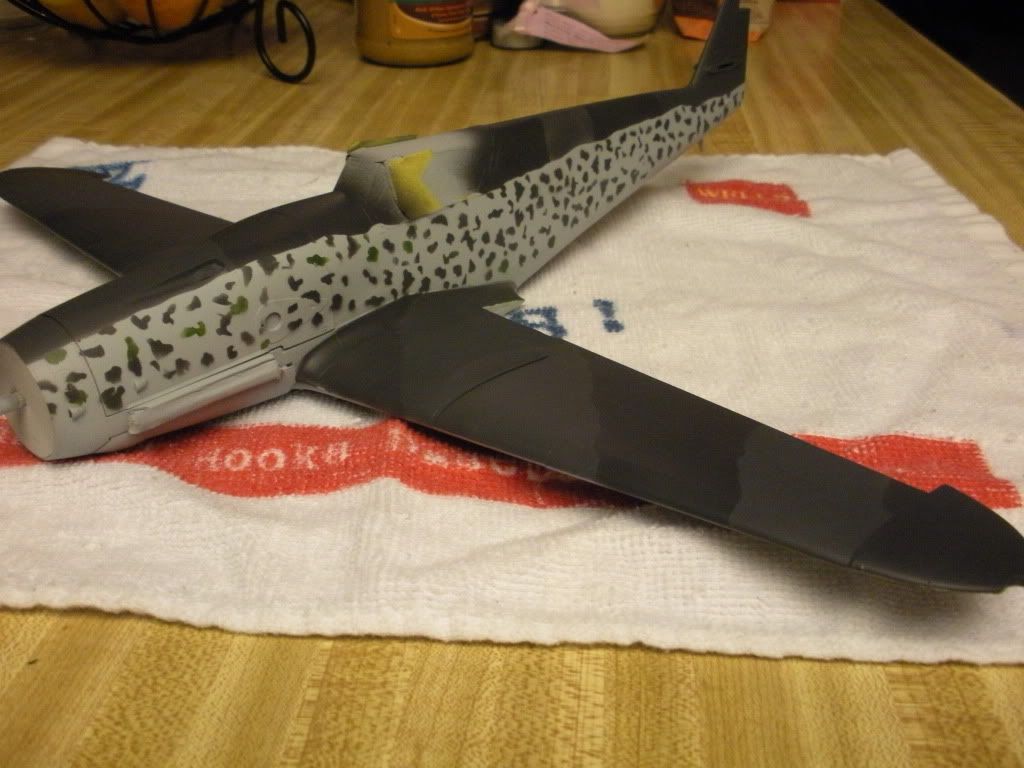
I had mixed feelings about the mottle effect. Looking back I rightfully should have faded the edges a little bit but this was my first time ever applying such a crazy camo pattern. I used an Eduard 1/48 scale mottle mask from a 109 masking kit. I would apply anywhere from 1 to 5 or 6 mottle patterns at a time. Hell my then 8 year old son even applied one!(and no I can't remember which one was his!!lol). Even without the fading I was decently pround of what I did. The scheme is just friggin wicked!.
After I applied the basic camo theme and the mottling I moved on to the decals:
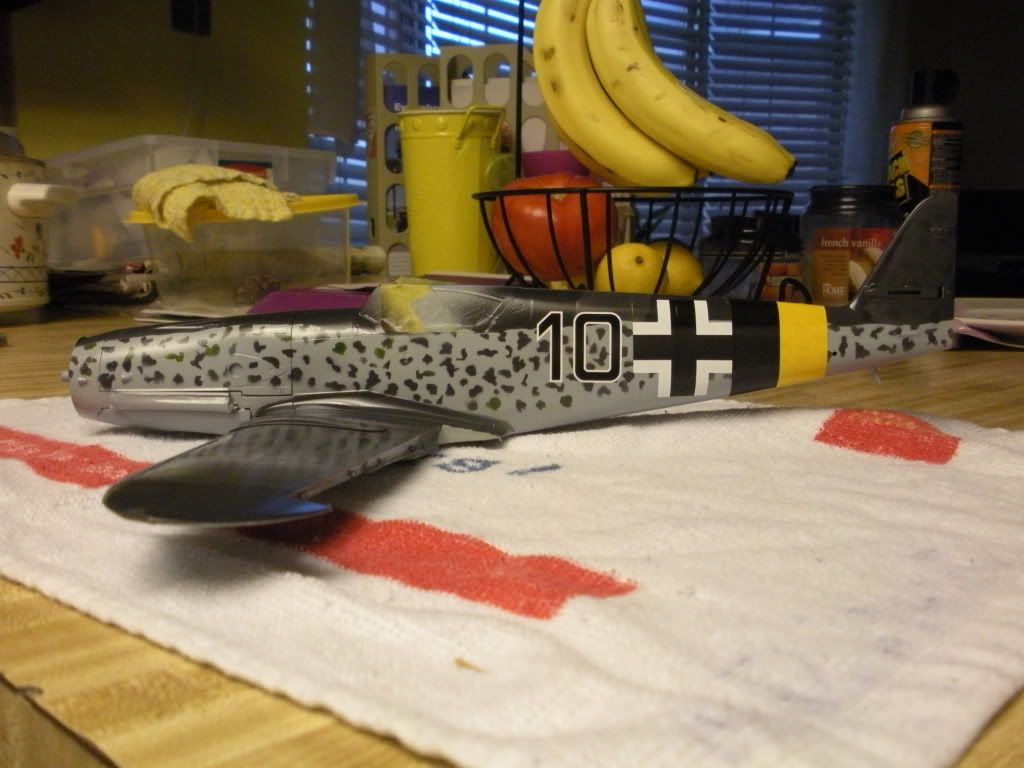
Before this I knew nothing of really HOW to apply decals. I had the whole gloss coat thing down but never used decal set or Microsol until here. I will never NOT use them again!!! These decals were a dream too. They were Eagle Strike decals #24006.
Moving along to the plane with a few more items on it and opened back up after the dull coat was applied
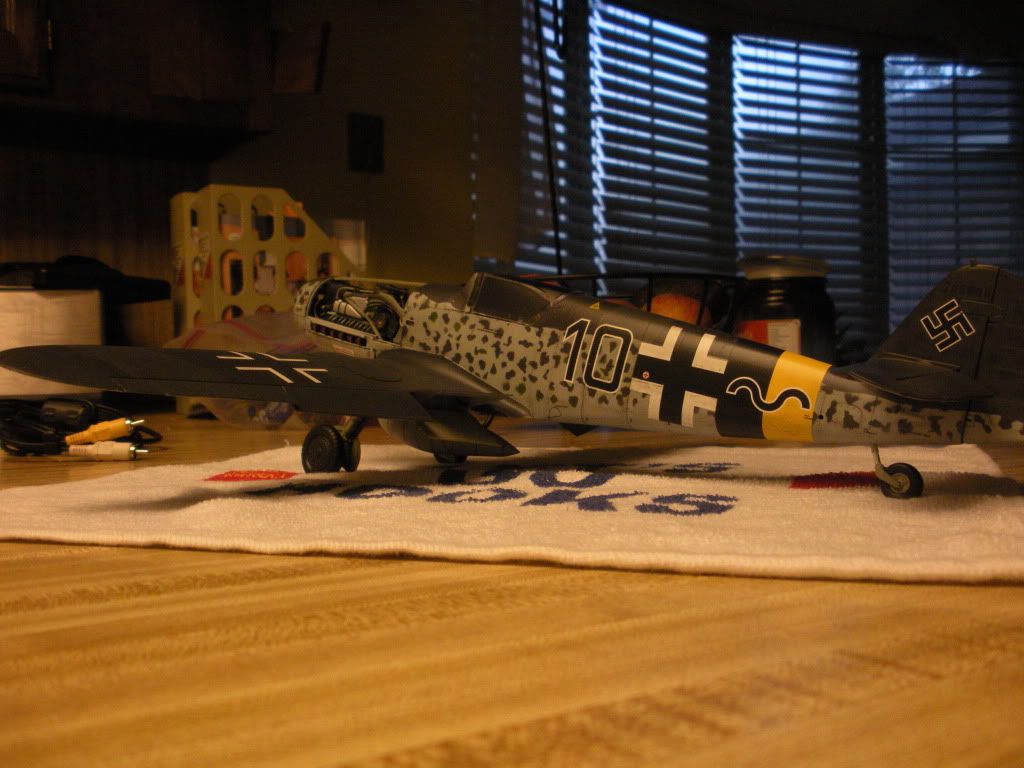
I used after market wheels too. Can't remember the manufacturer but those turned out decent too. The dang tail wheel strut broke early on in the build so I had to wait till this stage to drill out the strut going up into the fuselage and the other half that was still attached to the tailwheel side of the strut. I then inserted a metal rod into both halves and pressed fit together using epoxy to secure the rod at both ends. It worked!!! And this is a heavy bird!!
A little up close of the engine detail and weathering of the nose:
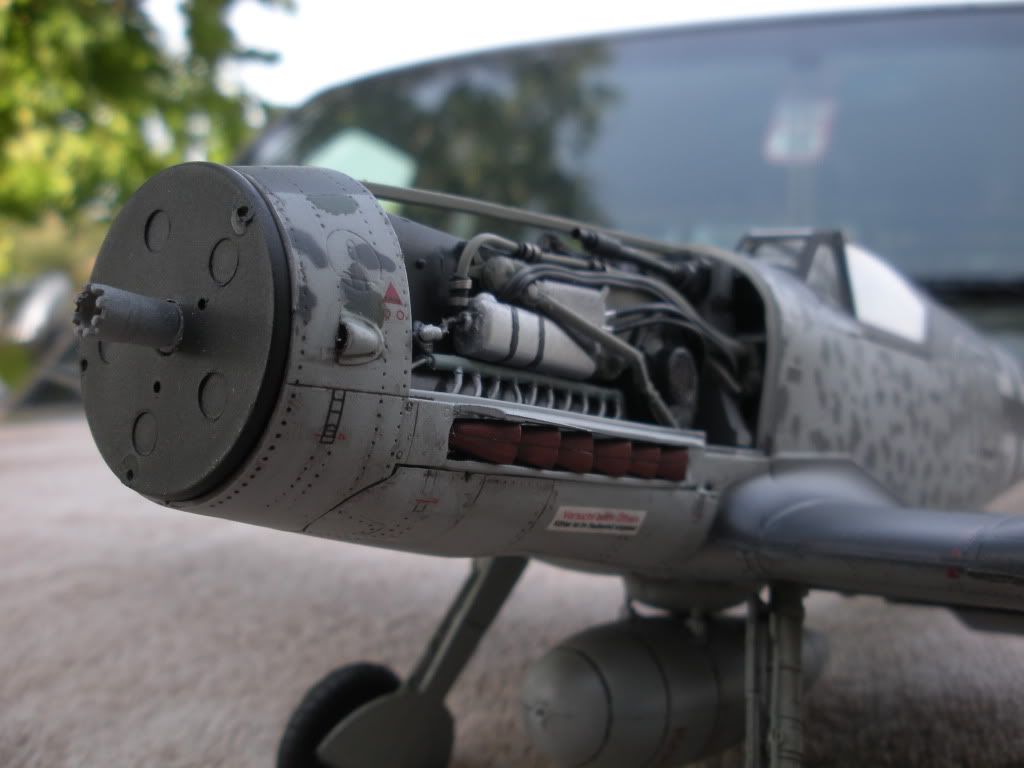
I also weathered the engine here after I had learned some tricks on how to do it!
And finally some finishing pics:
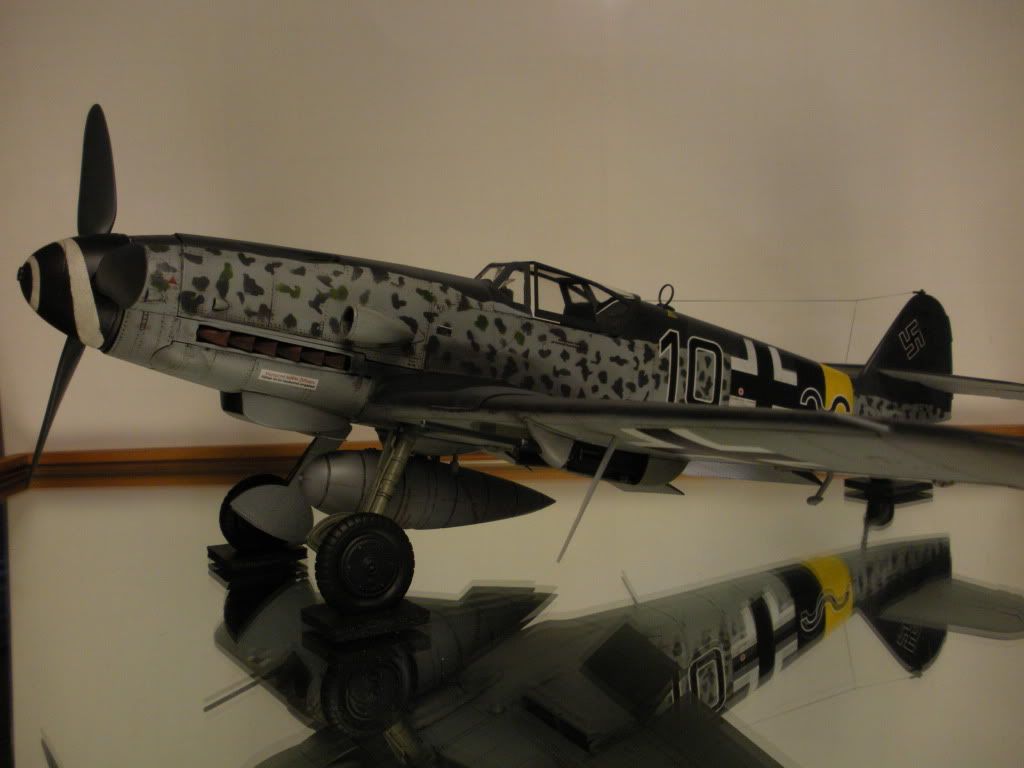
This is the only picture I have with the cowlings closed. I should have taken a couple more this way.
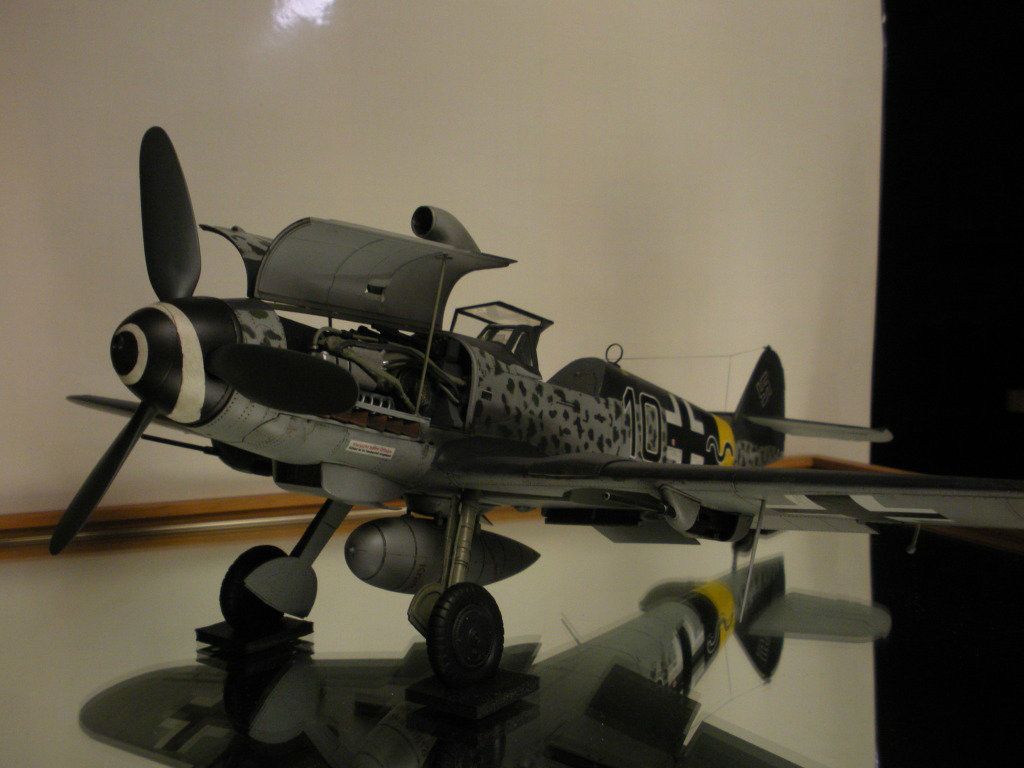
..............and with the cowlings open.
This next one below is outside and though it's unfinished, it shows the color off well.
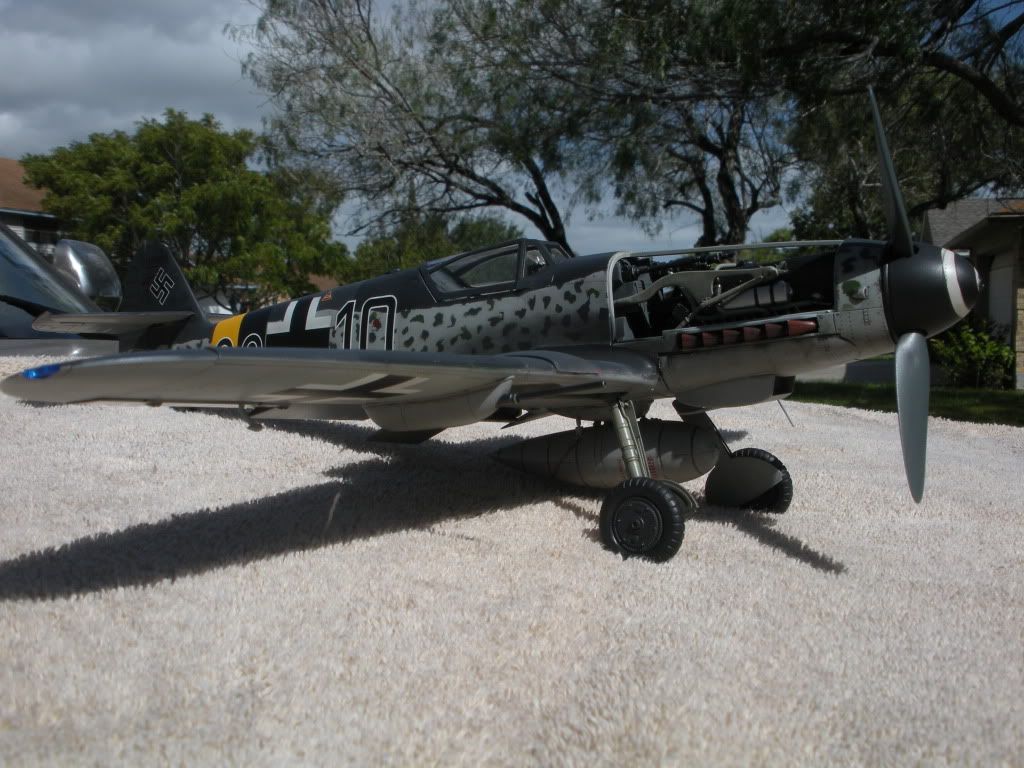
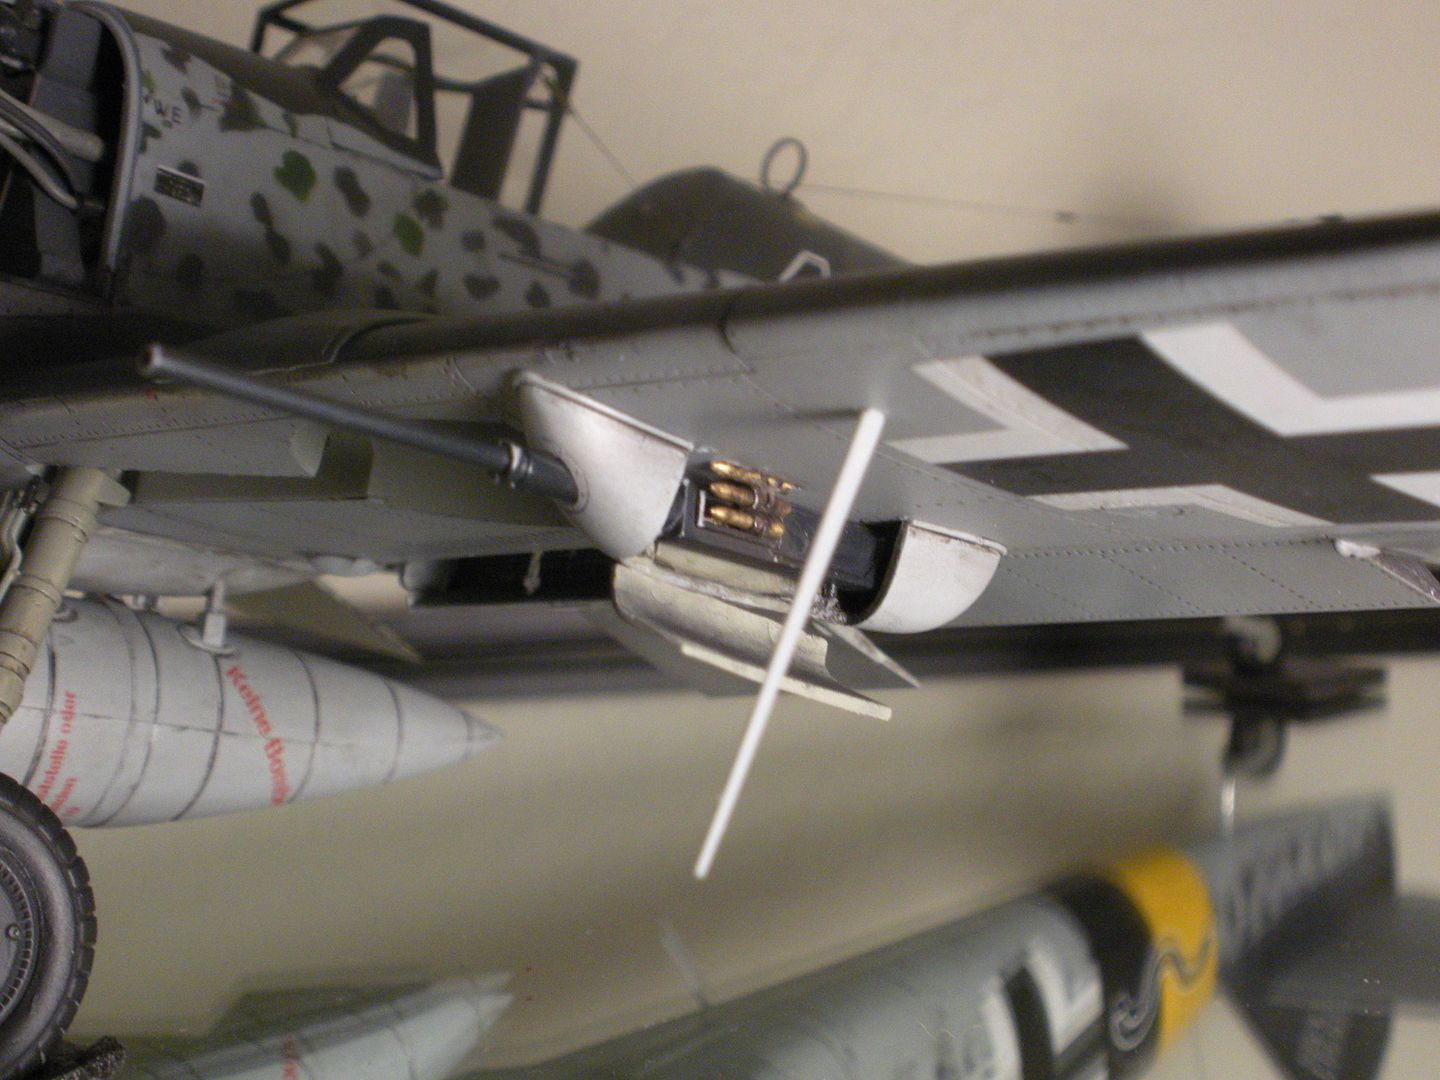
and then there's the scratch build deluxe for me on this whole build pictured below. I bought a 1/35 scale 3.7cm brass ammo kit and used the shells from it. I opened up one of the wing gun pod access covers, sanded the door and inside of the pod to scale and displayed the 20mm cannon. This was SCREAMING for something stoooopid in here so I cut the 3.7cm shells a little short so that they would fit into the ammo chute of the wing cannon. Then I used aluminum tape to scratchbuild the belt links and weathered the ammo and belt links. I weathered the cannon as well and drilled out the cannon barrels at the ends. Here's all that stuff in a picture:
And that's that in a nutshell. All in all I was happy with it. It took me about 8-1/2 months to build largely because of my inexperience and my taking extra precautions as to not do double work or screw this thing up. I will say this: 1) I went back to building 1/48 scale stuff because that's where I belong , 2) that Trumpeter has to make some of the most over engineered stuff I have ever seen, You know, 8 parts to accomplish building something that should have only taken 2 or maybe 3 parts, .3) I don't have enough display space to display 1/24 scale builds.and finally, 4) the friggin ejector pin marks!!! Good Grief there were TONS ......and all in the wrong places!! Really I got past this build ok. While looking back and knowing that there were some things I wished I could have done differently or better I also feel a sense of accomplishment.....and had fun doing it. Thanks for looking, Joe

 To expand some on my storyline in the original post , model building replaced my alcohol habit so I try to put as much effort into modeling as I did towards getting the next drink. I have a lot more fun doing this and after I'm done.................I actually have something to show for it.


