Deleted
Deleted Member
Posts: 0
|
Post by Deleted on Sept 4, 2017 7:11:26 GMT -7
This is a build of the 1967 TR4A I bought when I exited the Army in 1969. I have an AirFix TR4A kit which is pretty detailed for a 1/32 model, including a full engine, but, I'm a scale tyrant and I like all the builds on my shelf to match, so 1/25 - 1/24 is my preference. Therefore I picked up the Air-Trax TR4 1/24 resin kit. A Gunze Sangyo Triumph TR3 is the recommended donor kit and the Minicraft 1958 Triumph TR3A kit is mentioned as another possible donor. Here are a few photos of the 1:1 for reference. I sold it long ago when off to college because my speakers wouldn't fit!    |
|
Deleted
Deleted Member
Posts: 0
|
Post by Deleted on Sept 5, 2017 6:56:15 GMT -7
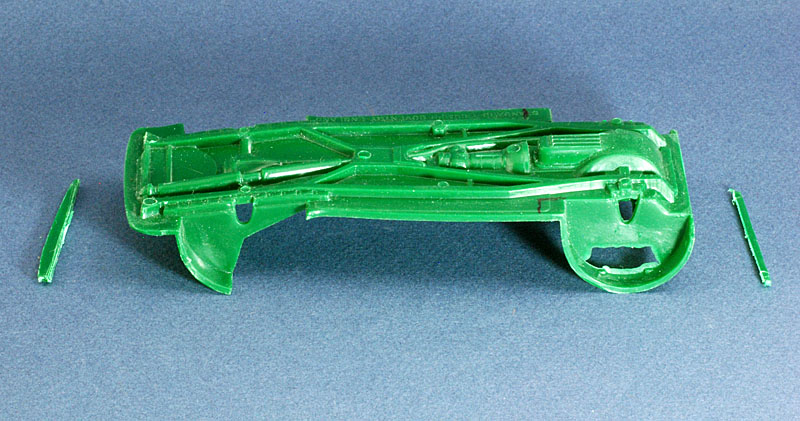
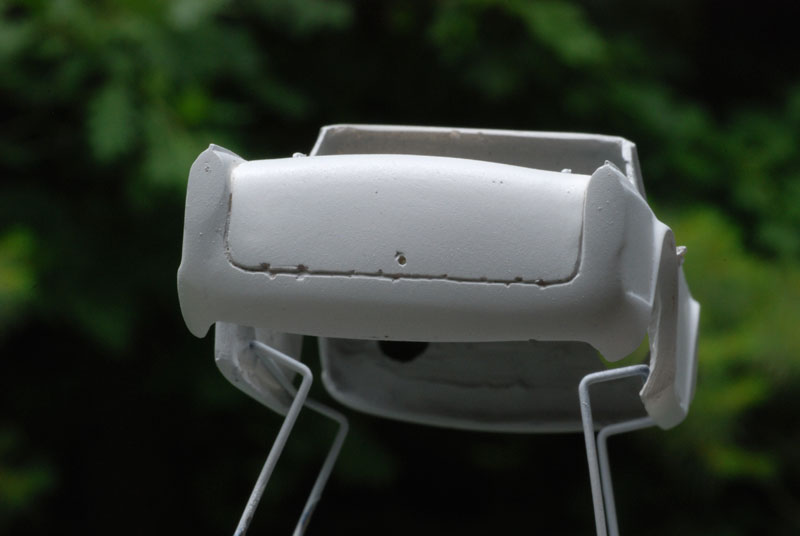
The Air-Trax body was pretty thick and needed some grinding to fit the "frame/wheel wells" from the donor kits. The Gunze kit has the floor pan molded separately needing the firewall and front wheel wells added. I glued them with superglue so I could test fit. Below is the body and a couple shots after grinding.   The Minicraft frame is all one piece and I like how it fits. I cut about an eight of an inch off the back and cut it flush to the wheel wells at the front. I think this one is gonna be the keeper for the build. The rear of the front wheel wells needs to be rebuilt to slope backwards to match the body openings   The bottom edge of the trunk was really a mess with holes spaced along the edge. I did some putty on it and scraped the line but most of the putty came out before the primer coat to check things. I may have to fill the whole thing and re-scribe a new line.  More interior fitting with the wheel wells in place today. Lots of grinding again, but it's very close and I'm happy with how it should end up. The dash needed a lot of grinding but this resin disappears fast with a sanding drum on the Dremel and set at 6000 rpm! Resin is nice to not melt under heat.  The windshield was scored on the dash as seen in the photo in pencil. I ground it away to about a sixteenth of an inch and it's about right.  This needed rear wheel wells as they show in the interior. The donor frame has only the rear portion of the rear wheels. I cut the rear wheel wells off the frame of a '51 Chevy convertible that was already being used as a parts car.  The front wheelwells also needed some modification to fit the wheel openings  |
|
Deleted
Deleted Member
Posts: 0
|
Post by Deleted on Sept 5, 2017 7:22:16 GMT -7
|
|
Deleted
Deleted Member
Posts: 0
|
Post by Deleted on Sept 5, 2017 7:40:47 GMT -7
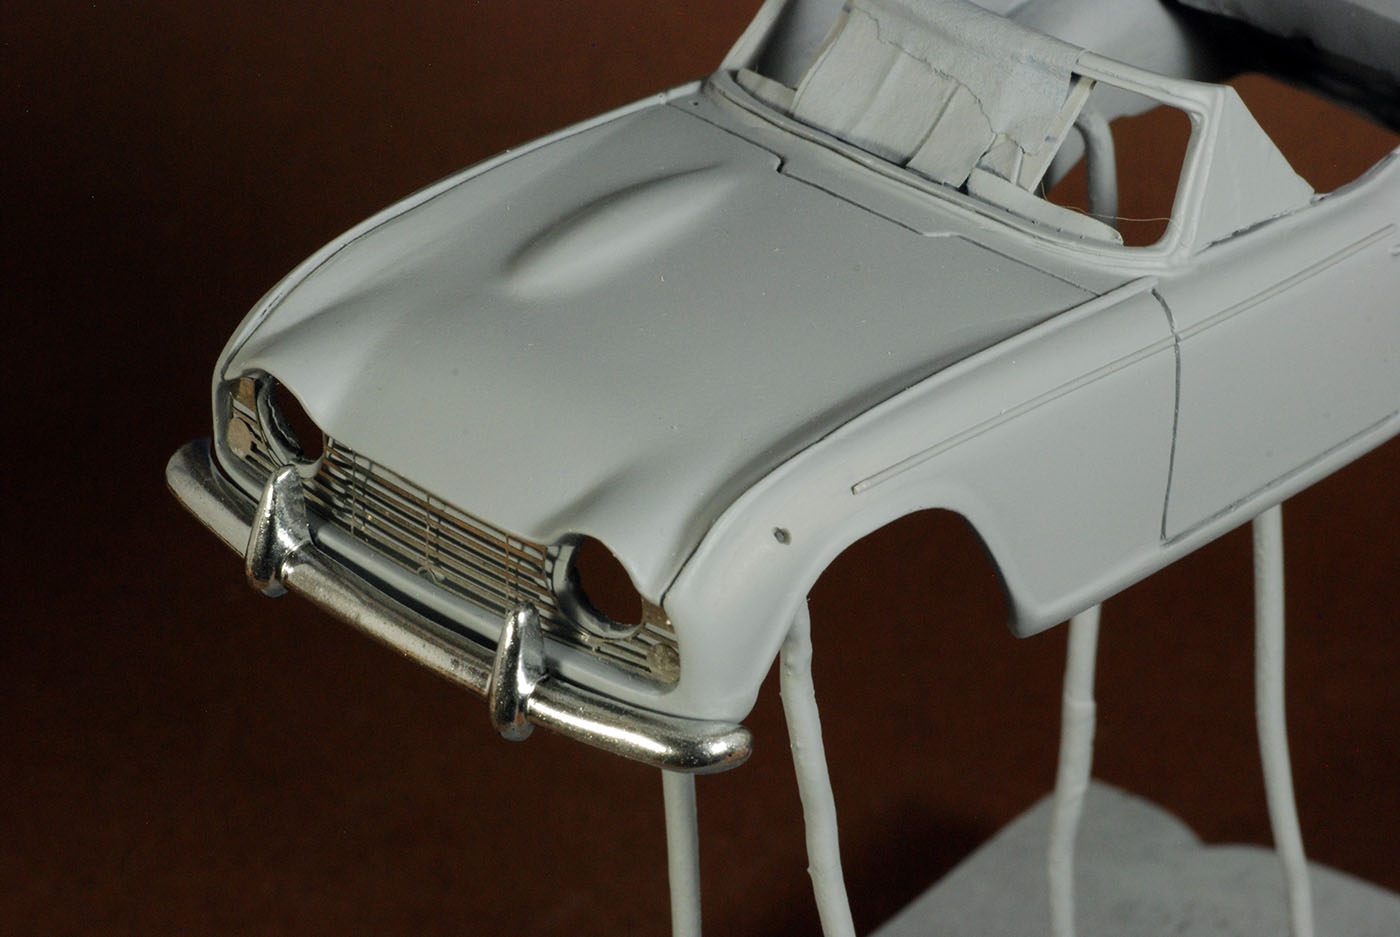
The last item I've done has been trying a molotow chrome pen to do all the small chrome pieces, including the resin bumpers. I'm pretty pleased with the results and will re do the bumpers for a smoother application.   The PE grill reminds me I didn't post the PE fret that came with the resin Air-Trax kit .. a very nice one.  My time now is trying to find some interior door handles and cranks or making some. |
|
|
|
Post by DeeCee on Sept 5, 2017 14:12:39 GMT -7
WOW!! You are doing some magnificent work on this build Foxer, those turn signals really turned out great too.
Keep going with it mate, it is spot on from what i can see.
|
|
|
|
Post by 406 Silverado on Sept 5, 2017 19:18:37 GMT -7
I agree with Dale. Outstanding work.
|
|
Deleted
Deleted Member
Posts: 0
|
Post by Deleted on Oct 28, 2017 6:51:49 GMT -7
This is a 3 section antenna built with hypodermic tubes and an Insect Pin with Bondic ball. Won't be mounted until body paint is on.  |
|
|
|
Post by stitchdup on Oct 28, 2017 17:47:04 GMT -7
Sweet, nice to see a british car being built and especially since its one that isn't available as a plastic kit.
|
|
|
|
Post by Jay's Mini Scale on Nov 6, 2017 5:19:15 GMT -7
Looking really good
|
|
|
|
Post by jmccann630 on Nov 7, 2017 18:07:04 GMT -7
Looking goo foxer..cant wait to see more!
|
|
|
|
Post by sharp on Nov 7, 2017 19:36:53 GMT -7
Your doing a great job on this Foxer,can't wait to see more progress!
|
|