|
|
Post by vcv8273 on Jun 16, 2017 4:28:48 GMT -7
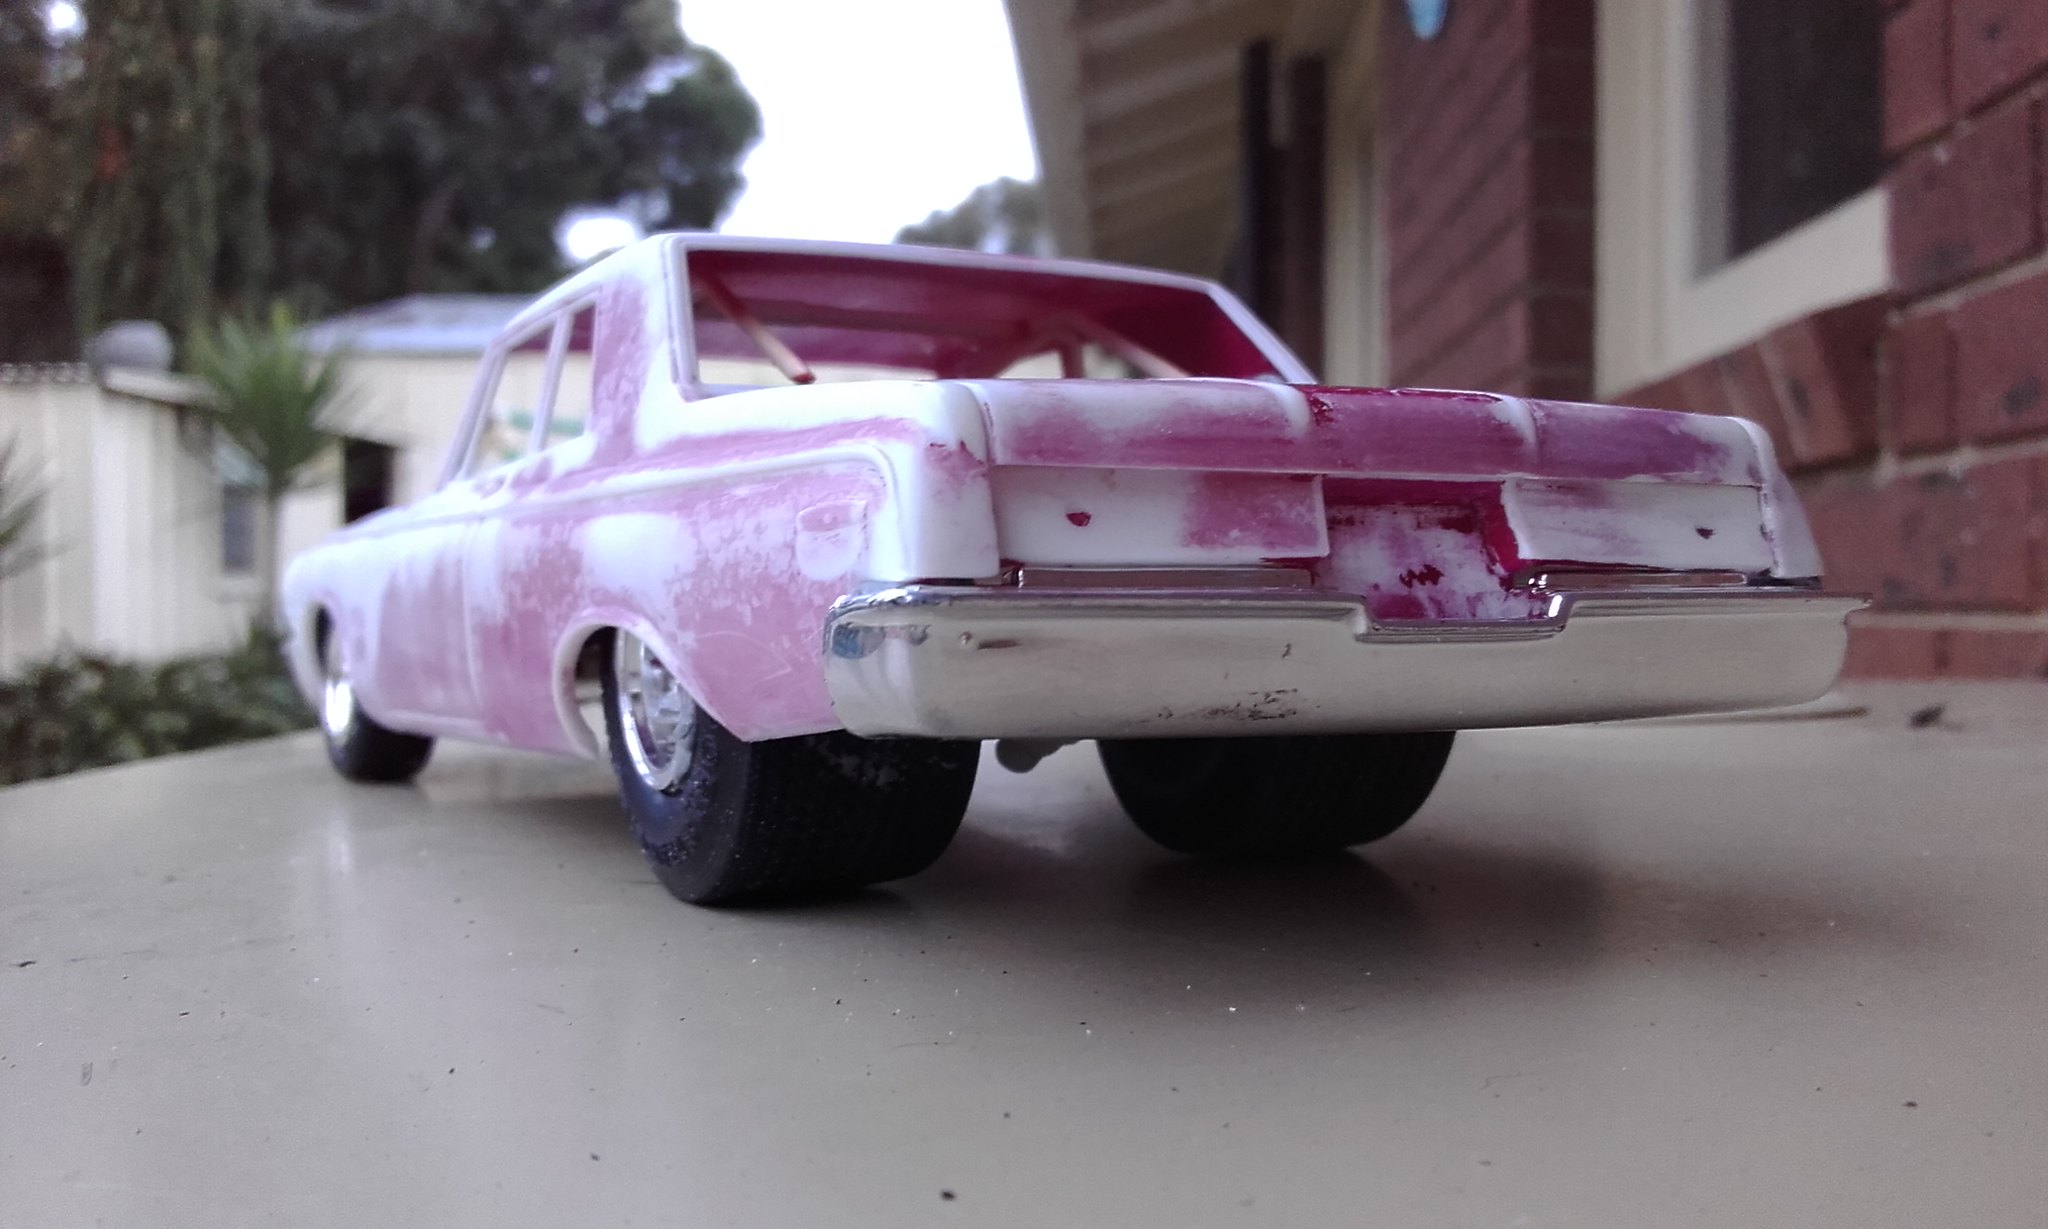
Started this one about 10 years ago in the days that I didn't use primer and the paint work turned out okay but chipped real easy so decided to strip it and start over. Have a couple of pro street rear floor pans that I am checking at the moment and may use the chevelle rear end but will cut the axles from the diff and install a dana center. Using rims from the parts box and the fronts are from the ford woody street rod and the rears from the willys pro street kit. Going to use the 440 out of the revell limited edition dart kit and will be using a big single 4 barrel for the induction. Havent worked out interior details yet but thinking of more modern buckets for the front and either 3 buckets in the back or leaving the rear seat out altogether. Not sure on color yet but thinking of adding some styrene to the rear pillars so I can have the roof a different color from body. Have posted a couple of mock up pics and will be a build that I will be progressing with over the winter. Cheers and thanks for looking Steve   |
|
|
|
Post by DeeCee on Jun 16, 2017 4:52:09 GMT -7
Get those cogs turning mate, we know this can be a beautiful build.
I like those wheels too .
|
|
|
|
Post by vcv8273 on Jun 16, 2017 4:56:30 GMT -7
Thanks Dale although the front rims are a larger diameter than the rears with the pro street rear tyres they seem to balance out
|
|
|
|
Post by DeeCee on Jun 16, 2017 5:00:04 GMT -7
They do, but that is what it would look like in real life, good choice.
|
|
|
|
Post by mustang1989 on Jun 16, 2017 7:04:17 GMT -7
Very nice start on this one. I'm planning on doing one of these in pro street form also but I'm going to use the dog dish hub caps on steelies. Again looking great so far Steve!!!
|
|
tubbs
Full Member
  
Posts: 189
|
Post by tubbs on Jun 16, 2017 9:29:10 GMT -7
looking great Steve. what kit did those wheels come from? I have always liked the oddball colors on these. I don't think I have ever seen a different color roof on these before. that would be very cool.
Joe, I loved dog dish caps before they were popular, make sure you post your up also.
I will be watching.
|
|
|
|
Post by vcv8273 on Jun 17, 2017 20:34:08 GMT -7
Thanks Joe and Tubbs for your comments. Tubbs the front rims come from the amt 41 ford woody street rod kit with the tyres from the amt superbee pro street kit and the rear rims come from the revell 41 willys pro street kit with the tyres from the superbee kit as well. Joe looking forward to your take on this kit. Playing around last night was thinking of possibly injecting the motor so after looking through my induction parts box found the induction from one of the chev kits that I parted out. After dropping it on the 440 found the plenum chamber just looked to skinny and small so decided to scratch up my own. Not a 100% if I like it or not will decide after I clean it up and prime it. Will also have to modify the manifold to suit the 440 as well but in using this set up will have to scratch up a cowl induction scoop. Cheers and thanks for looking Steve  |
|
|
|
Post by DeeCee on Jun 17, 2017 22:37:17 GMT -7
Interesting and tough looking engine set up mate.
|
|
|
|
Post by vcv8273 on Jun 18, 2017 1:45:03 GMT -7
Thanks Dale looking a bit better now with a good sand and primer. Also stripped the ram tubes of their chrome and drilled them out for more definition. Intention is to bmf the top of the chamber then paint the whole chamber then wipe off the paint from the tops of the c channel.
|
|
|
|
Post by mustang1989 on Jun 18, 2017 4:23:59 GMT -7
Very interesting intake set up with the horns. I do like the molded in detail on that firewall which is out of the ordinary for me to say but this looks like everything is at least in the right place and the detail is raised in just the right proportion. Normally I can't stand molded in firewall details and usually sand it all off and add my own. Good looking "giddyup" so far.
|
|
|
|
Post by Big D on Jun 18, 2017 11:33:12 GMT -7
I think your scratch built plenum chamber looks good steve. Will be watching this.
|
|
|
|
Post by vcv8273 on Jun 21, 2017 3:13:13 GMT -7
|
|
|
|
Post by Big D on Jun 21, 2017 8:53:07 GMT -7
Good work. very interesting. Anxious to see how this comes out. 84
|
|
|
|
Post by vcv8273 on Jun 23, 2017 22:09:32 GMT -7
|
|
|
|
Post by Big D on Jun 23, 2017 23:21:32 GMT -7
The wheelie bars look good on this build the way you tucked them under like you did. Look like they belong on this car. I reread all your posts and I can't see where you said anything about cutting the frame and the tubbs and how you patched them in like you did. That's a simple process to many of you builders but I have never done it and I want to. I bought about eight Matt & Debbie Hay's, J2000, Baretta and Corvette Pro Street kits for their engines and I plan to use the tubbs to make some pro mods but I have to learn how to do it and what you did here came out great and didn't look that hard. My friend and Master builder DeeCee is going to show me how one day but I wanted to mention I was impressed with what you did here.
I like the wheels you are using, they fit this car real well but I really like the big tires and would like to know where you got them. I have some I bought and I have kits with them but these seem bigger than usual. Thanks Steve.
|
|
|
|
Post by vcv8273 on Jun 24, 2017 2:25:10 GMT -7
Hi Dennis thanks for the comment. The tyres I am using are from the amt pro street superbee kit which are the same size as the ones in the corvette/baretta kits but these one have a smaller inner so they fit quite a few different rims where as the firestones in the baretta kit the rims fit from the inside. In cutting the floor pan I align the floor pan with the tubs on top of the original to see where I can make a cut, I usually try to make a cut along a chassis line or a floor pan line so everything stays in alignment and normally leave a tag were the floor tunnel is so I dont have a straight line. Just my experience that its a much stronger bond staggered when glued then just a straight line. I then use a small amount of super glue to tack it together then fit the chassis to make sure everything is straight and aligns up where I want it. Its also helpful if you are able to mock up the diff so you can see if the rims line up central under the guards. After everything is good I use scrap styrene and super glue and brace it from the inside and if there is any gap on the floor pan I use super glue as my filler of choice. Here is a pic of the chassis with two coats of paint I got on today and the bracing on the inside. Hope this helps you out. Cheers Steve   |
|
|
|
Post by DeeCee on Jun 24, 2017 2:56:40 GMT -7
Nice work mate, you would never tell it has been "Back Halved" , looks like it came from the box like that.
|
|
|
|
Post by vcv8273 on Jun 25, 2017 4:40:44 GMT -7
Thanks Dale will be polishing it up tonight and hopefully start assembly of the front and rear next week. Now trying to work out to go bonnet scoop or just leave the everything out in the open. Here is a couple of pics with it out in the open. Cheers Steve   |
|
|
|
Post by DeeCee on Jun 25, 2017 5:34:50 GMT -7
Like you said with my build of the same kit. leave it open, it is a hint of something sinister,
especially with the quality of work that has gone into that induction set up mate.
|
|
|
|
Post by mustang1989 on Jun 25, 2017 5:49:09 GMT -7
Very nice work on that chassis install Steve.Looks like it was made to be there. This thing is gonna look tough dude.
|
|
|
|
Post by Big D on Jun 25, 2017 9:32:23 GMT -7
Leave it open Steve.
|
|
|
|
Post by vcv8273 on Jun 26, 2017 4:44:45 GMT -7
Thanks Dale , Joe and Dennis for your comments and helping in my decision. Think I was just second guessing myself and didnt want to look like that I was copying Dales build in that respect. Hope to have some rear coil overs built tonight to give it a bit more detail.
|
|
|
|
Post by stitchdup on Jun 26, 2017 16:08:44 GMT -7
Sweet, I like the look of the engine just poking out through through hood
|
|
|
|
Post by vcv8273 on Jun 30, 2017 3:37:47 GMT -7
Hi just checking if flickr is working for me  |
|
|
|
Post by stitchdup on Jun 30, 2017 3:47:01 GMT -7
It looks like it is mate
|
|
|
|
Post by DeeCee on Jun 30, 2017 4:13:47 GMT -7
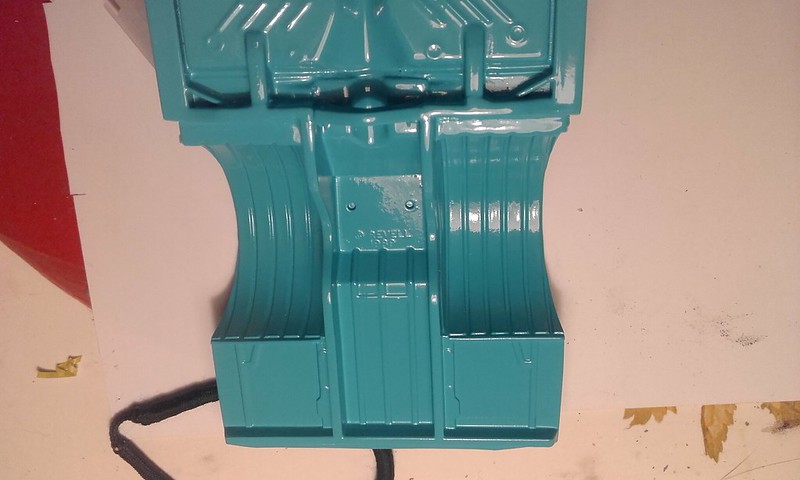
That's a sweet looking boot space mate.. ( trunk for the US guys )..
|
|
|
|
Post by vcv8273 on Jun 30, 2017 4:25:46 GMT -7
|
|
|
|
Post by DeeCee on Jun 30, 2017 4:39:45 GMT -7
MAN !! that looks clean..
|
|
|
|
Post by vcv8273 on Jun 30, 2017 5:17:26 GMT -7
Thanks Dale decided to put a little more detail in this one than I normally do. Not sure whether I am going to leave the tubs painted and try my hand at flocking the rest or leave it all paint which I think will look good once I give it a couple more coats of paint and a polish up then add the tank which will be semi gloss black and the same blue for the straps and a battery.
|
|
|
|
Post by DeeCee on Jun 30, 2017 5:21:49 GMT -7
I like the painted tubs idea, with contrasting black tank, but maybe stainless straps...?? just thinking out loud mate..
But if you have a flocking the same blue, it would look cool on the floor and sides.
|
|