|
|
Post by mustang1989 on Dec 4, 2016 5:53:05 GMT -7
Okeedokee folks. On page 3 I left off with the OOB engine with no timing cover, water pump....nothin'. Man did that look blank! I was initially going with a Hemi that I built as a kid and then backed out of that one just because of all the mods I would have to do to get it looking right and fitting. So I took the timing cover and water pump from that engine and put over onto this engine first of all. Secondly, I couldn't leave the engine with now ignition system given all this effort I'm going through to "enhance" things a bit so I added some wire's from Lex's after drilling out the distributor cap and going through the usual process of installing wires into the cap and routing and all.
A before recap shot:
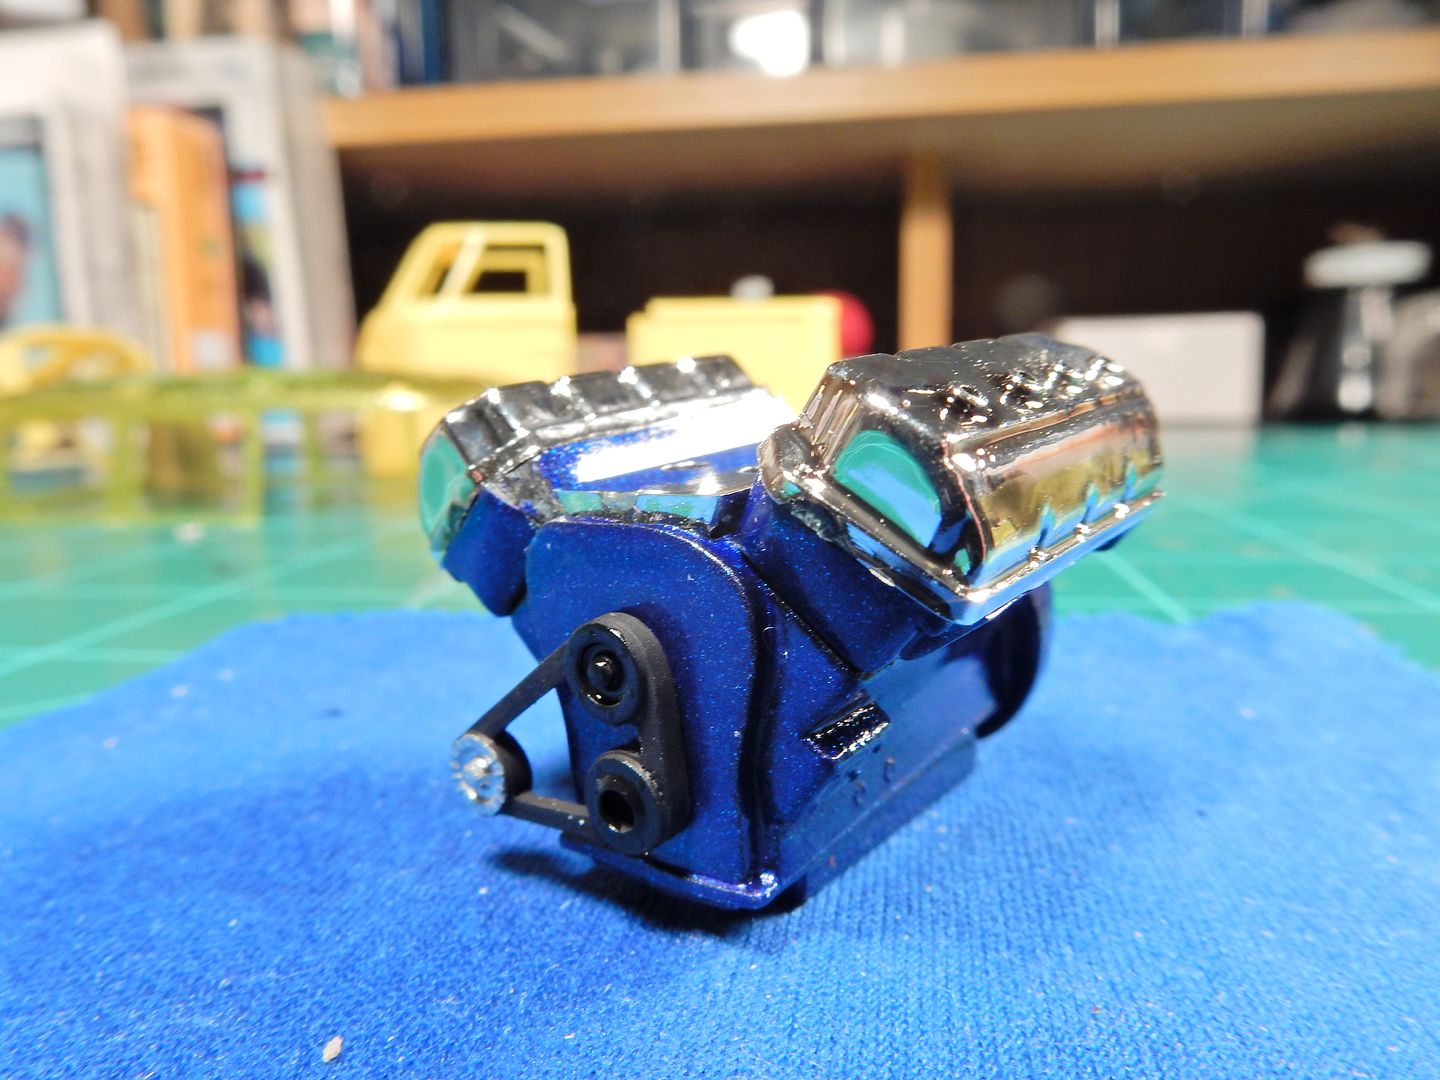
and the current progress with the L/H OOB injector stack test fitted
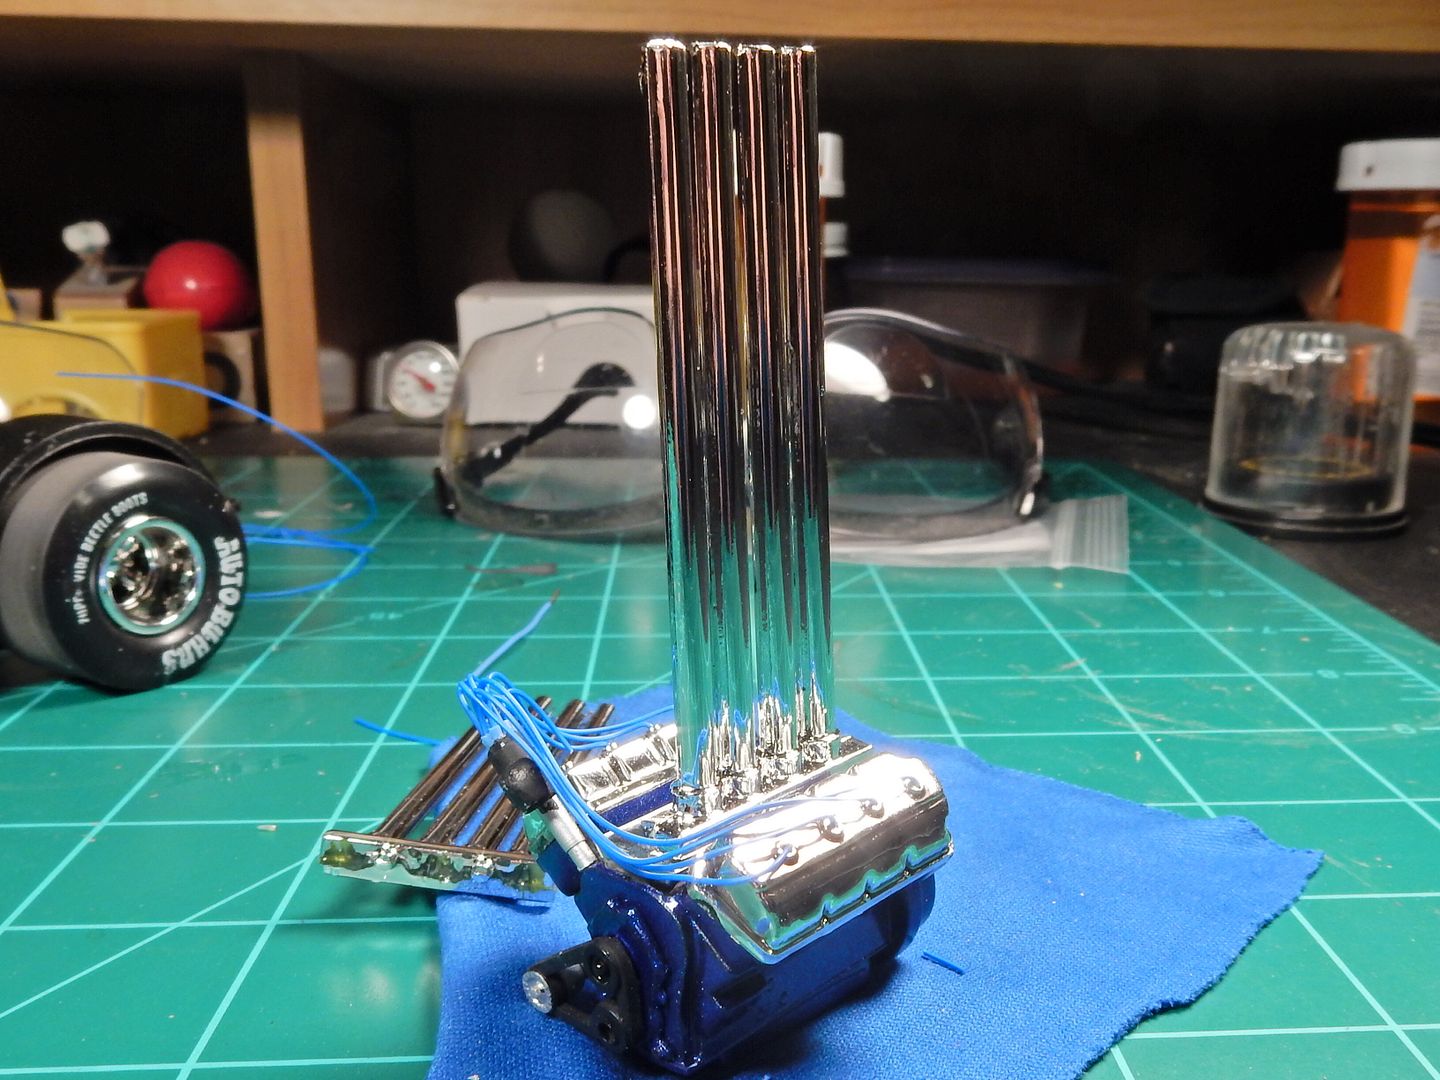
Lastly, speaking of injector stacks, while I like the idea of those on this kit I strongly dislike all the seam lines and flash associated with the parts that AMT used. From a distance they look great and the stacks are at least not molded together but close up they are a complete disaster that would require total reworking to straighten out!
Let's zoom in a little closer....
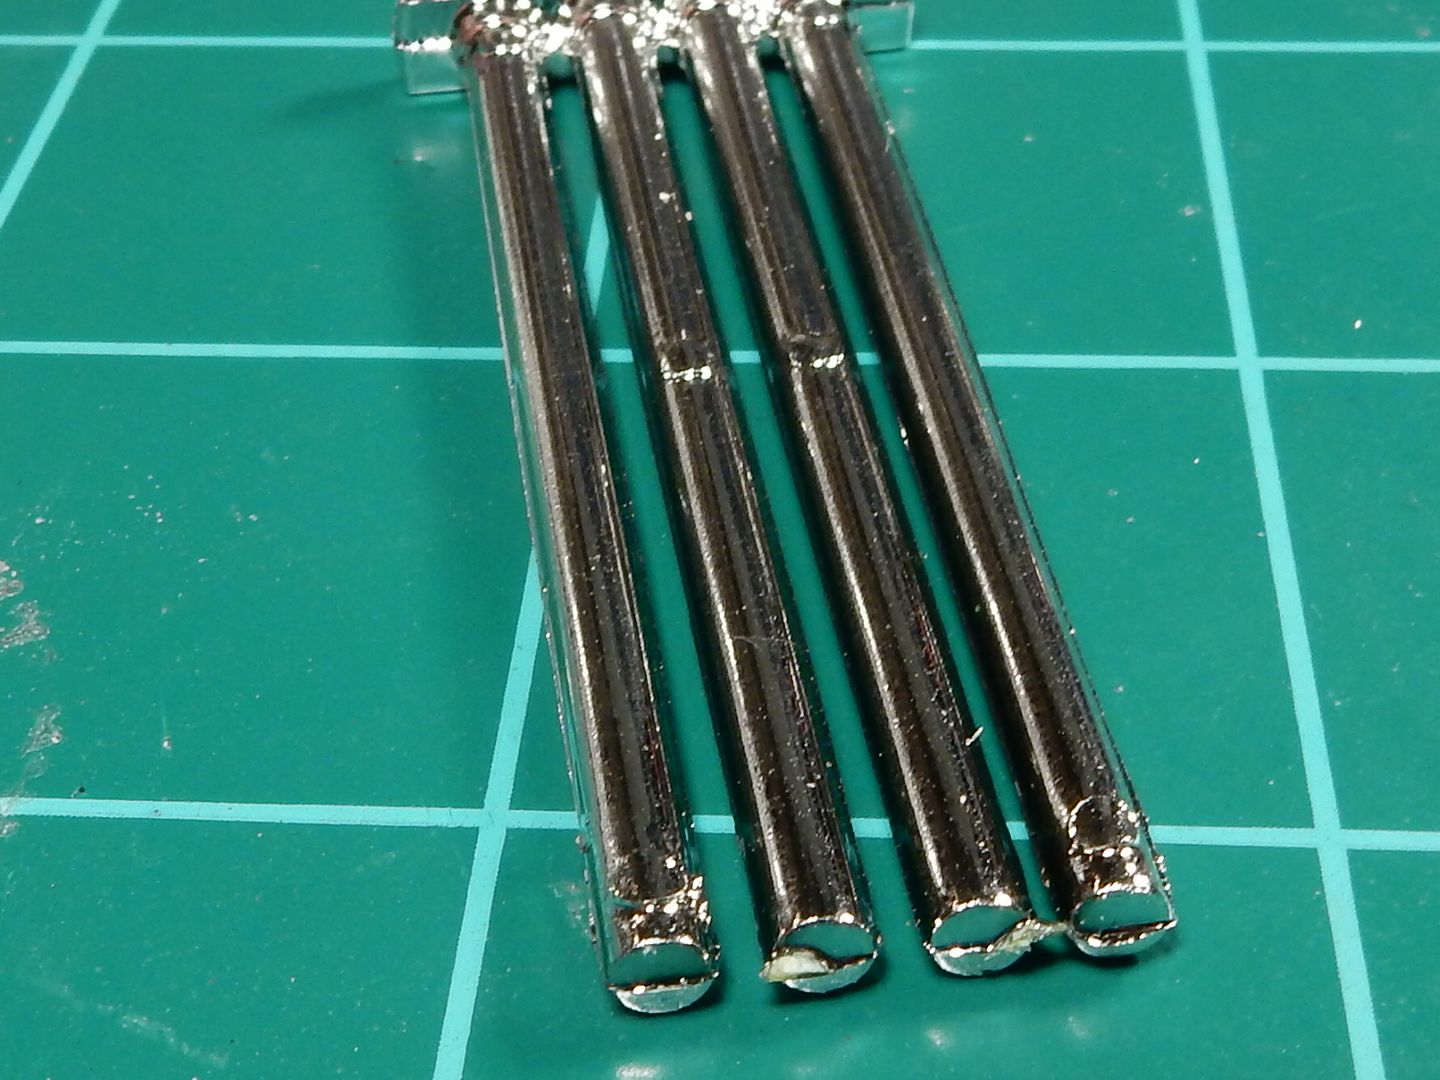
So I'll start fixing that by cutting off the stacks from the bases....
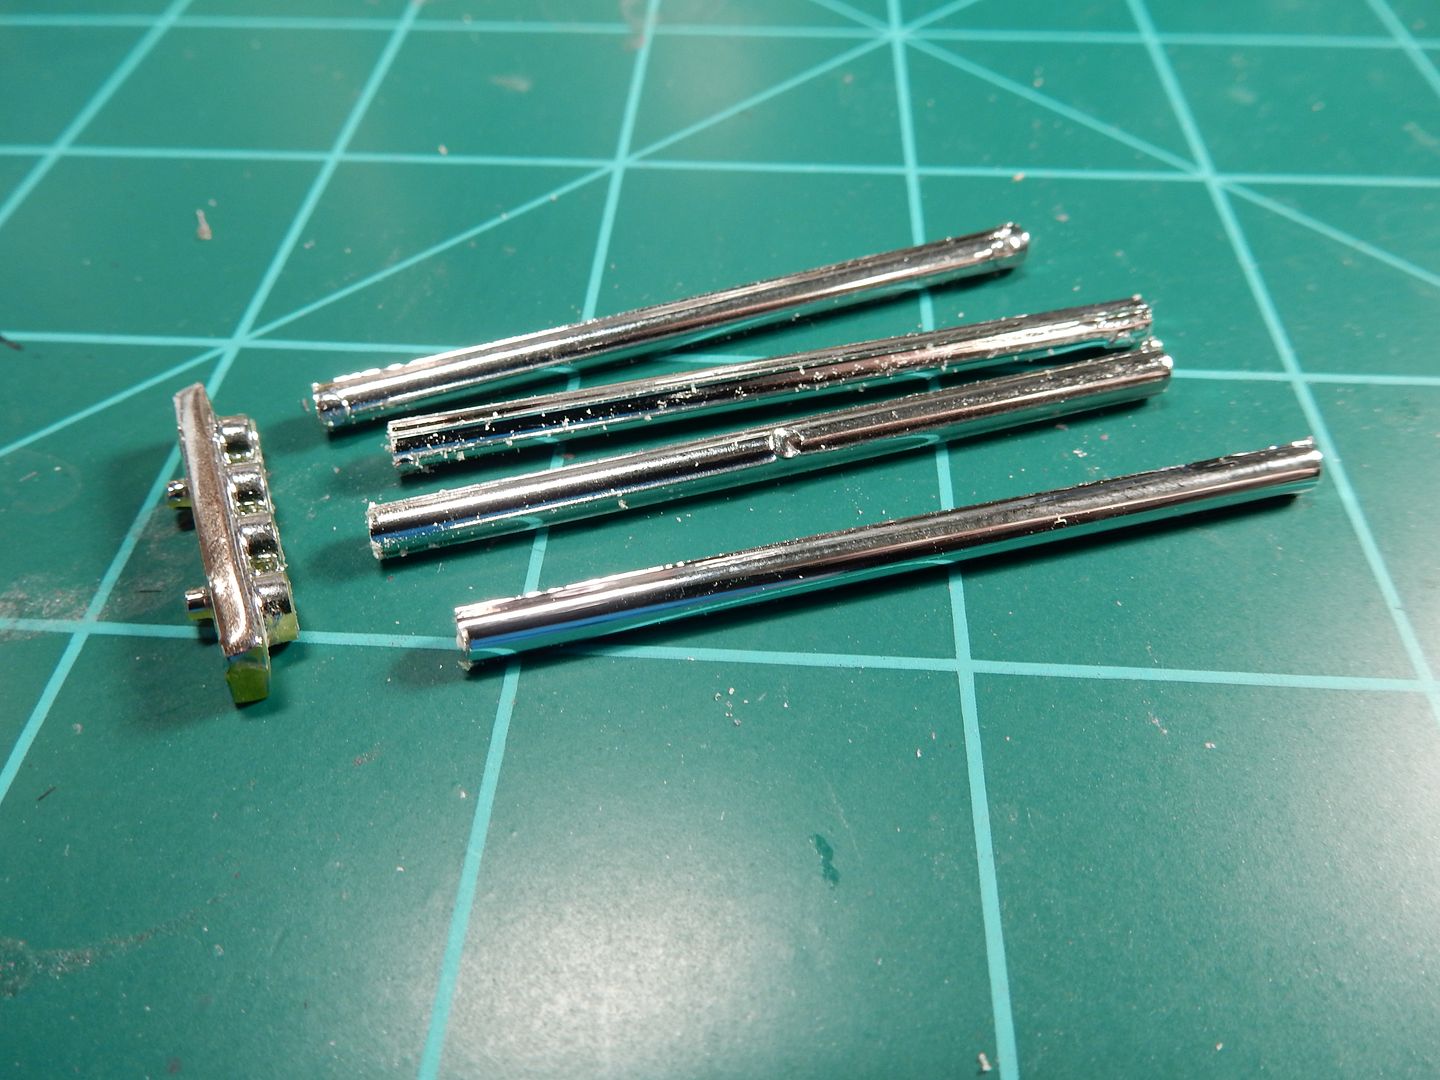
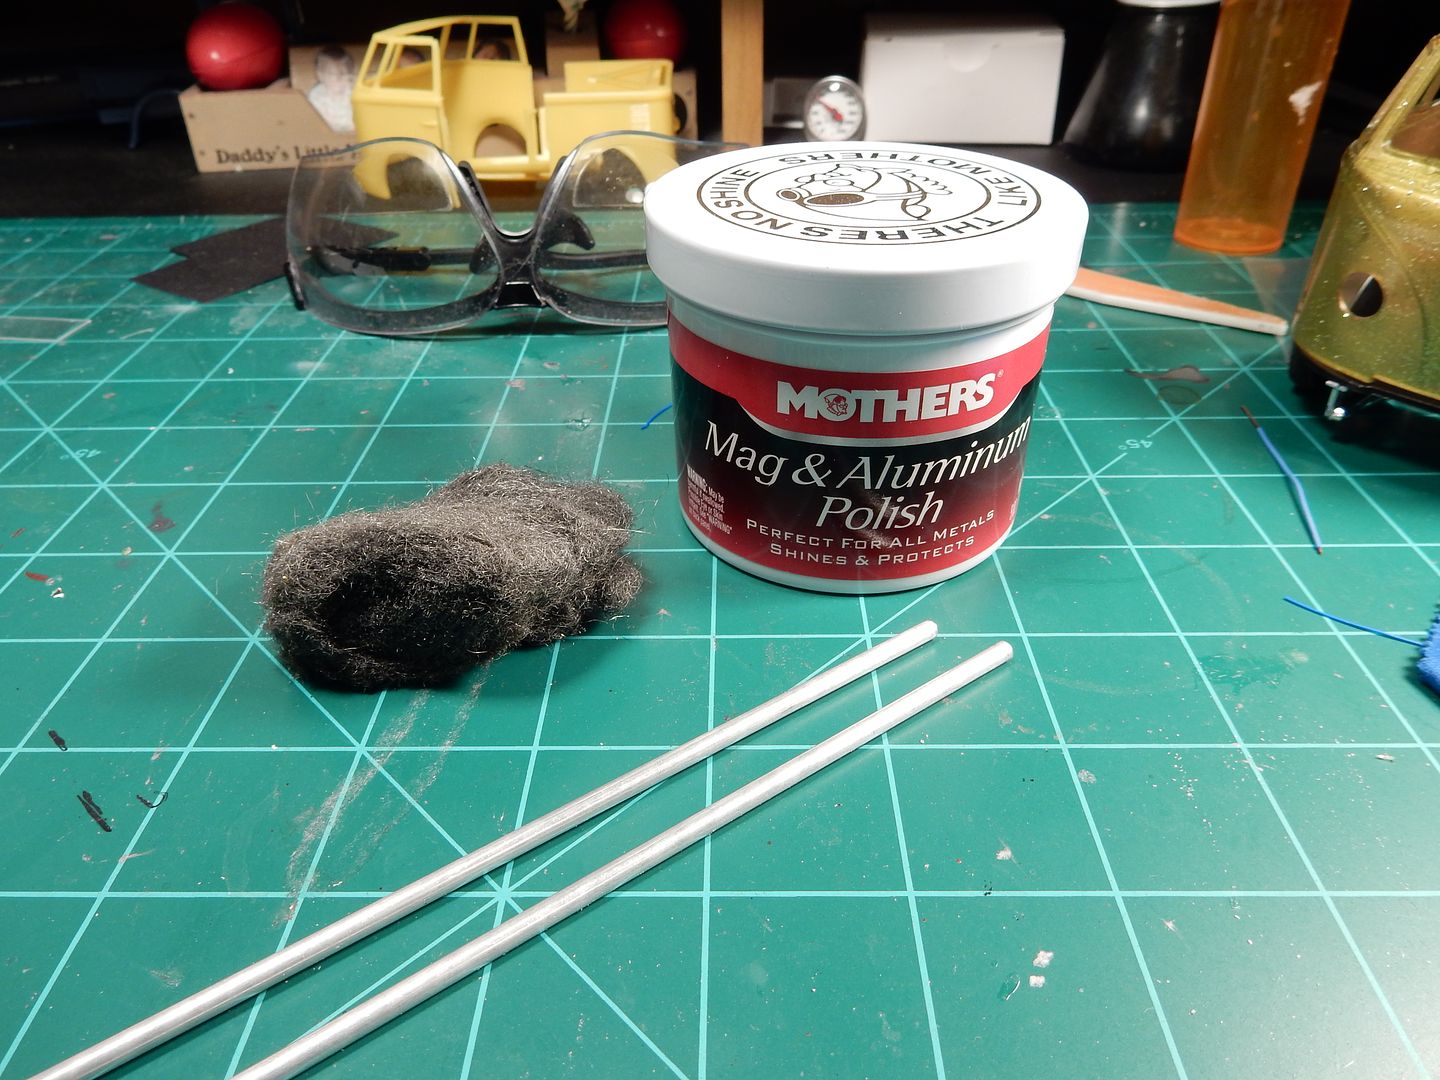
Here's what I'm going to use instead. I picked up some aluminum tube from HL and will cut each stalk in half, chuck it up in a drill and spin it up in the steel wool there beside the stalk here to start a base for the shining process and then switch over to spinning it up in a polishing cloth with some Mothers Aluminum polish to "polish" things off. Sorry...............couldn't help the pun. sorry%20bout%20dat_zps1nny96hw
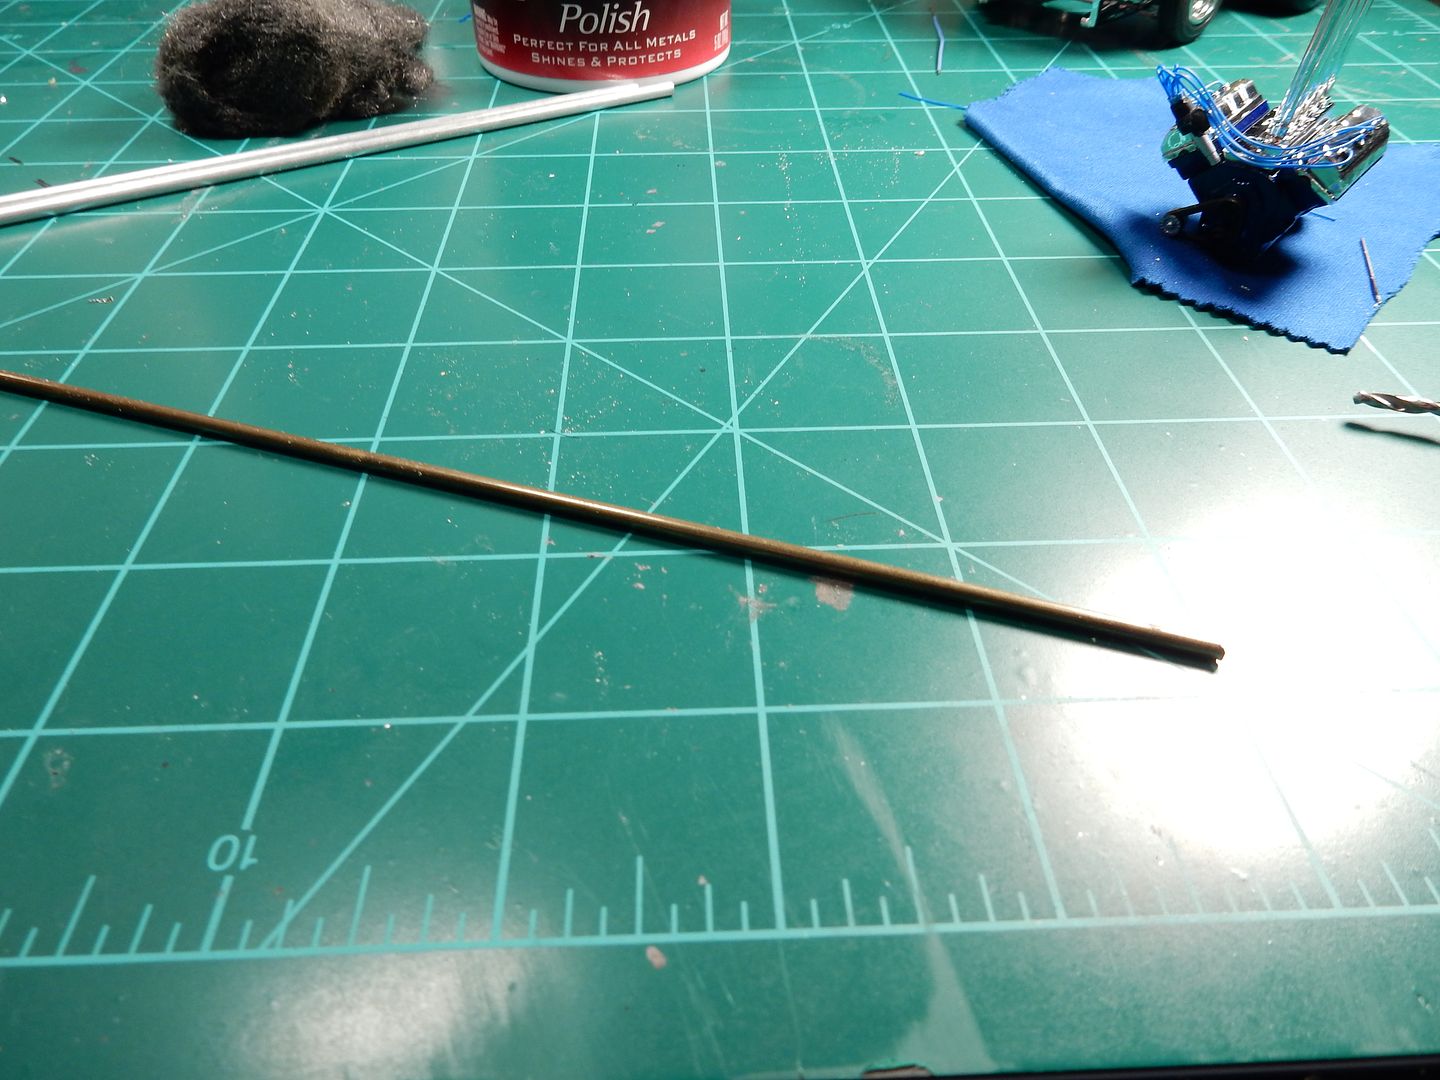
I needed locators in which to create a strong adhesion and to help line everything up so I chose some smaller diameter brass rod that slips right into the aluminum rod perfectly.
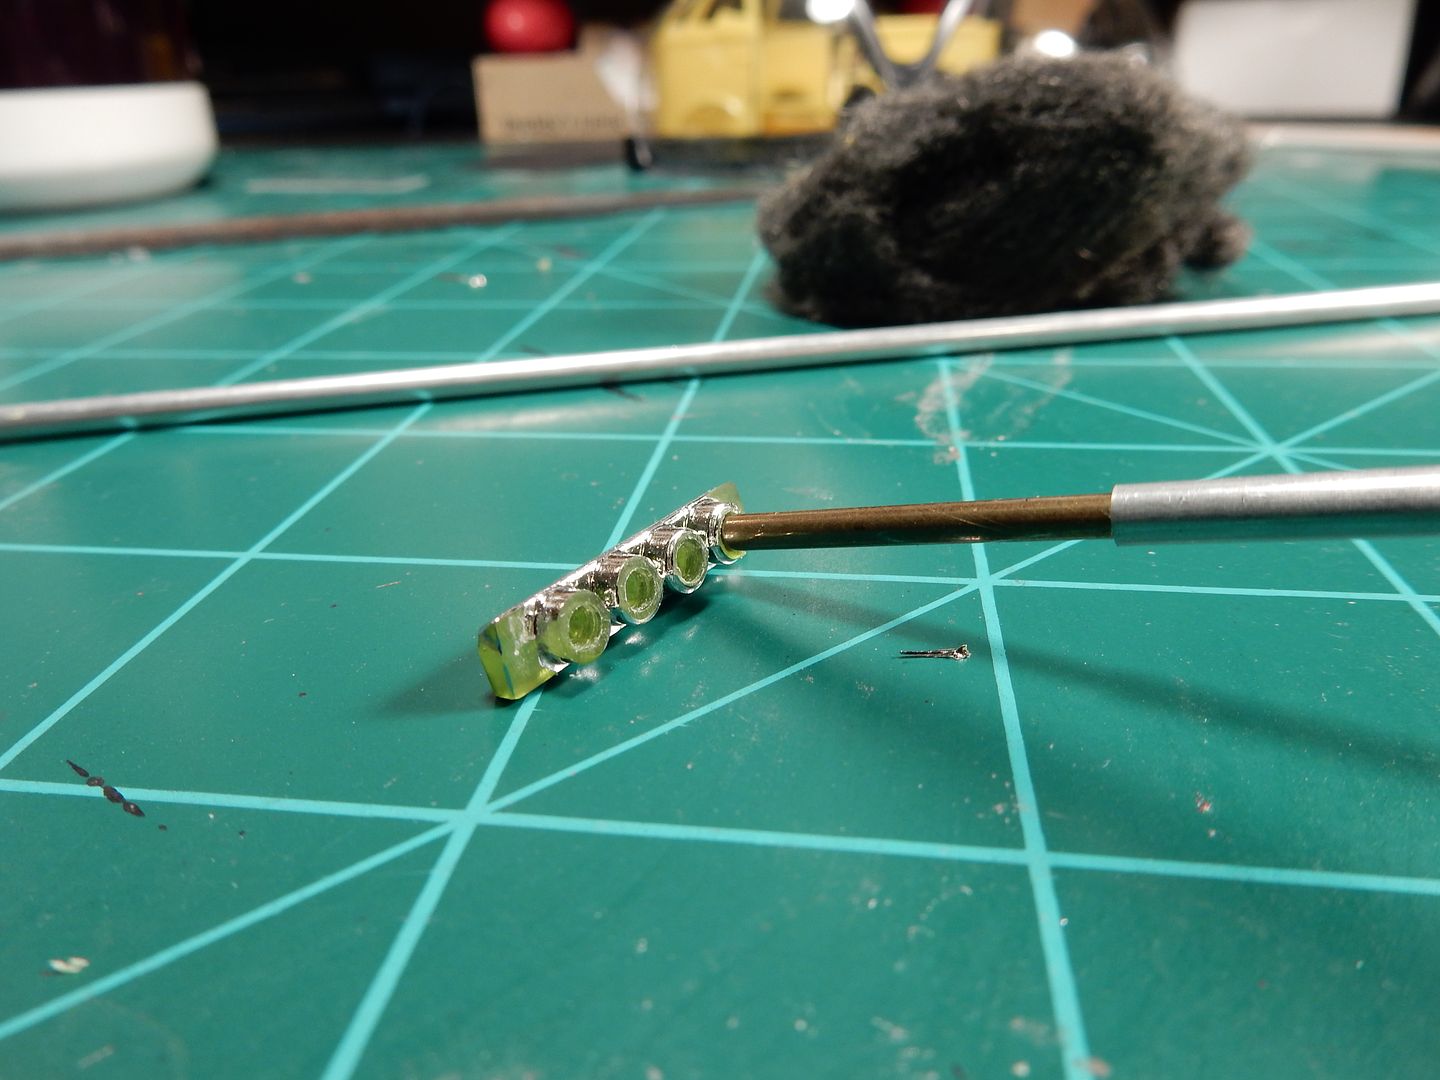
and in one photo I'll illustrate the process. I drilled into the injector stack base at each outlet to create a pilot hole for the brass rod which fits snugly inside each hole, then will slip the aluminum rod over the short lengths of brass rod like so.............
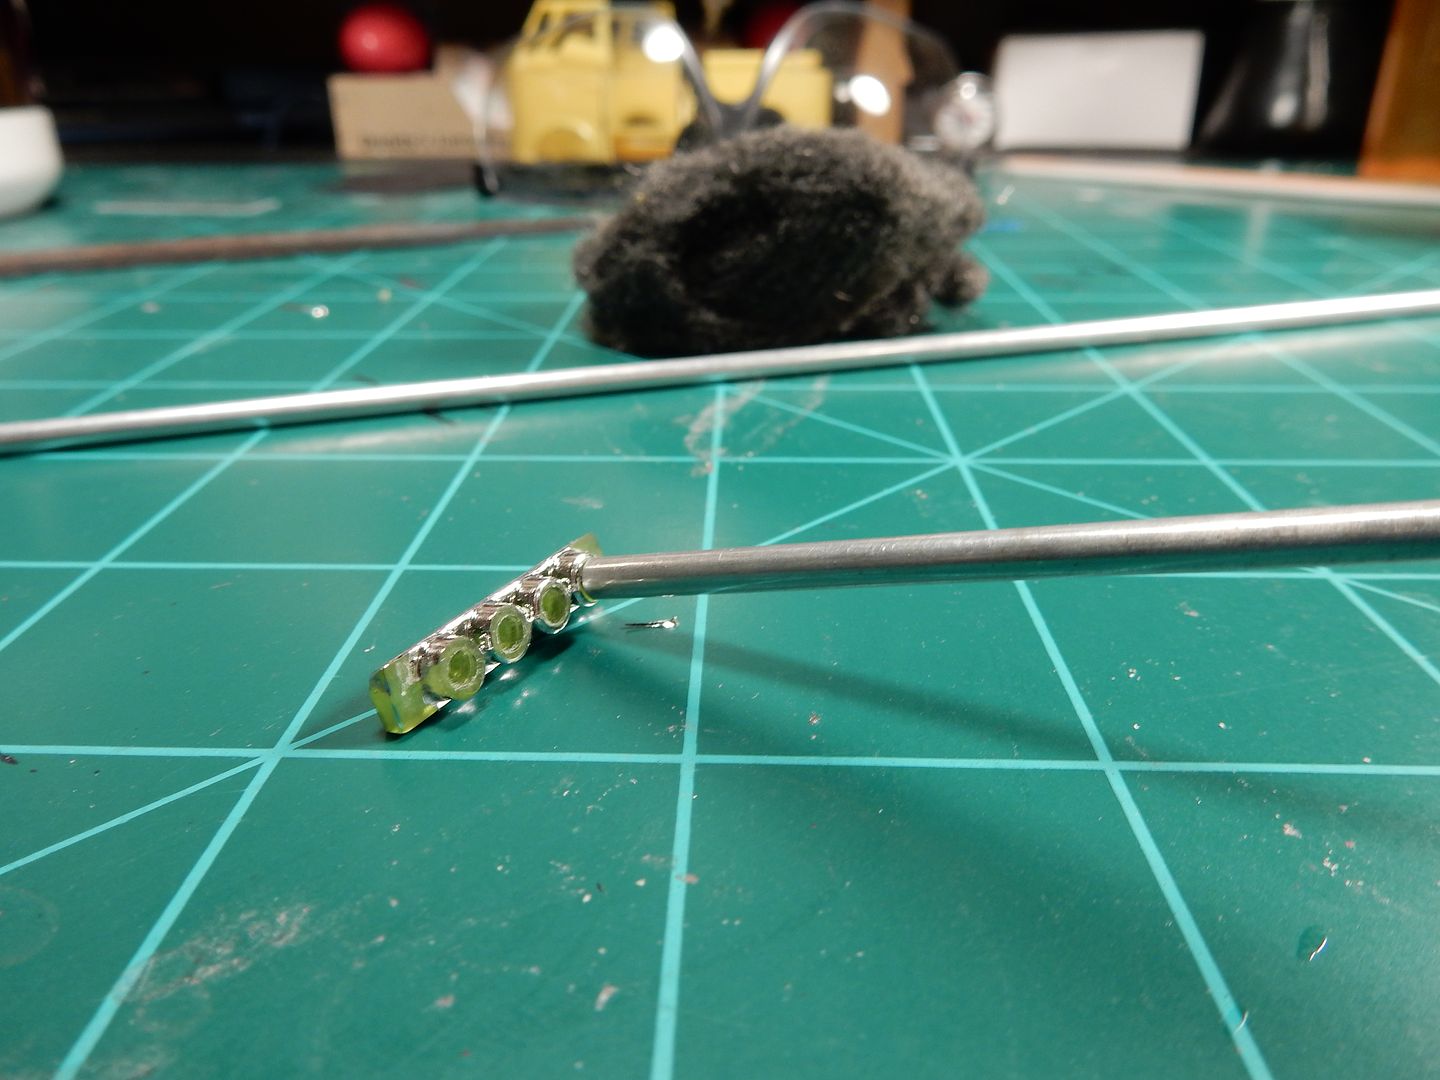
and then slid it on down to it's "home" position like so..............and do 7 more like that and I'll be home free with a lot better looking stacks than I started out with.
|
|
|
|
Post by stitchdup on Dec 4, 2016 6:33:54 GMT -7
I'm sure you said it was going to be oob, lol. You are right though, it looks much better
|
|
|
|
Post by kpnuts on Dec 4, 2016 6:39:17 GMT -7
Now that is going to look bl##dy fantastic.
|
|
|
|
Post by mustang1989 on Dec 4, 2016 7:33:08 GMT -7
I'm sure you said it was going to be oob, lol. You are right though, it looks much better Thanks Les. I just couldn't help it. Ok it'll be 80-90% OOB..................I promise.
Ken: Thank you sir.
|
|
|
|
Post by vcv8273 on Dec 4, 2016 7:44:21 GMT -7
Joe looking 100% better with the stacks you are building a very nice and needed improvement with the work your putting into the build. Cheers Steve
|
|
|
|
Post by coyotecrunch on Dec 4, 2016 7:46:43 GMT -7
Hmmmm
OOB must mean: Other Outstanding Bashing!!
Great idea though, looks nice!
|
|
|
|
Post by Big D on Dec 4, 2016 10:26:27 GMT -7
Great idea Joe.
|
|
|
|
Post by mustang1989 on Dec 4, 2016 15:25:17 GMT -7
Thanks gang.
Tom: OOB ...... e5037457_zpsameexuws
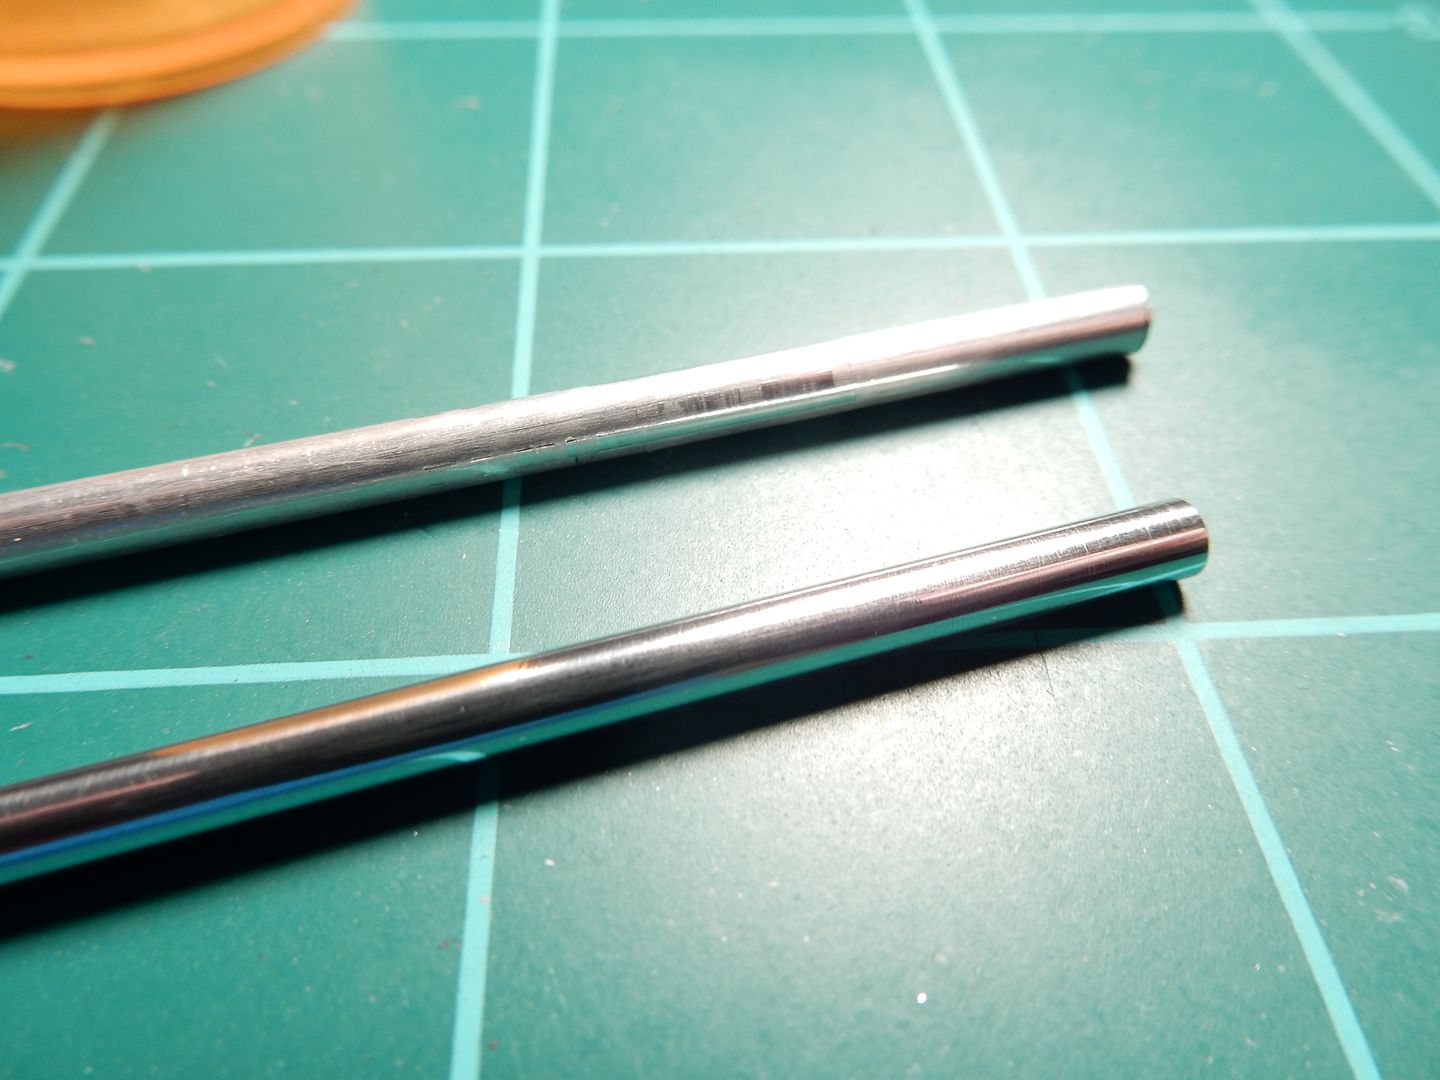
I've shined up two like this so far....
The top one is untouched and the bottom one is after 10 minutes of polishing with the wool first then the Mothers.
|
|
|
|
Post by kpnuts on Dec 4, 2016 15:29:47 GMT -7
That's quite a difference,
|
|
|
|
Post by mustang1989 on Dec 4, 2016 20:30:00 GMT -7
Thanks Ken and yeah I think I can live with the results. I managed to get all eight shined up tonight. I still need to cut them to size and get them clear coated. I also need to prime, apply gloss black to and apply Alclad to the injector stack bases as well as insert the pilot studs in place for the stacks. That'll have to be after Thursday as I'll be skipping back over on the Arado 234 Blitz jet aircraft that I'm working on also. I'll see you guys here back on Friday morning!! Now I'm off to the Arado 234 thread.........  |
|
|
|
Post by DeeCee on Dec 5, 2016 2:25:35 GMT -7
Nice work Joe, they look heaps better mate.
|
|
|
|
Post by mustang1989 on Dec 5, 2016 6:04:16 GMT -7
Thanks Dale.  |
|
|
|
Post by mustang1989 on Dec 9, 2016 5:30:21 GMT -7
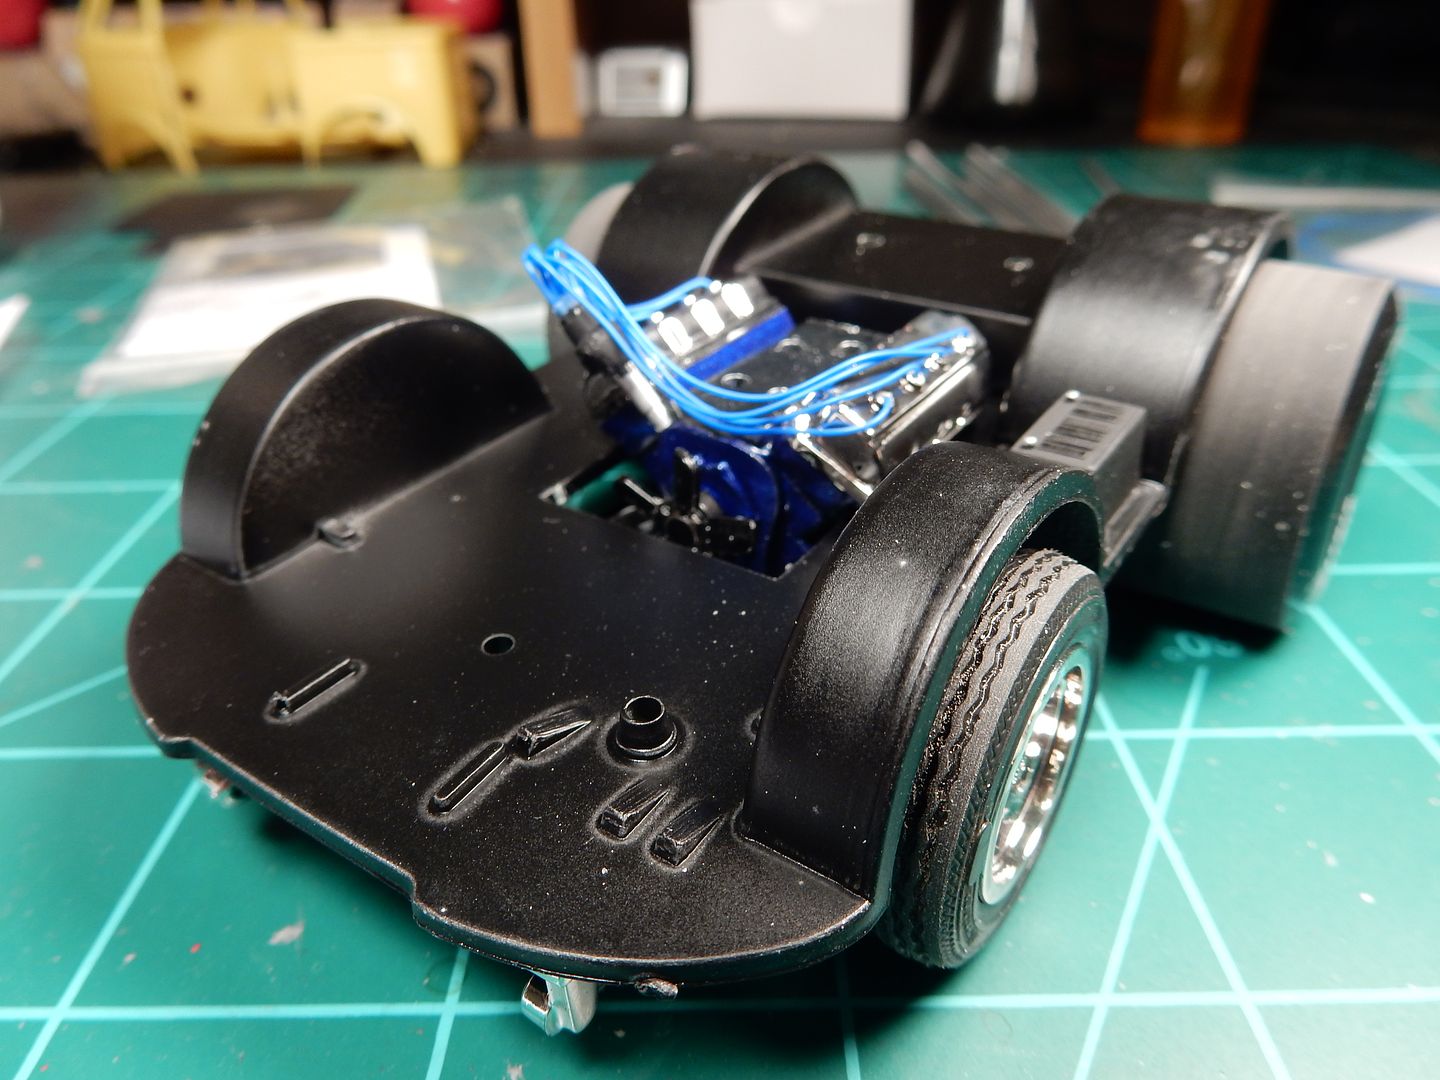
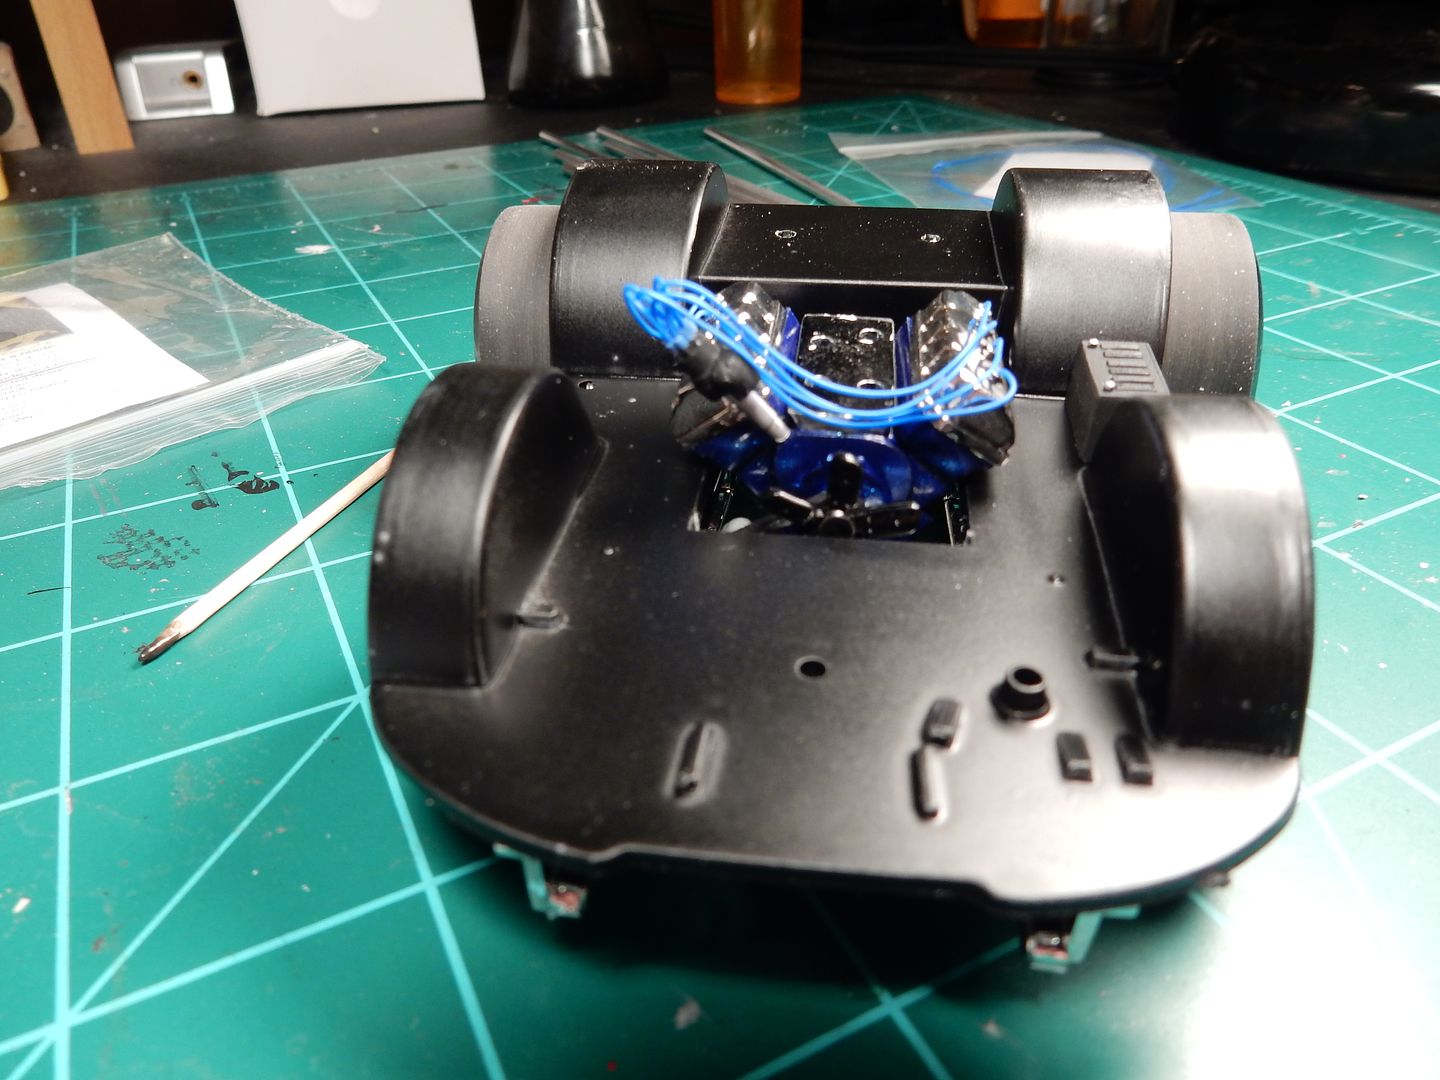
I got the engine installed this morning but before I did I mounted the cooling fan up and made some minor adjustments to the radiator. I've never seen a cooling fan installed..........on the crankshaft pulley? Too weird and I didn't like it and besides, the OOB fan was too dang bulky and big anyhow. I went with a cooling fan from Revell's Pro Stock Thunderbird kit and it worked great AND I installed it in the "normal" position at the water pump pulley. Crimany! 4fvgdaq_th Too weird and I didn't like it and besides, the OOB fan was too dang bulky and big anyhow. I went with a cooling fan from Revell's Pro Stock Thunderbird kit and it worked great AND I installed it in the "normal" position at the water pump pulley. Crimany! 4fvgdaq_th
I'm also in the process of stripping all the chrome from the fuel injector stack bases so I can apply gloss black to them and shoot a coat of Alclad chrome over them.
Anyhow here's this morning's progress report................
|
|
|
|
Post by coyotecrunch on Dec 9, 2016 7:09:50 GMT -7
Popcorn%20and%20drink%20emoticon_zpsnbkzs8ys Popcorn%20and%20drink%20emoticon_zpsnbkzs8ys Popcorn%20and%20drink%20emoticon_zpsnbkzs8ys
|
|
|
|
Post by Big D on Dec 9, 2016 10:49:59 GMT -7
Yup, looking good.
|
|
|
|
Post by 406 Silverado on Dec 9, 2016 10:52:31 GMT -7
Yikes. Every time I jump into this thread I find a new detail. I like the way it's coming together now. Great job joe!
|
|
|
|
Post by mustang1989 on Dec 9, 2016 12:32:34 GMT -7
Thanks guys! Hopefully I can make some fair amount of progress on this thing this weekend.
|
|
|
|
Post by ak on Dec 9, 2016 18:26:02 GMT -7
This is pretty cool! You're doing a FANTASTIC job on this! two-thumbs-up-smiley-emoticon
|
|
|
|
Post by mustang1989 on Dec 9, 2016 20:50:14 GMT -7
Thanks Alan. Sometimes I get a headache from all the planning and thinking on how to overcome obstacles but the build's still chuggin' along.
|
|
|
|
Post by DeeCee on Dec 9, 2016 23:43:38 GMT -7
Good progress Joe.. two-thumbs-up-smiley-emoticon
|
|
|
|
Post by mustang1989 on Dec 10, 2016 5:06:04 GMT -7
I managed to get some things done today on the interior and I got a gloss black coat over the injector stack bases. After that dries I'll shoot some Alclad over them and start working on installation of the stacks.
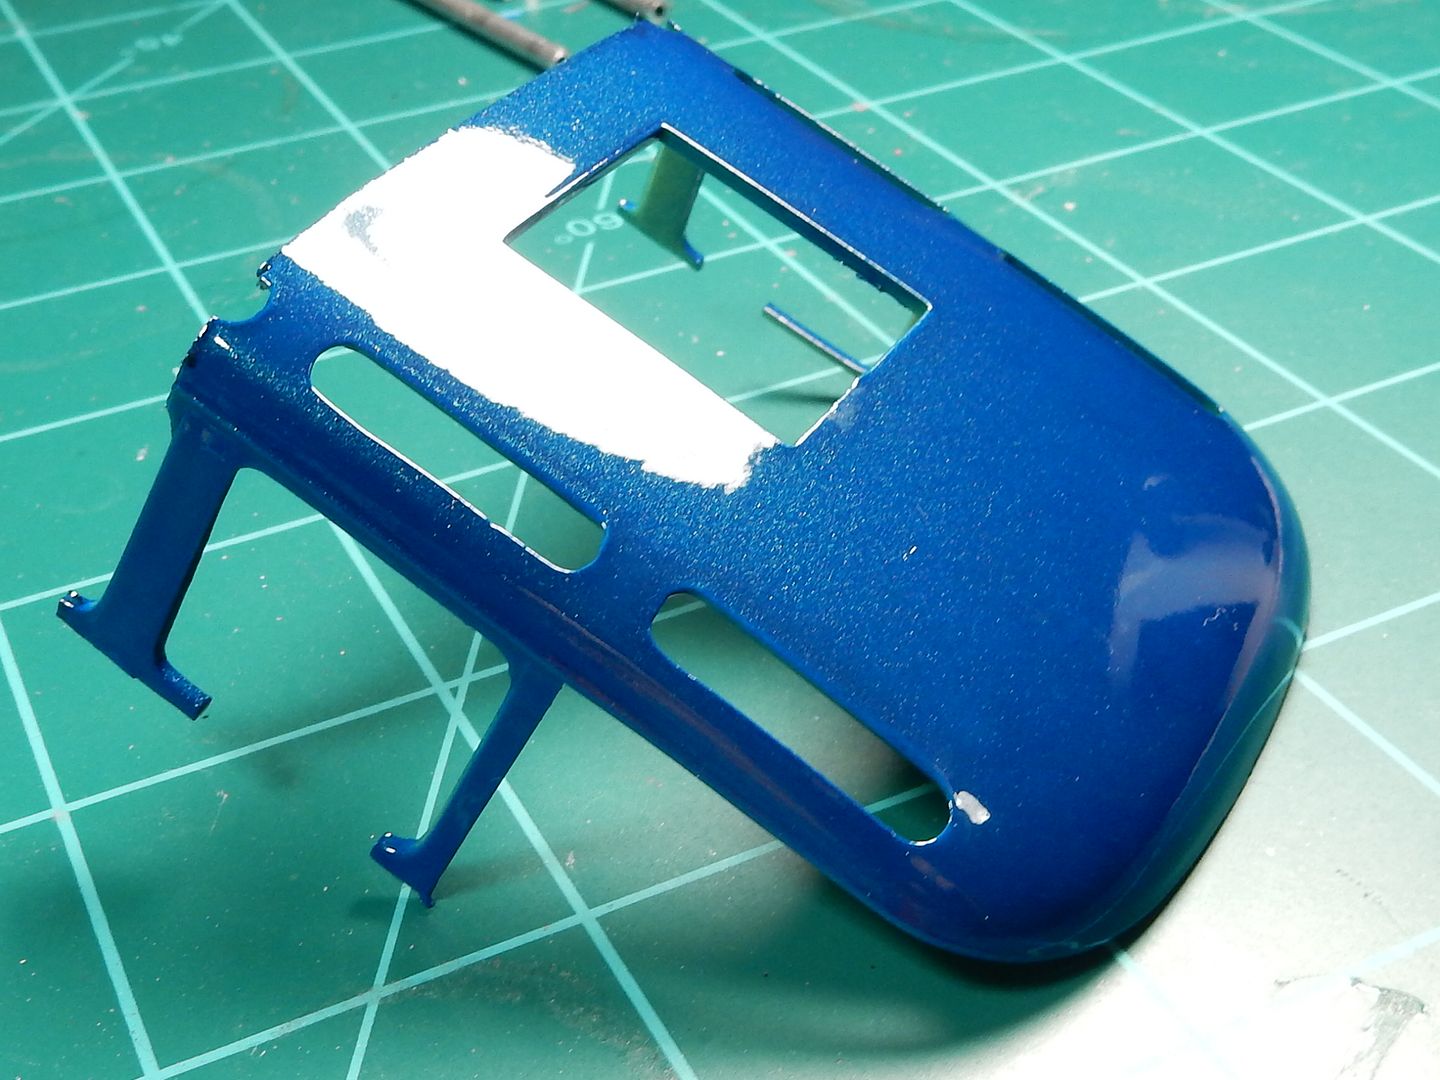
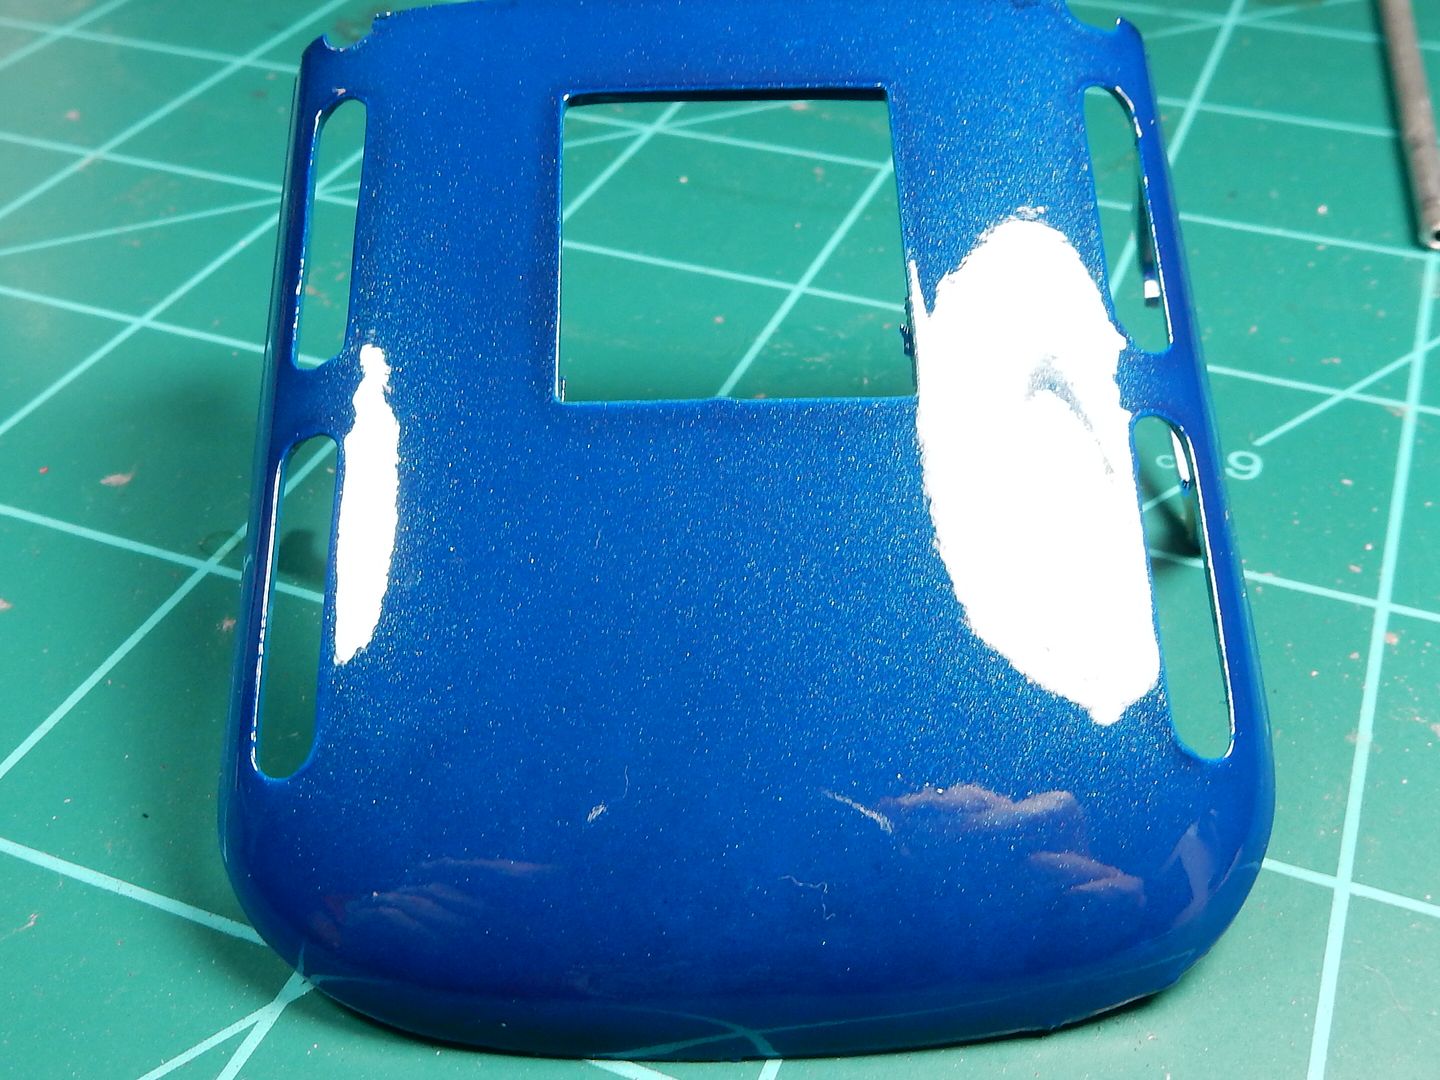
While the injector stacks were drying I couldn't help myself any longer. I had primed a spare roof section from my cut up bus a couple of days ago and decided to spray the base coat yesterday followed up with the clear this morning. The results are EXACTLY what I was after. In the pictures below you'll see the teal base color but you'll also be able to pick out the blue and purple on the curves and angles. This color has always been one of my favorites due to the sheer wickedness of its look.
|
|
|
|
Post by ak on Dec 10, 2016 5:19:59 GMT -7
Cool color!
|
|
|
|
Post by coyotecrunch on Dec 10, 2016 6:06:30 GMT -7
Nice!!
two-thumbs-up-smiley-emoticon
|
|
|
|
Post by mustang1989 on Dec 10, 2016 6:39:37 GMT -7
Nice!! two-thumbs-up-smiley-emoticon Thanks guys. I'm looking forward to being done with the OOB build and back on the modded build. Just gotta pick up some anodized fittings from RB Motion and I'll build that SBC up. |
|
|
|
Post by mustang1989 on Dec 11, 2016 6:18:54 GMT -7
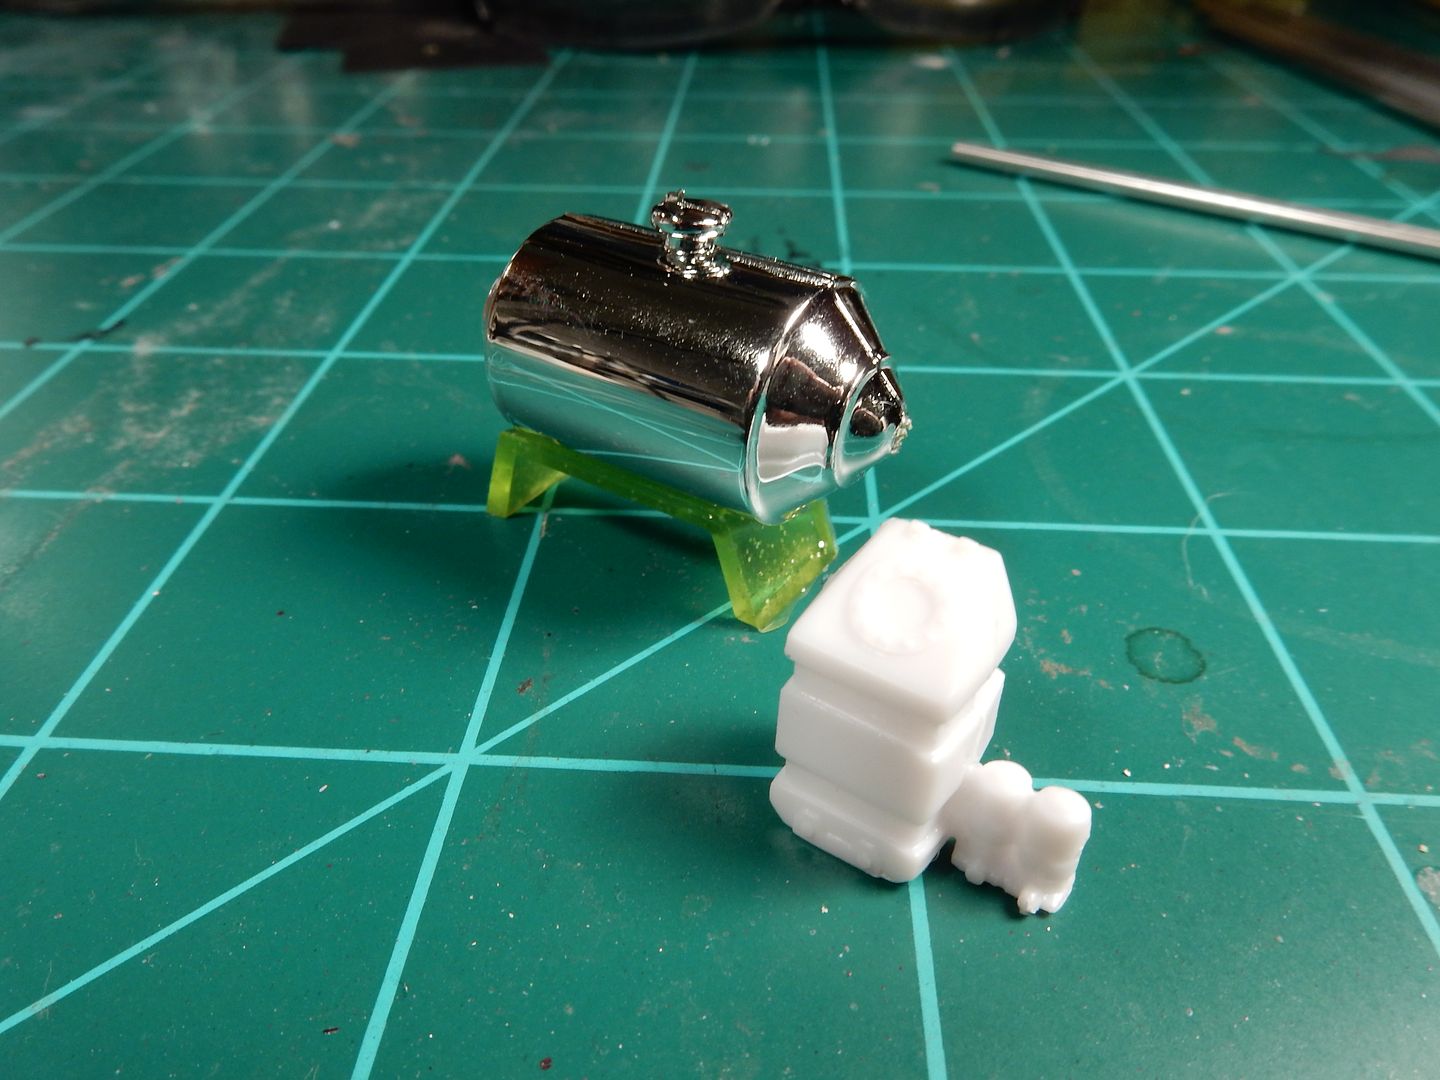
I didn't get a whole lot of bench time in this morning (1 hour) like I usually get on the weekend (3+ hours) as I've been really tired the last few days and it caught up with me yesterday so I slept in a little bit longer this morning. I did get my injector stack bases coated with some Alclad II this morning and started working on a replacement fuel cell for the OOB build.
On the left and in the back ground is the OOB fuel cell which to me just looks TOTALLY ridiculous so I opted for one from my Camaro Pro Stock kit which looks less toy like (like that whole kit doesn't look that way already right?) plus I get to detail it a little bit more than the OOB one. Got it glued together and I'll be working on the seam line and detailing in the days to come.
|
|
|
|
Post by kpnuts on Dec 11, 2016 15:23:07 GMT -7
Looks like a great replacement.
|
|
|
|
Post by vcv8273 on Dec 11, 2016 17:10:50 GMT -7
This is coming along real nice Joe. Details you are putting into this is awesome. Cheers Steve
|
|
|
|
Post by mustang1989 on Dec 11, 2016 21:18:36 GMT -7
Thanks Ken and Steve. I should have some progress shots up in the next day or so. For now.....I'll be bouncing back to the Arado Blitz Bomber for the next four days.......  |
|
|
|
Post by DeeCee on Dec 11, 2016 23:28:22 GMT -7
SWEET color mate, and that fuel cell will rock...
|
|
|
|
Post by Big D on Dec 12, 2016 6:53:06 GMT -7
Good color and I agree with DeeCee on the fuel cell.
|
|




 Too weird and I didn't like it and besides, the OOB fan was too dang bulky and big anyhow. I went with a cooling fan from Revell's Pro Stock Thunderbird kit and it worked great AND I installed it in the "normal" position at the water pump pulley. Crimany! 4fvgdaq_th


